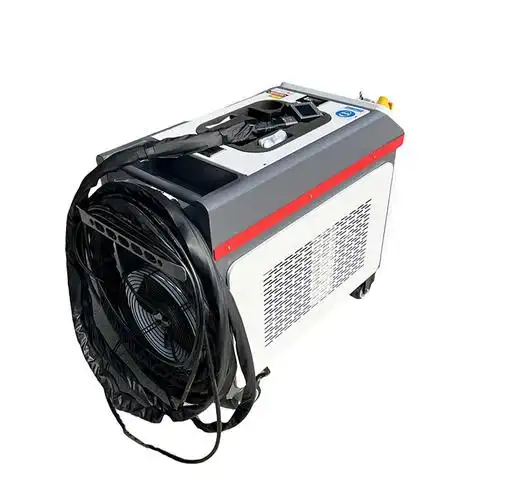
As someone who’s been immersed in the world of industrial surface cleaning for over a decade, I’ve seen laser rust removal transform how we tackle corrosion. Whether it’s restoring a vintage car, maintaining a steel bridge, or preserving delicate artifacts, this technology has become a game-changer for its precision and eco-friendliness. But one question I hear time and again is: Will laser rust removal leave marks on the surface? It’s a valid concern—nobody wants a clean but scratched or discolored surface after investing in this advanced method. In this article, I’ll dive deep into whether laser rust removal leaves marks, what factors influence the outcome, and how to ensure a flawless finish, drawing on my hands-on experience and industry insights.
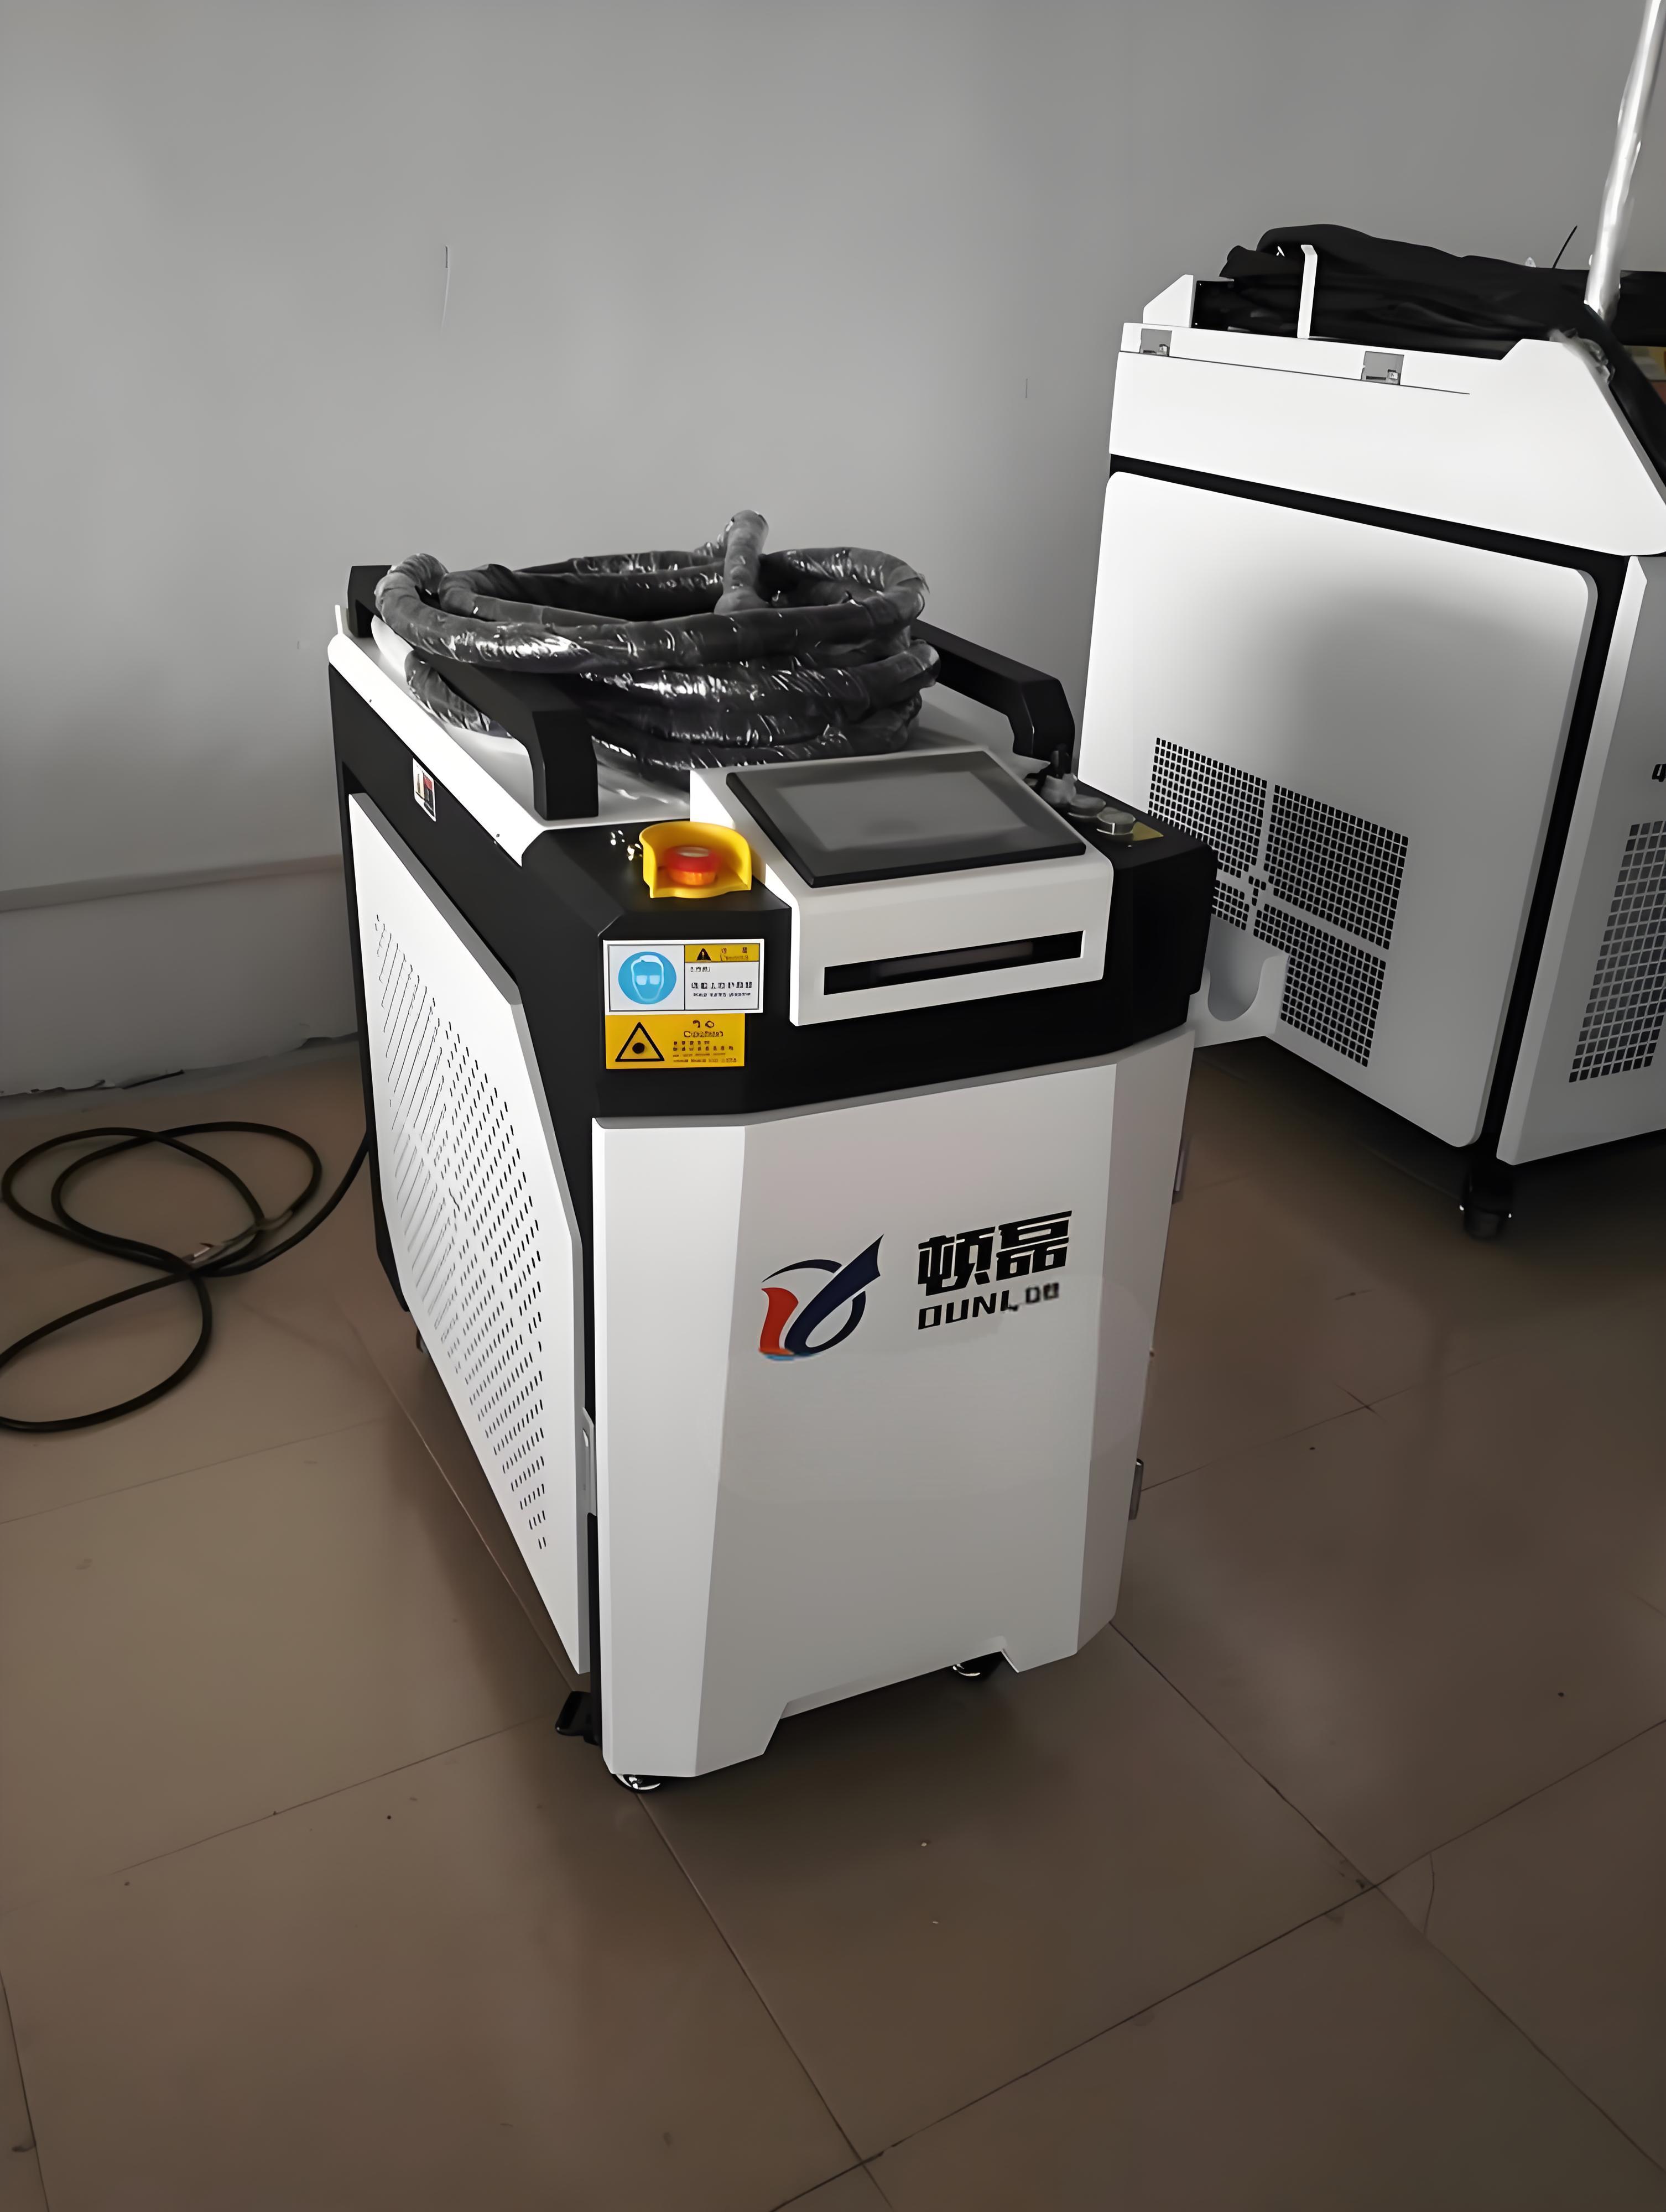
Understanding Laser Rust Removal: How It Works
Before addressing the question of marks, let’s unpack how laser rust removal works. The process involves directing a high-energy laser beam at a rusted surface, where the energy vaporizes or ablates rust, paint, or contaminants. Unlike abrasive methods like sandblasting, laser cleaning is non-contact, meaning there’s no physical grinding or scraping. This non-contact nature is a key reason why laser rust removal is less likely to leave marks compared to traditional methods.
However, the outcome depends on several variables: the type of material, the laser’s settings (power, frequency, and pulse duration), the operator’s skill, and the condition of the surface. When done correctly, laser rust removal can leave surfaces pristine, but improper use or unsuitable conditions can lead to unintended effects. Let’s explore these factors in detail.
Does Laser Rust Removal Leave Marks? The Short Answer
In most cases, laser rust removal does not leave visible marks when performed by a skilled operator using properly calibrated equipment. The laser targets the rust or contaminants, which absorb the laser energy and vaporize, while the underlying metal reflects the laser, remaining largely unaffected. This selective ablation is what makes the process so effective for cleaning without damaging the base material.
That said, there are scenarios where marks—such as discoloration, micro-pitting, or slight texture changes—can occur. These are not necessarily “damage” but can be perceived as imperfections depending on the application (e.g., aesthetic restoration vs. industrial maintenance). To help you understand when and why marks might appear, I’ve broken down the key factors below.
Factors That Influence Whether Marks Are Left
1. Material Type and Surface Properties
Different materials react differently to laser energy. For example:
Steel: Common carbon steel is highly reflective to laser wavelengths, making it ideal for rust removal without surface alteration. However, heavily corroded steel may have uneven surfaces, which can appear as “marks” after cleaning due to pre-existing damage.
Aluminum: Aluminum’s high reflectivity means it’s generally safe, but prolonged exposure or excessive power can cause slight discoloration.
Copper or Brass: These materials absorb laser energy more readily, increasing the risk of surface heating or oxidation if parameters aren’t optimized.
Delicate Materials (e.g., artifacts): Historical or thin materials require low-power settings to avoid thermal stress or micro-cracks.
In my experience, I once worked on a rusted steel sculpture where the surface had deep pitting from years of corrosion. After laser cleaning, the pitting remained visible—not as a mark caused by the laser, but as a pre-existing condition exposed by the removal of rust. This taught me the importance of setting realistic expectations with clients about the material’s original state.
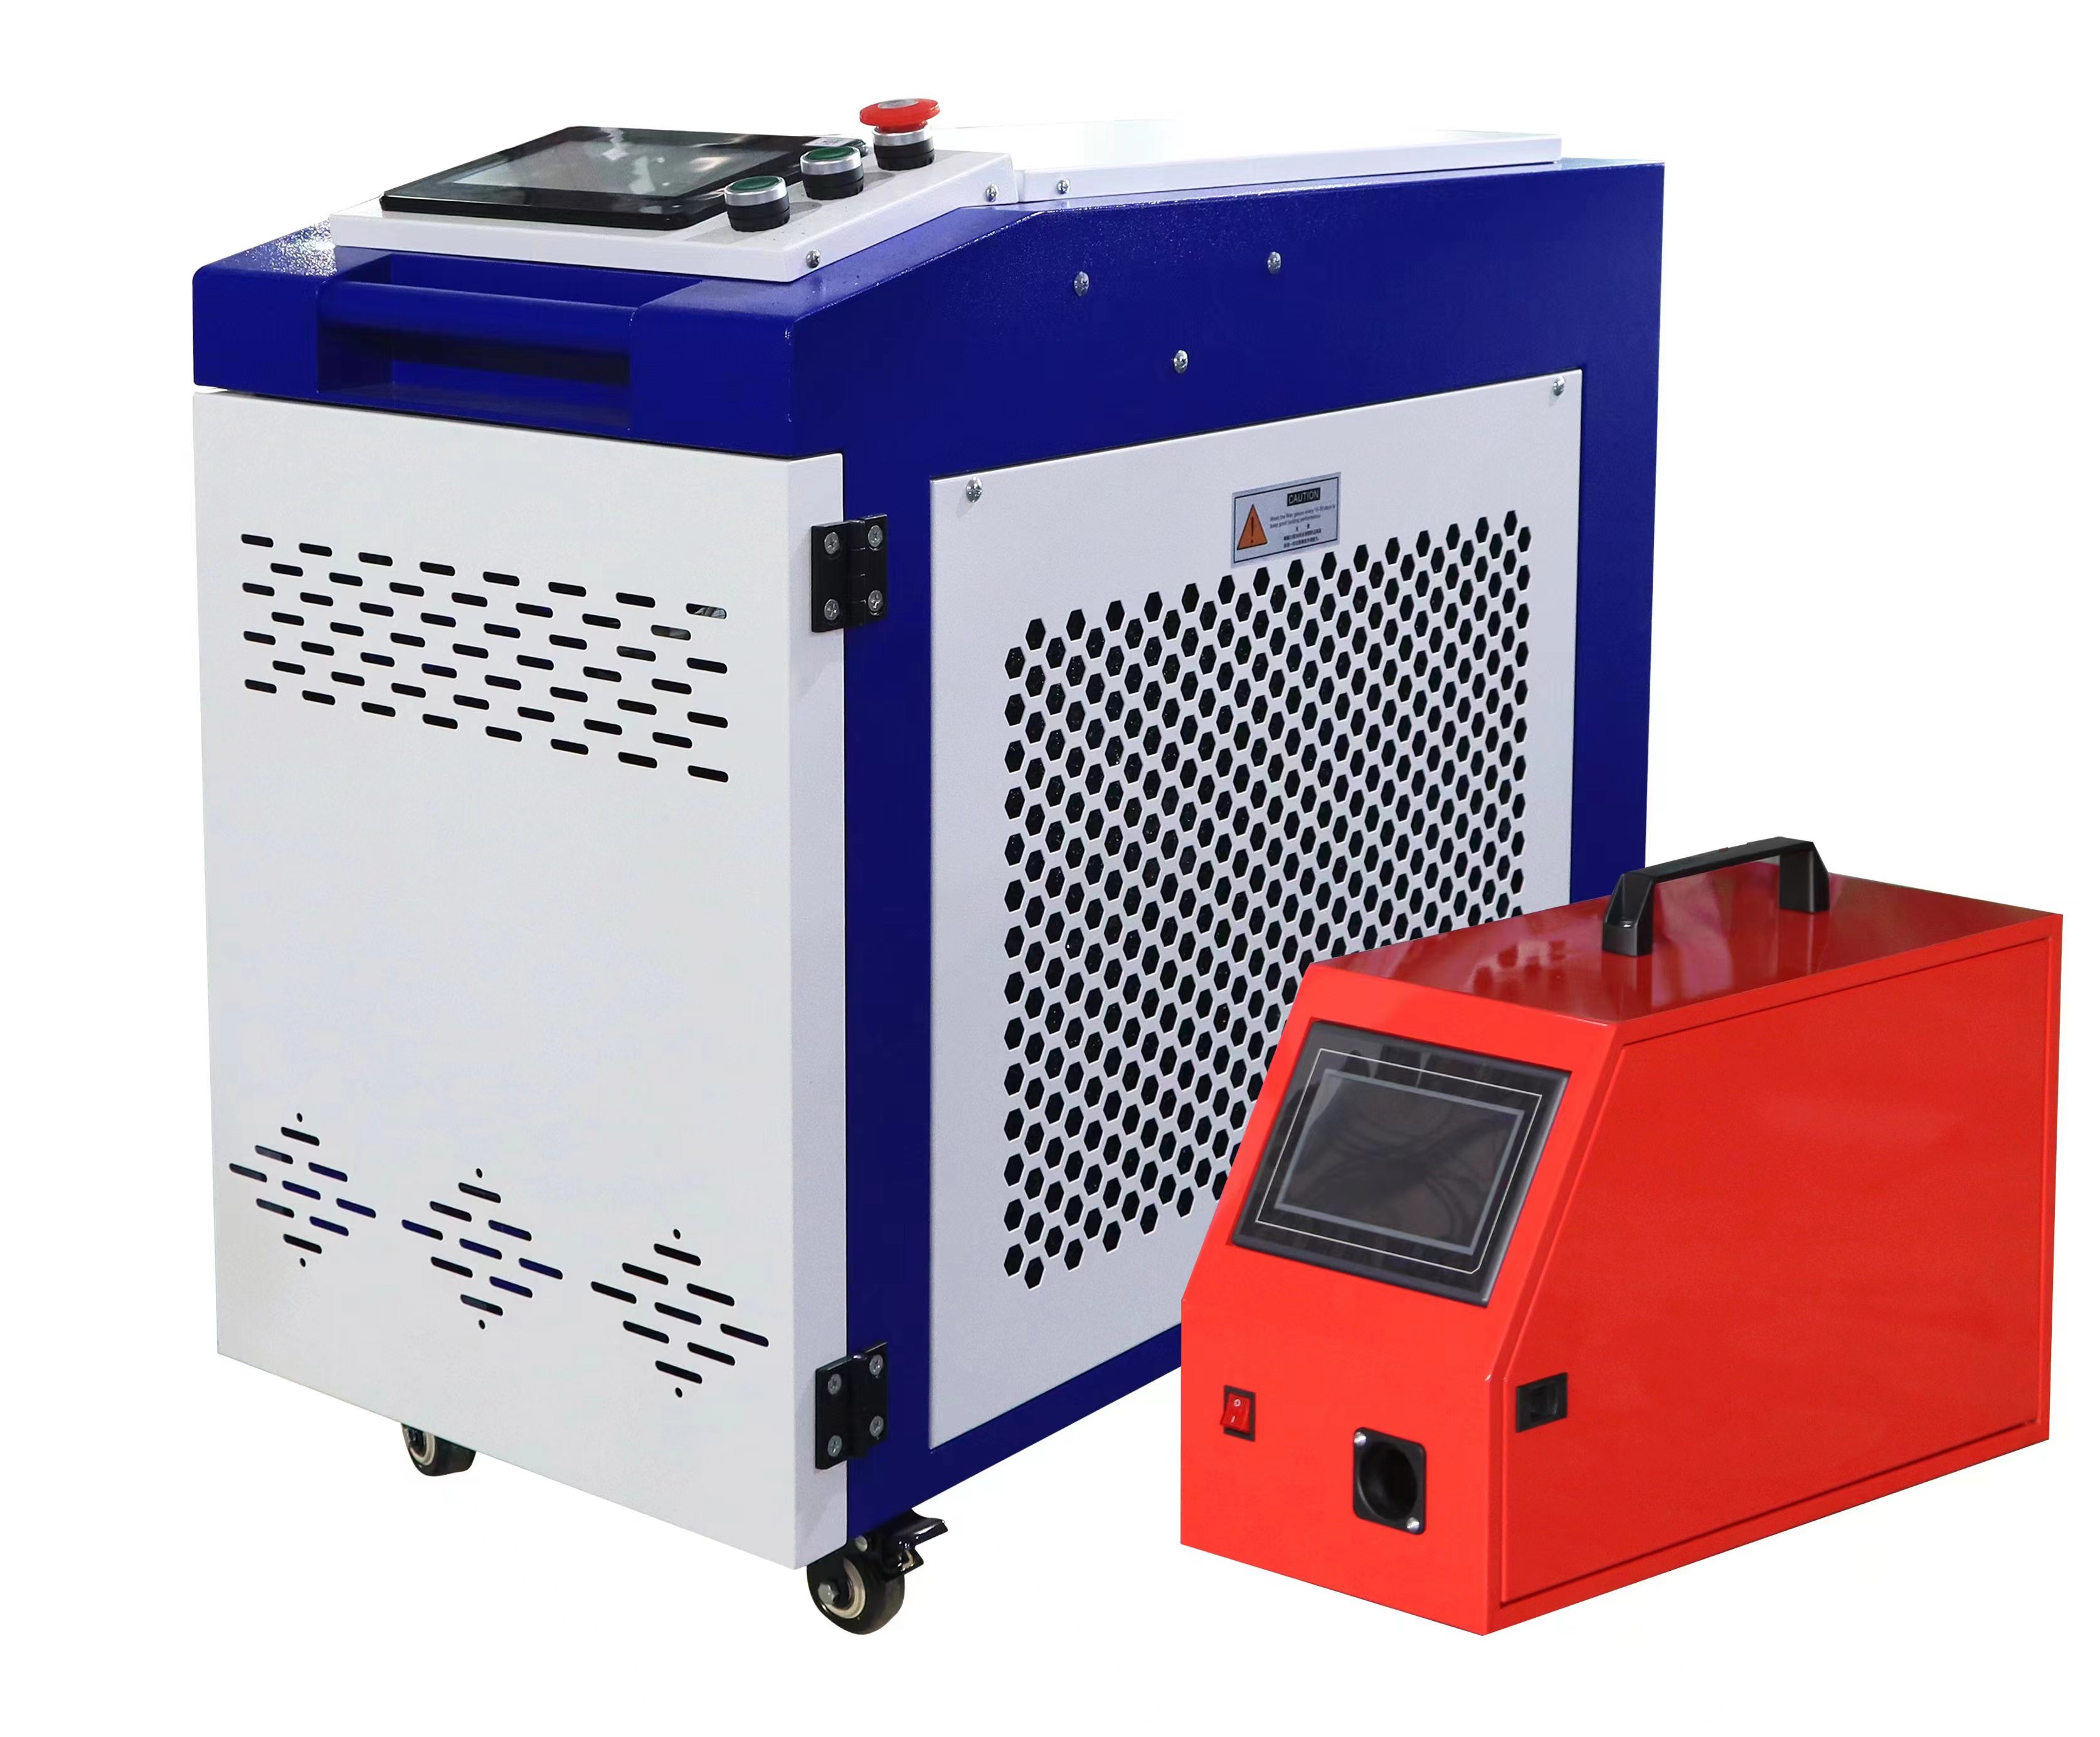
2. Laser Parameters
The laser’s settings are critical. Incorrect power, frequency, or pulse duration can lead to surface changes. For instance:
High Power: Excessive energy can overheat the base material, causing discoloration or micro-melting.
Improper Frequency: Too high a frequency may not fully remove rust, leaving a patchy appearance, while too low a frequency can over-process the surface.
Pulse Duration: Short pulses (nanoseconds) are ideal for rust removal without affecting the substrate, while longer pulses may cause thermal buildup.
I recall a project where an inexperienced operator set the laser power too high while cleaning a stainless steel surface. The result was a slight yellowish tint due to overheating. After adjusting to a lower power and shorter pulses, we achieved a mirror-like finish with no further issues.
3. Operator Skill
Laser rust removal isn’t a “point-and-shoot” process—it requires finesse. A skilled operator knows how to:
Adjust parameters based on the material and rust severity.
Maintain consistent scanning speed to avoid over-exposure.
Test settings on a small area before full-scale cleaning.
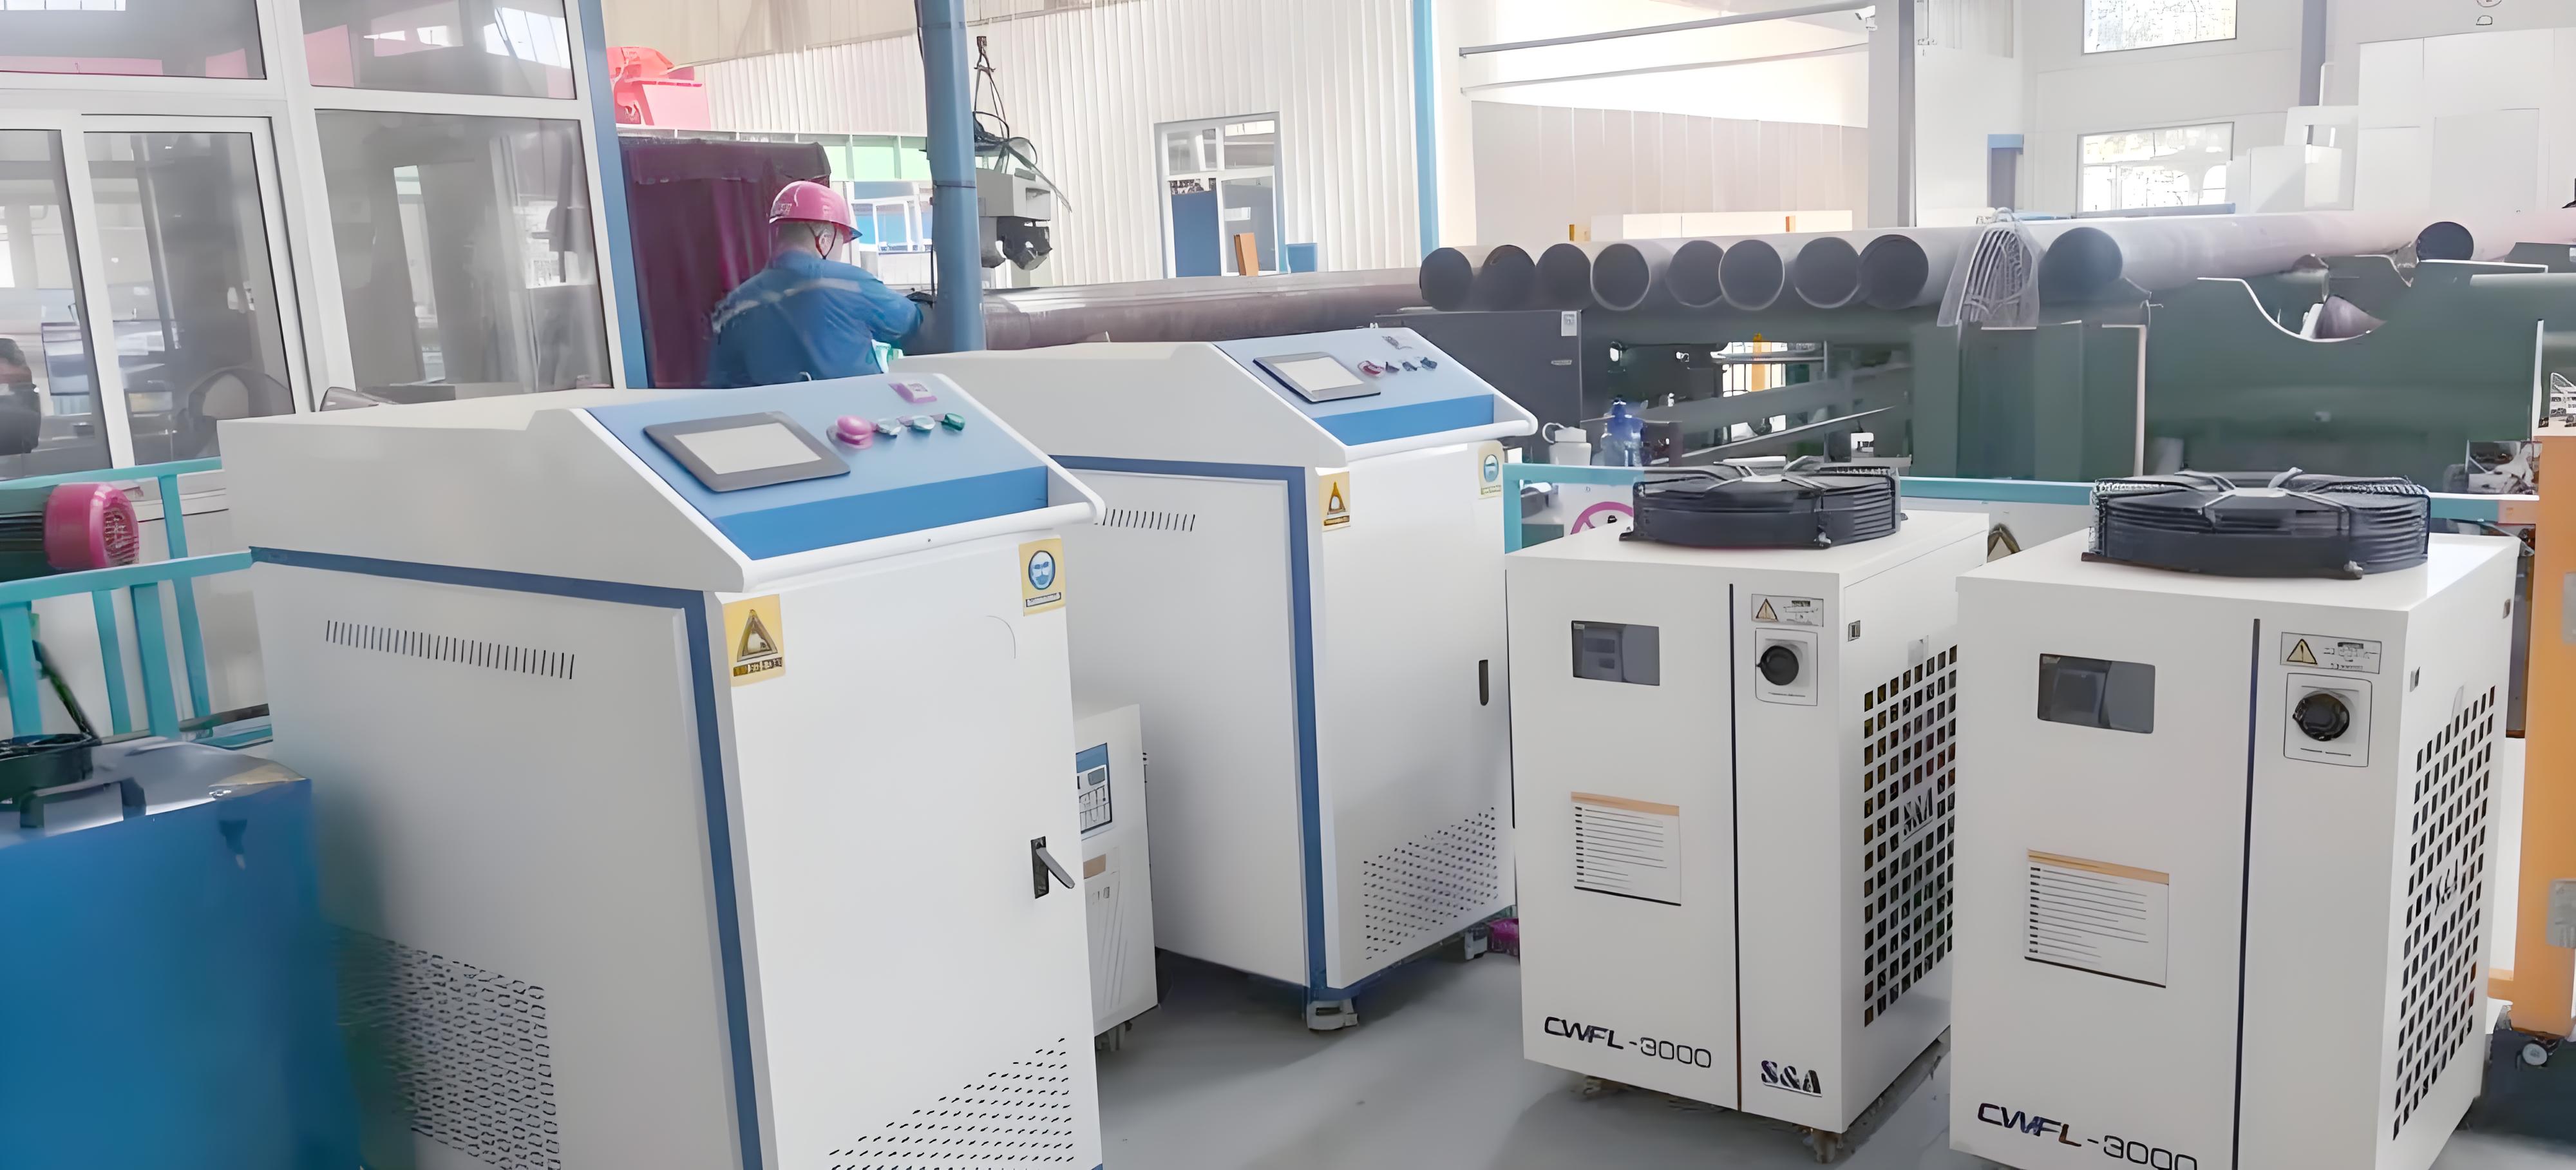
In one instance, I trained a team to clean rusted industrial pipes. Initially, some areas showed faint streaks because the operator moved the laser too slowly. After practicing proper scanning techniques, the team produced flawless results.
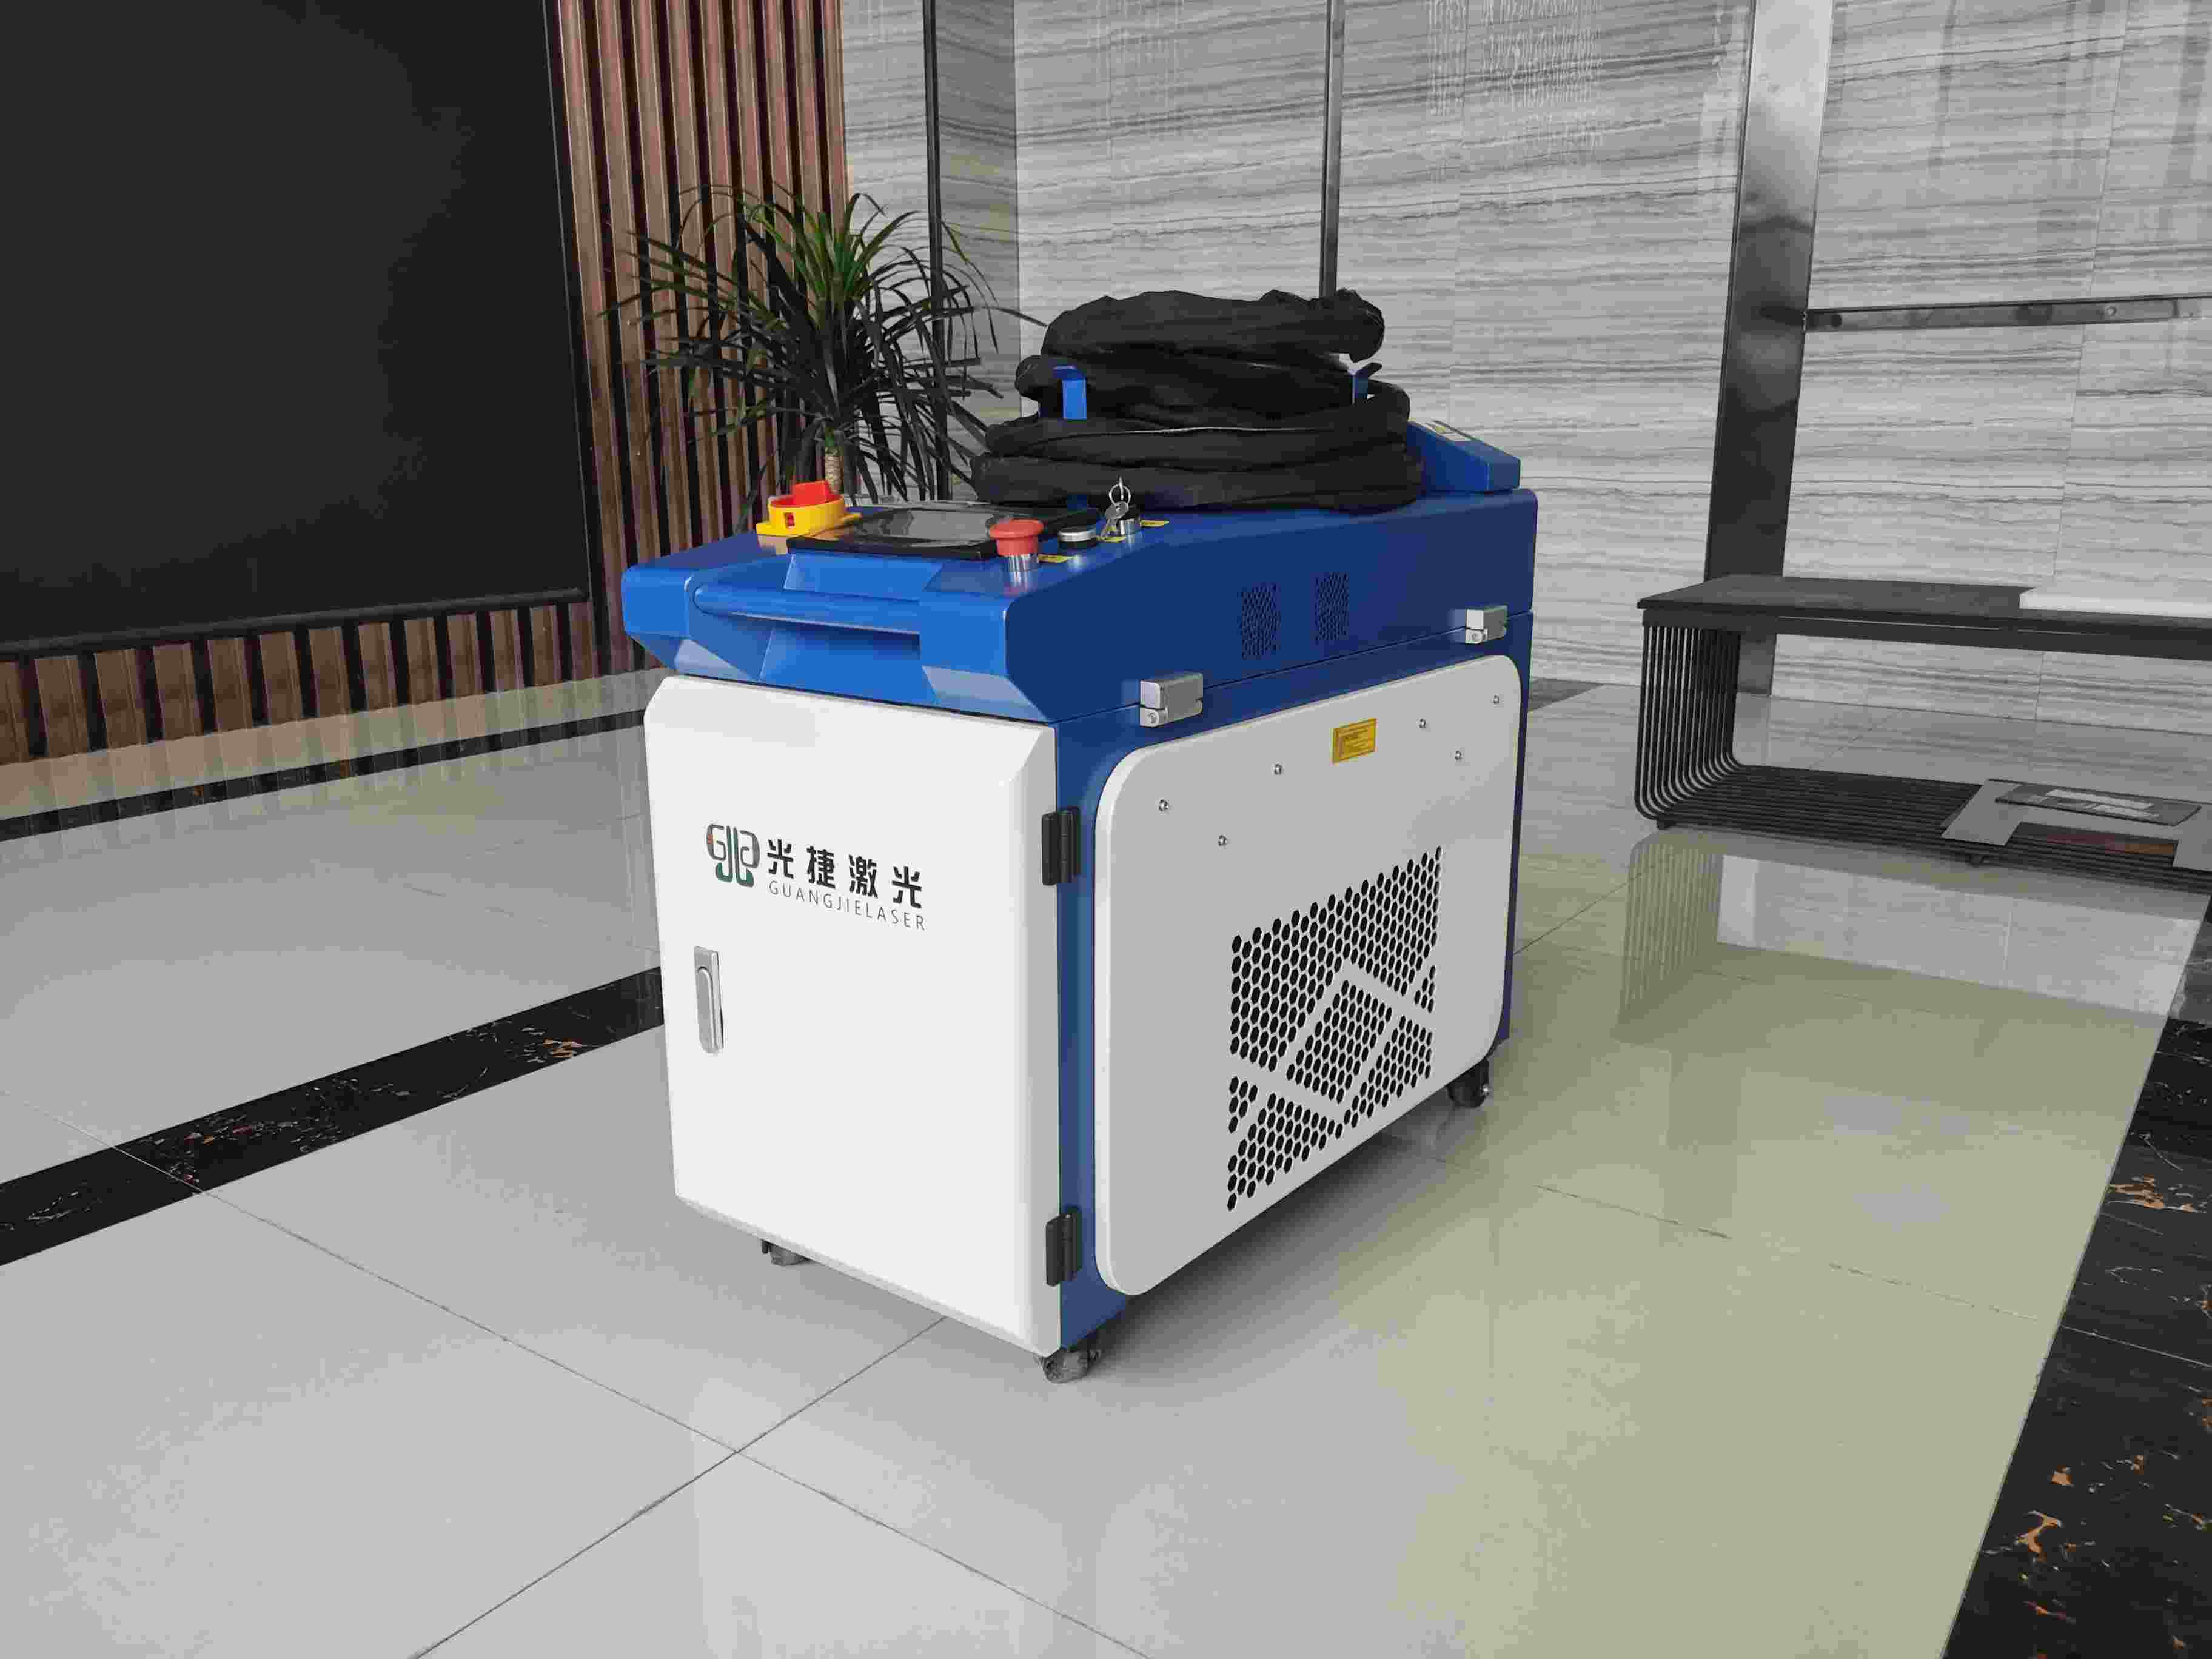
4. Surface Condition
The condition of the surface before cleaning plays a huge role. Heavily pitted or corroded surfaces may appear “marked” after rust removal simply because the laser reveals the underlying damage. Similarly, surfaces with old paint or coatings may show variations if the laser removes some layers but not others. Pre-inspecting the surface and discussing expectations with clients is key to avoiding misunderstandings.
Comparing Laser Rust Removal to Other Methods
To put things in perspective, let’s compare laser rust removal to traditional methods in terms of their likelihood of leaving marks:
| Method | Likelihood of Marks | Type of Marks | Considerations |
|---|---|---|---|
| Laser Rust Removal | Low | Discoloration or micro-pitting (if parameters are incorrect) | Non-contact, highly precise; requires skilled operation. |
| Sandblasting | High | Scratches, surface abrasion | Aggressive, removes material, not ideal for delicate surfaces. |
| Chemical Cleaning | Medium | Staining, chemical residue | May require post-cleaning rinsing; less precise. |
| Wire Brushing | High | Scratches, surface roughening | Manual, labor-intensive, inconsistent results. |
As the table shows, laser rust removal has a significant advantage in minimizing marks compared to abrasive or chemical methods. Its precision makes it ideal for applications where surface integrity is critical, such as aerospace components or historical artifacts.
Real-World Cases: Marks or No Marks?
To illustrate how laser rust removal performs in practice, let me share two projects I’ve worked on.
Case Study 1: Restoring a Vintage Car
A client brought me a rusted 1960s car body for restoration. The goal was to remove rust from the steel panels while preserving the original patina for an authentic look. Using a low-power pulsed laser, we carefully cleaned the surface, adjusting the frequency to target only the rust. The result was a clean, smooth surface with no visible marks, and the client was amazed at how the original metal sheen was restored without scratches or discoloration. This project highlighted the importance of tailoring laser settings to the material’s needs.
Case Study 2: Industrial Tank Cleaning
In a factory setting, we cleaned a large stainless steel tank that had surface rust from prolonged exposure to moisture. Initially, we noticed faint heat marks on a small test area because the laser power was set too high. After recalibrating to a lower power and faster scanning speed, we completed the job with no visible marks, leaving a polished, professional finish. This experience underscored the need for testing and fine-tuning before tackling large surfaces.
How to Ensure No Marks Are Left
Based on my years of working with laser rust removal, here are practical steps to achieve a mark-free result:
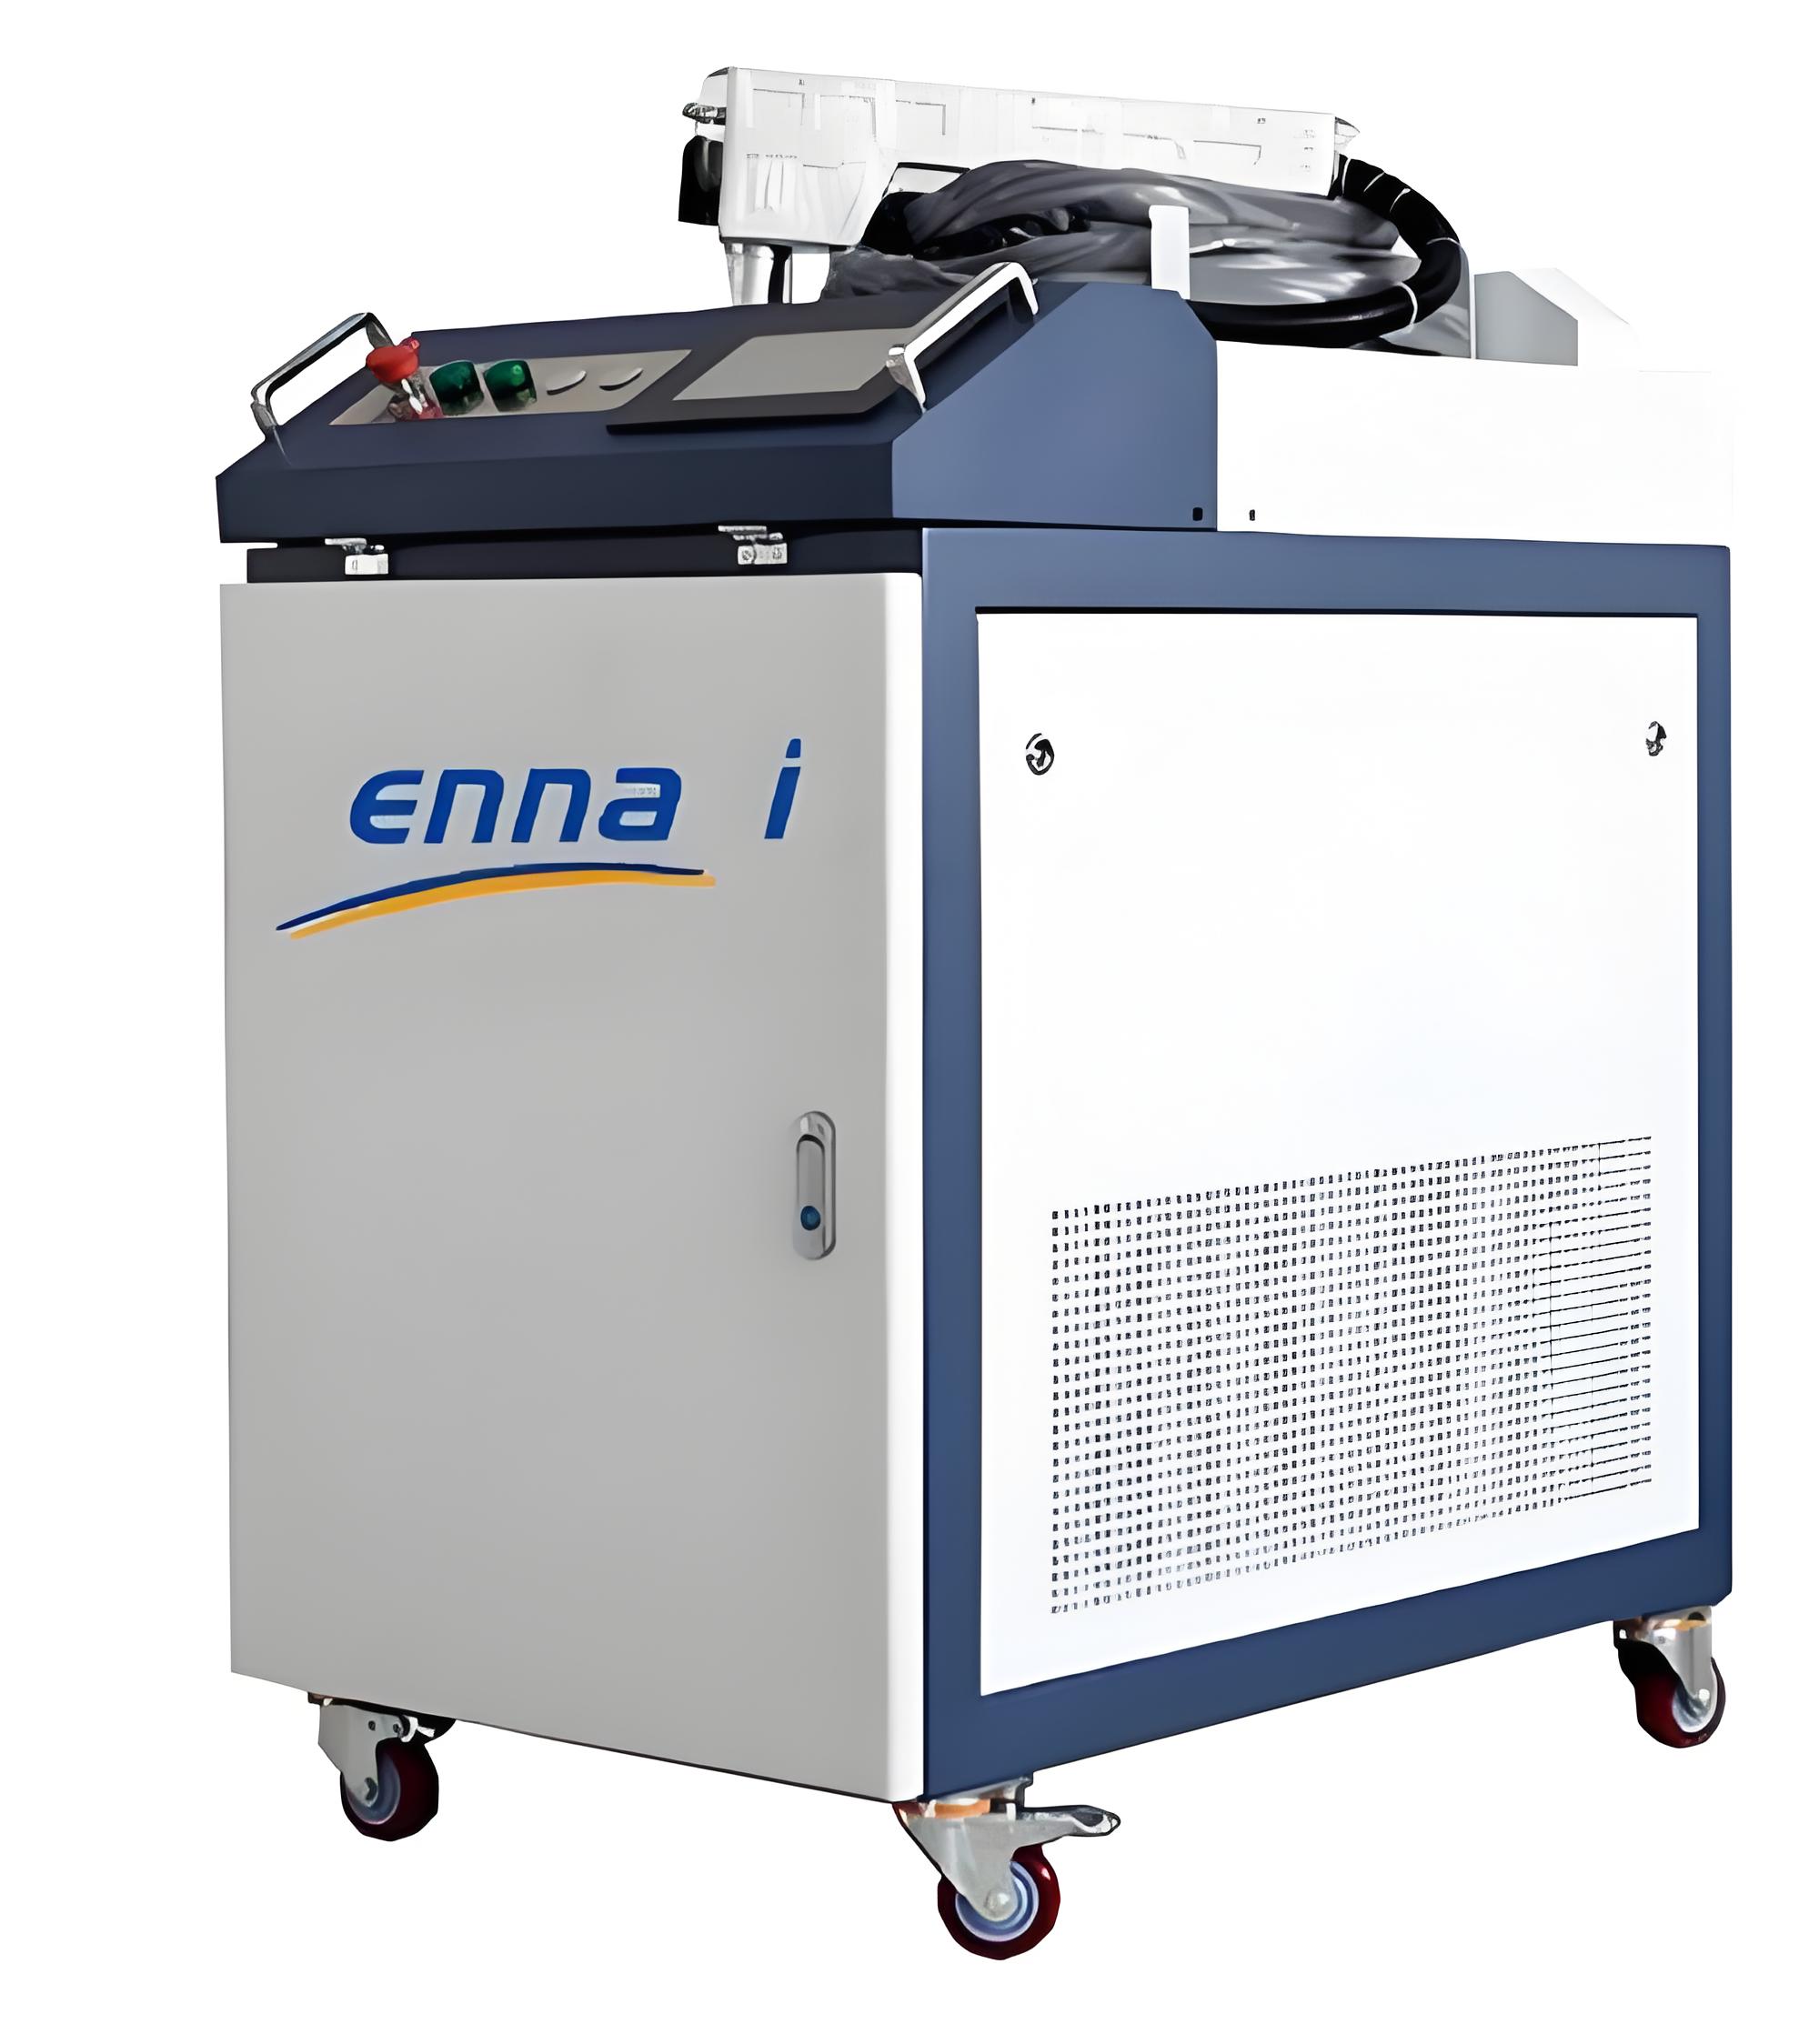
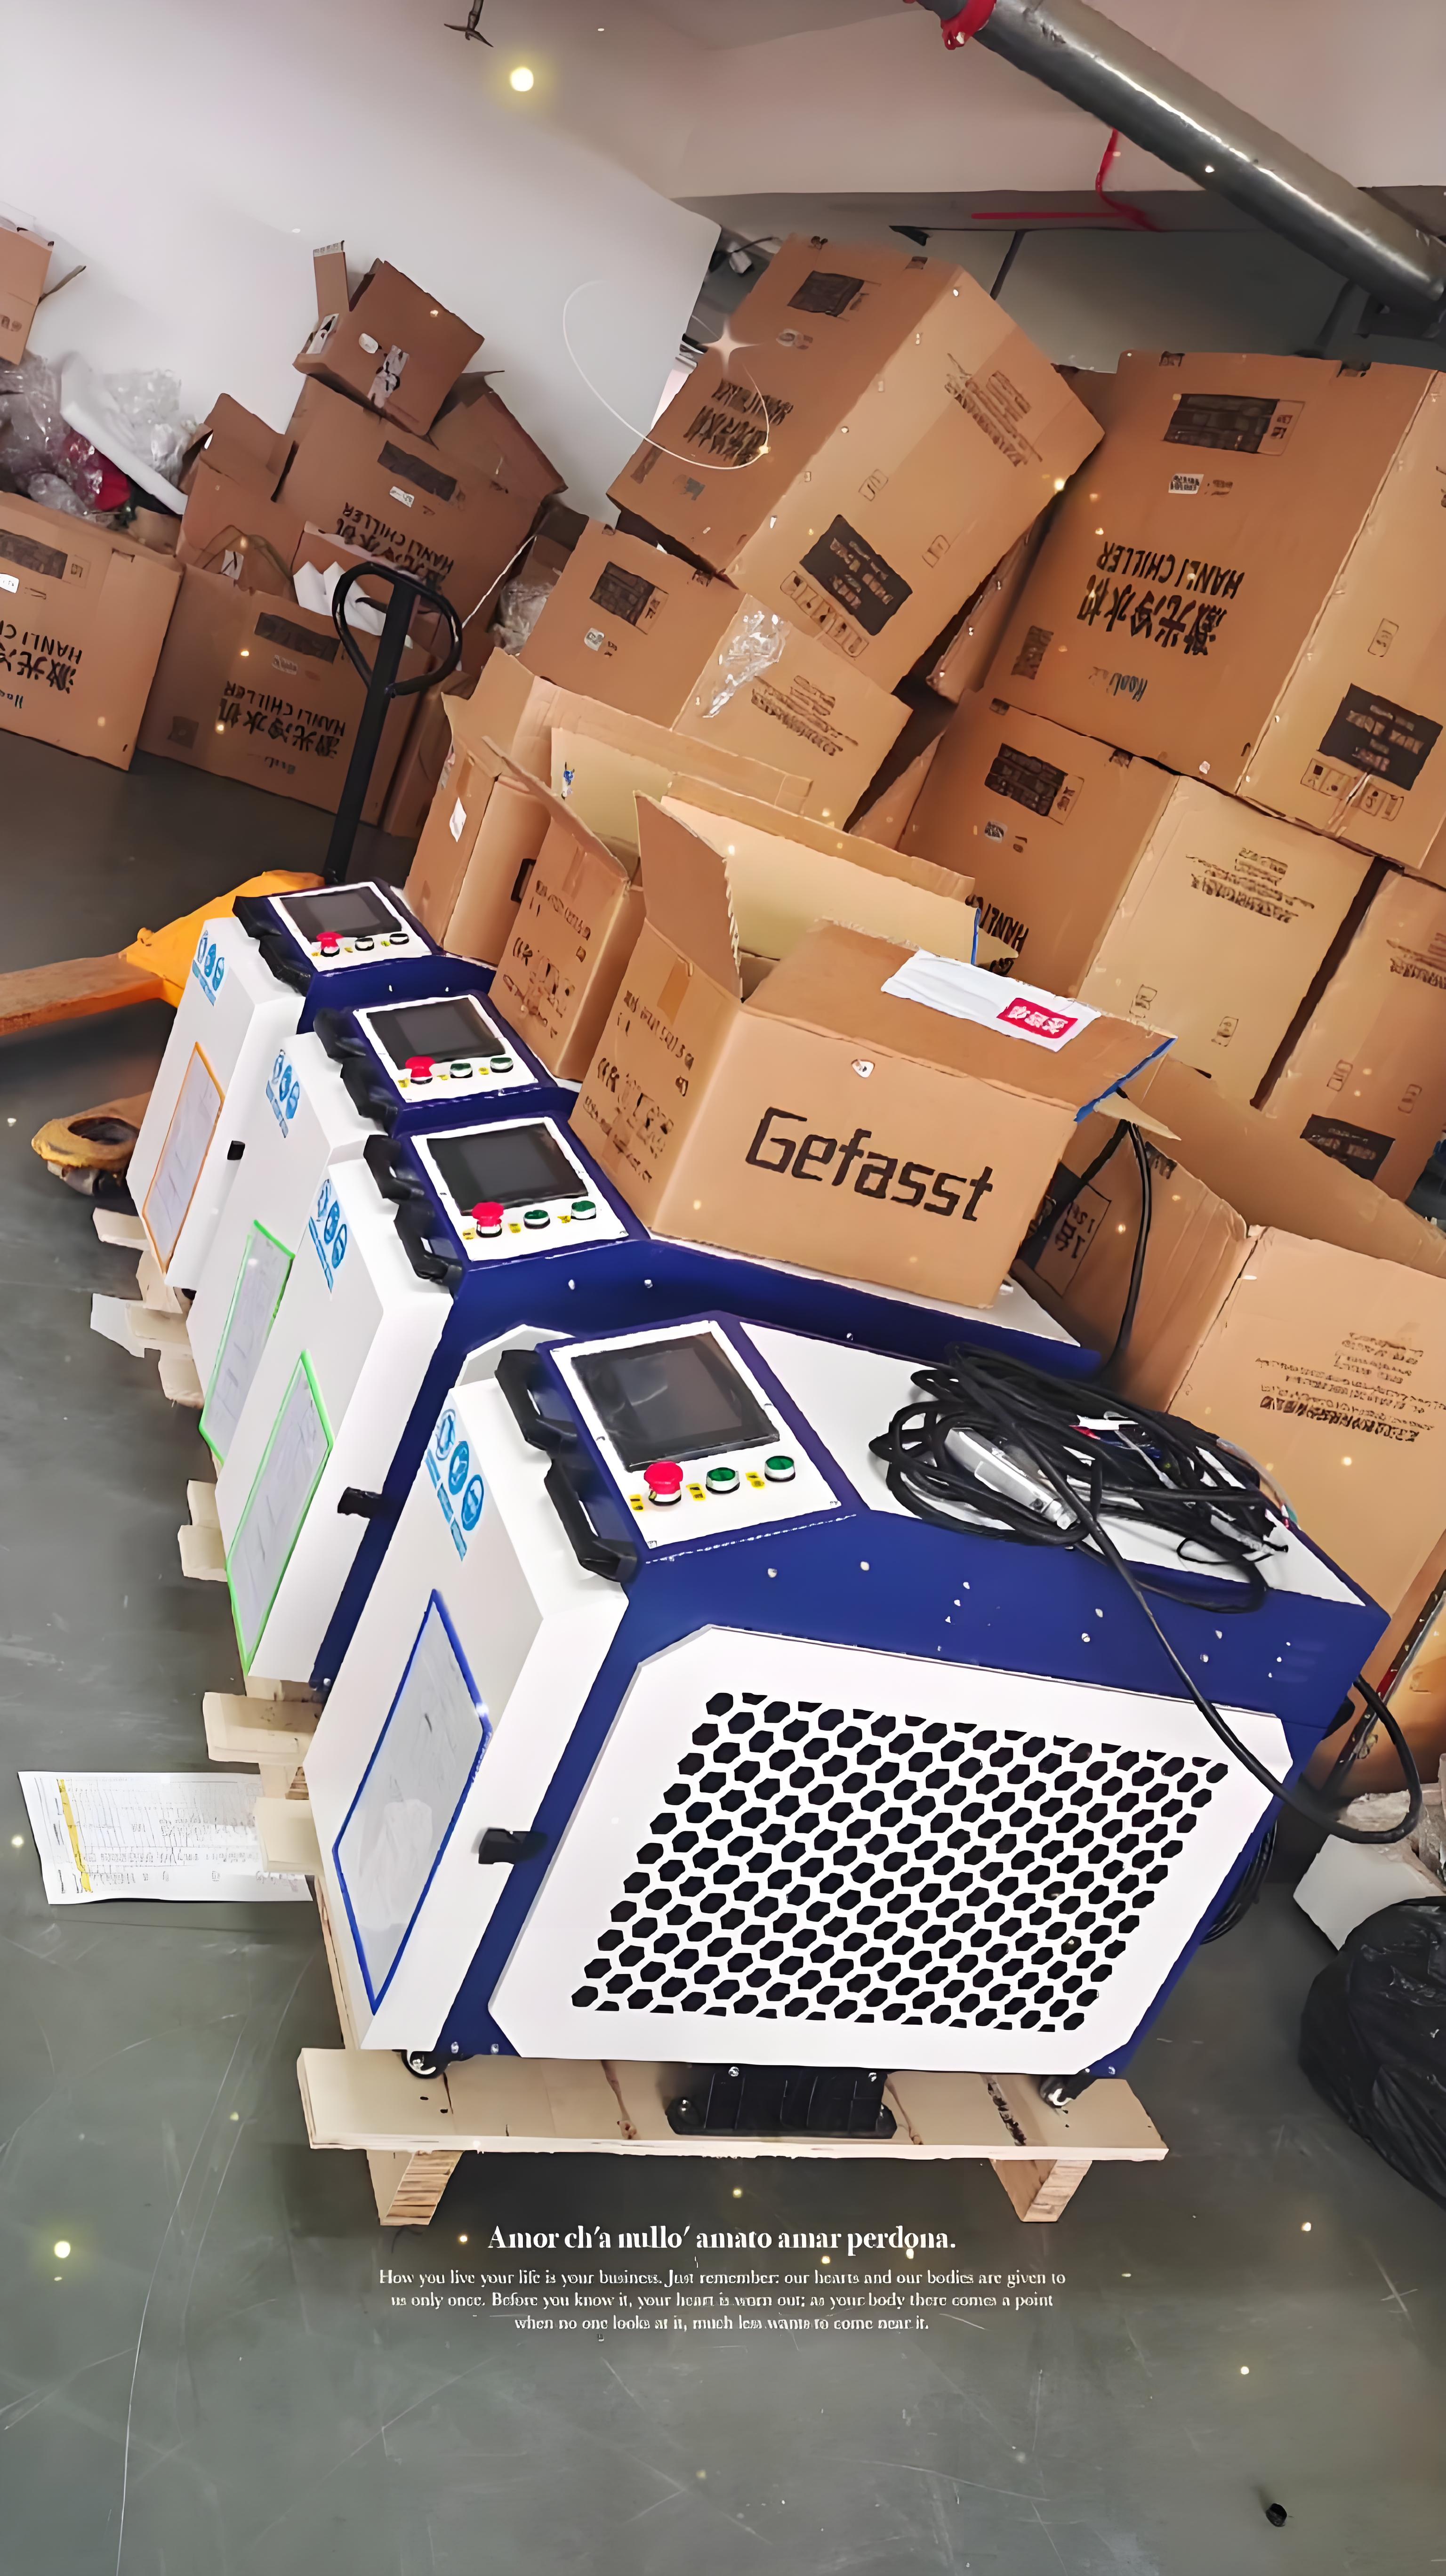
Choose the Right Equipment: Invest in a high-quality laser system with adjustable parameters. Pulsed fiber lasers are often the best choice for rust removal due to their precision and minimal thermal impact.
Test First: Always perform a test on a small, inconspicuous area to optimize settings. This helps you find the sweet spot for power, frequency, and scanning speed.
Train Operators: Ensure the operator is well-trained in laser technology and understands material properties. Even the best equipment can produce marks if mishandled.
Inspect the Surface: Before starting, assess the surface for pre-existing damage like pitting or cracks. Communicate with clients to manage expectations about what the laser can and cannot fix.
Use Proper Scanning Techniques: Maintain a consistent scanning speed and distance to avoid over-exposure. Handheld lasers require steady movement, while automated systems need precise programming.
Monitor Environmental Factors: Dust, humidity, or temperature can affect the process. For example, high humidity may cause re-rusting if the surface isn’t protected post-cleaning.
Addressing Common Concerns About Marks
Discoloration
Discoloration, such as a yellowish or brownish tint, is one of the most common “marks” people worry about. This usually happens due to excessive heat buildup on sensitive materials like stainless steel or aluminum. To prevent this, I recommend:
Using short-pulse lasers to minimize thermal effects.
Lowering the power setting and increasing the scanning speed.
Cooling the surface with compressed air if working on heat-sensitive materials.
Texture Changes
Sometimes, the surface may feel slightly different after cleaning, especially if the rust was thick or the material was already damaged. This isn’t a mark caused by the laser but rather the exposure of the underlying texture. For applications requiring a smooth finish, post-processing like polishing may be needed.
Micro-Pitting
In rare cases, micro-pitting can occur if the laser is too aggressive or the surface is heavily corroded. To avoid this, start with conservative settings and gradually increase power only if necessary. Regular calibration of the equipment also helps maintain consistency.
When Marks Are Intentional
Interestingly, in some cases, “marks” are desirable. For example, in industrial applications, a slightly roughened surface may improve adhesion for subsequent coatings. In such cases, operators can intentionally adjust the laser to create a controlled texture. I’ve worked on projects where we used laser cleaning to prepare steel surfaces for painting, achieving a uniform micro-texture that enhanced paint bonding without compromising the material.
Long-Term Surface Protection After Laser Cleaning
To prevent new rust or perceived “marks” from appearing after laser rust removal, consider these post-cleaning steps:
Apply Protective Coatings: Use anti-corrosion coatings or primers immediately after cleaning to seal the surface.
Control Storage Conditions: Store cleaned items in a dry, low-humidity environment to prevent re-rusting.
Regular Maintenance: For equipment or structures, schedule periodic inspections to catch early signs of corrosion.
Choosing the Right Laser Rust Removal Equipment
Not all laser systems are created equal. To minimize the risk of marks, look for:
Pulsed Lasers: These deliver energy in short bursts, reducing heat buildup and surface damage.
Adjustable Settings: Equipment with customizable power, frequency, and pulse duration offers greater control.
Reputable Brands: Choose manufacturers with a track record in industrial applications, as their systems are designed for precision and reliability.
After-Sales Support: Ensure the supplier offers training and maintenance services to keep the equipment in top condition.
In my early days, I made the mistake of using a continuous-wave laser for a delicate aluminum surface, which caused slight discoloration. Switching to a pulsed fiber laser solved the issue, and I’ve since prioritized equipment with fine-tuned control for sensitive projects.
Conclusion: Precision Is the Key to a Mark-Free Finish
After years of working with laser rust removal, I can confidently say that this technology is one of the least invasive methods for cleaning metal surfaces, with a low likelihood of leaving marks when done correctly. The key lies in understanding the material, calibrating the equipment, and operating with care. Whether you’re restoring a priceless artifact or maintaining industrial equipment, laser rust removal can deliver a clean, polished surface without the scratches or abrasion associated with traditional methods.
If you’re considering laser rust removal and worried about potential marks, my advice is to work with experienced professionals or invest in proper training for your team. With the right approach, you’ll be amazed at the results. Got a specific project or concern? Drop your questions below, and I’ll share more tailored insights from my experience!
Frequently Asked Questions
1. Can laser rust removal damage delicate surfaces like thin metal or artifacts?
When performed with low-power pulsed lasers and proper settings, laser rust removal is safe for delicate surfaces. Always test on a small area and use conservative parameters to avoid damage.
2. Why does my metal surface look different after laser rust removal?
The surface may appear different due to pre-existing pitting or corrosion exposed by the laser. This isn’t damage but rather the true state of the material. Discuss expectations with your provider beforehand.
3. How can I prevent discoloration during laser rust removal?
Use short-pulse lasers, lower power settings, and faster scanning speeds. For heat-sensitive materials, consider cooling the surface with compressed air during cleaning.
4. Is laser rust removal suitable for all types of metals?
It’s effective for most metals, including steel, aluminum, copper, and brass, but each requires specific laser settings to avoid marks. Consult with an expert to optimize parameters for your material.
5. How do I know if my laser rust removal equipment is causing marks?
Inspect the surface under good lighting after a test clean. If you notice discoloration or texture changes, adjust the power, frequency, or scanning speed, and ensure the operator is trained properly.


