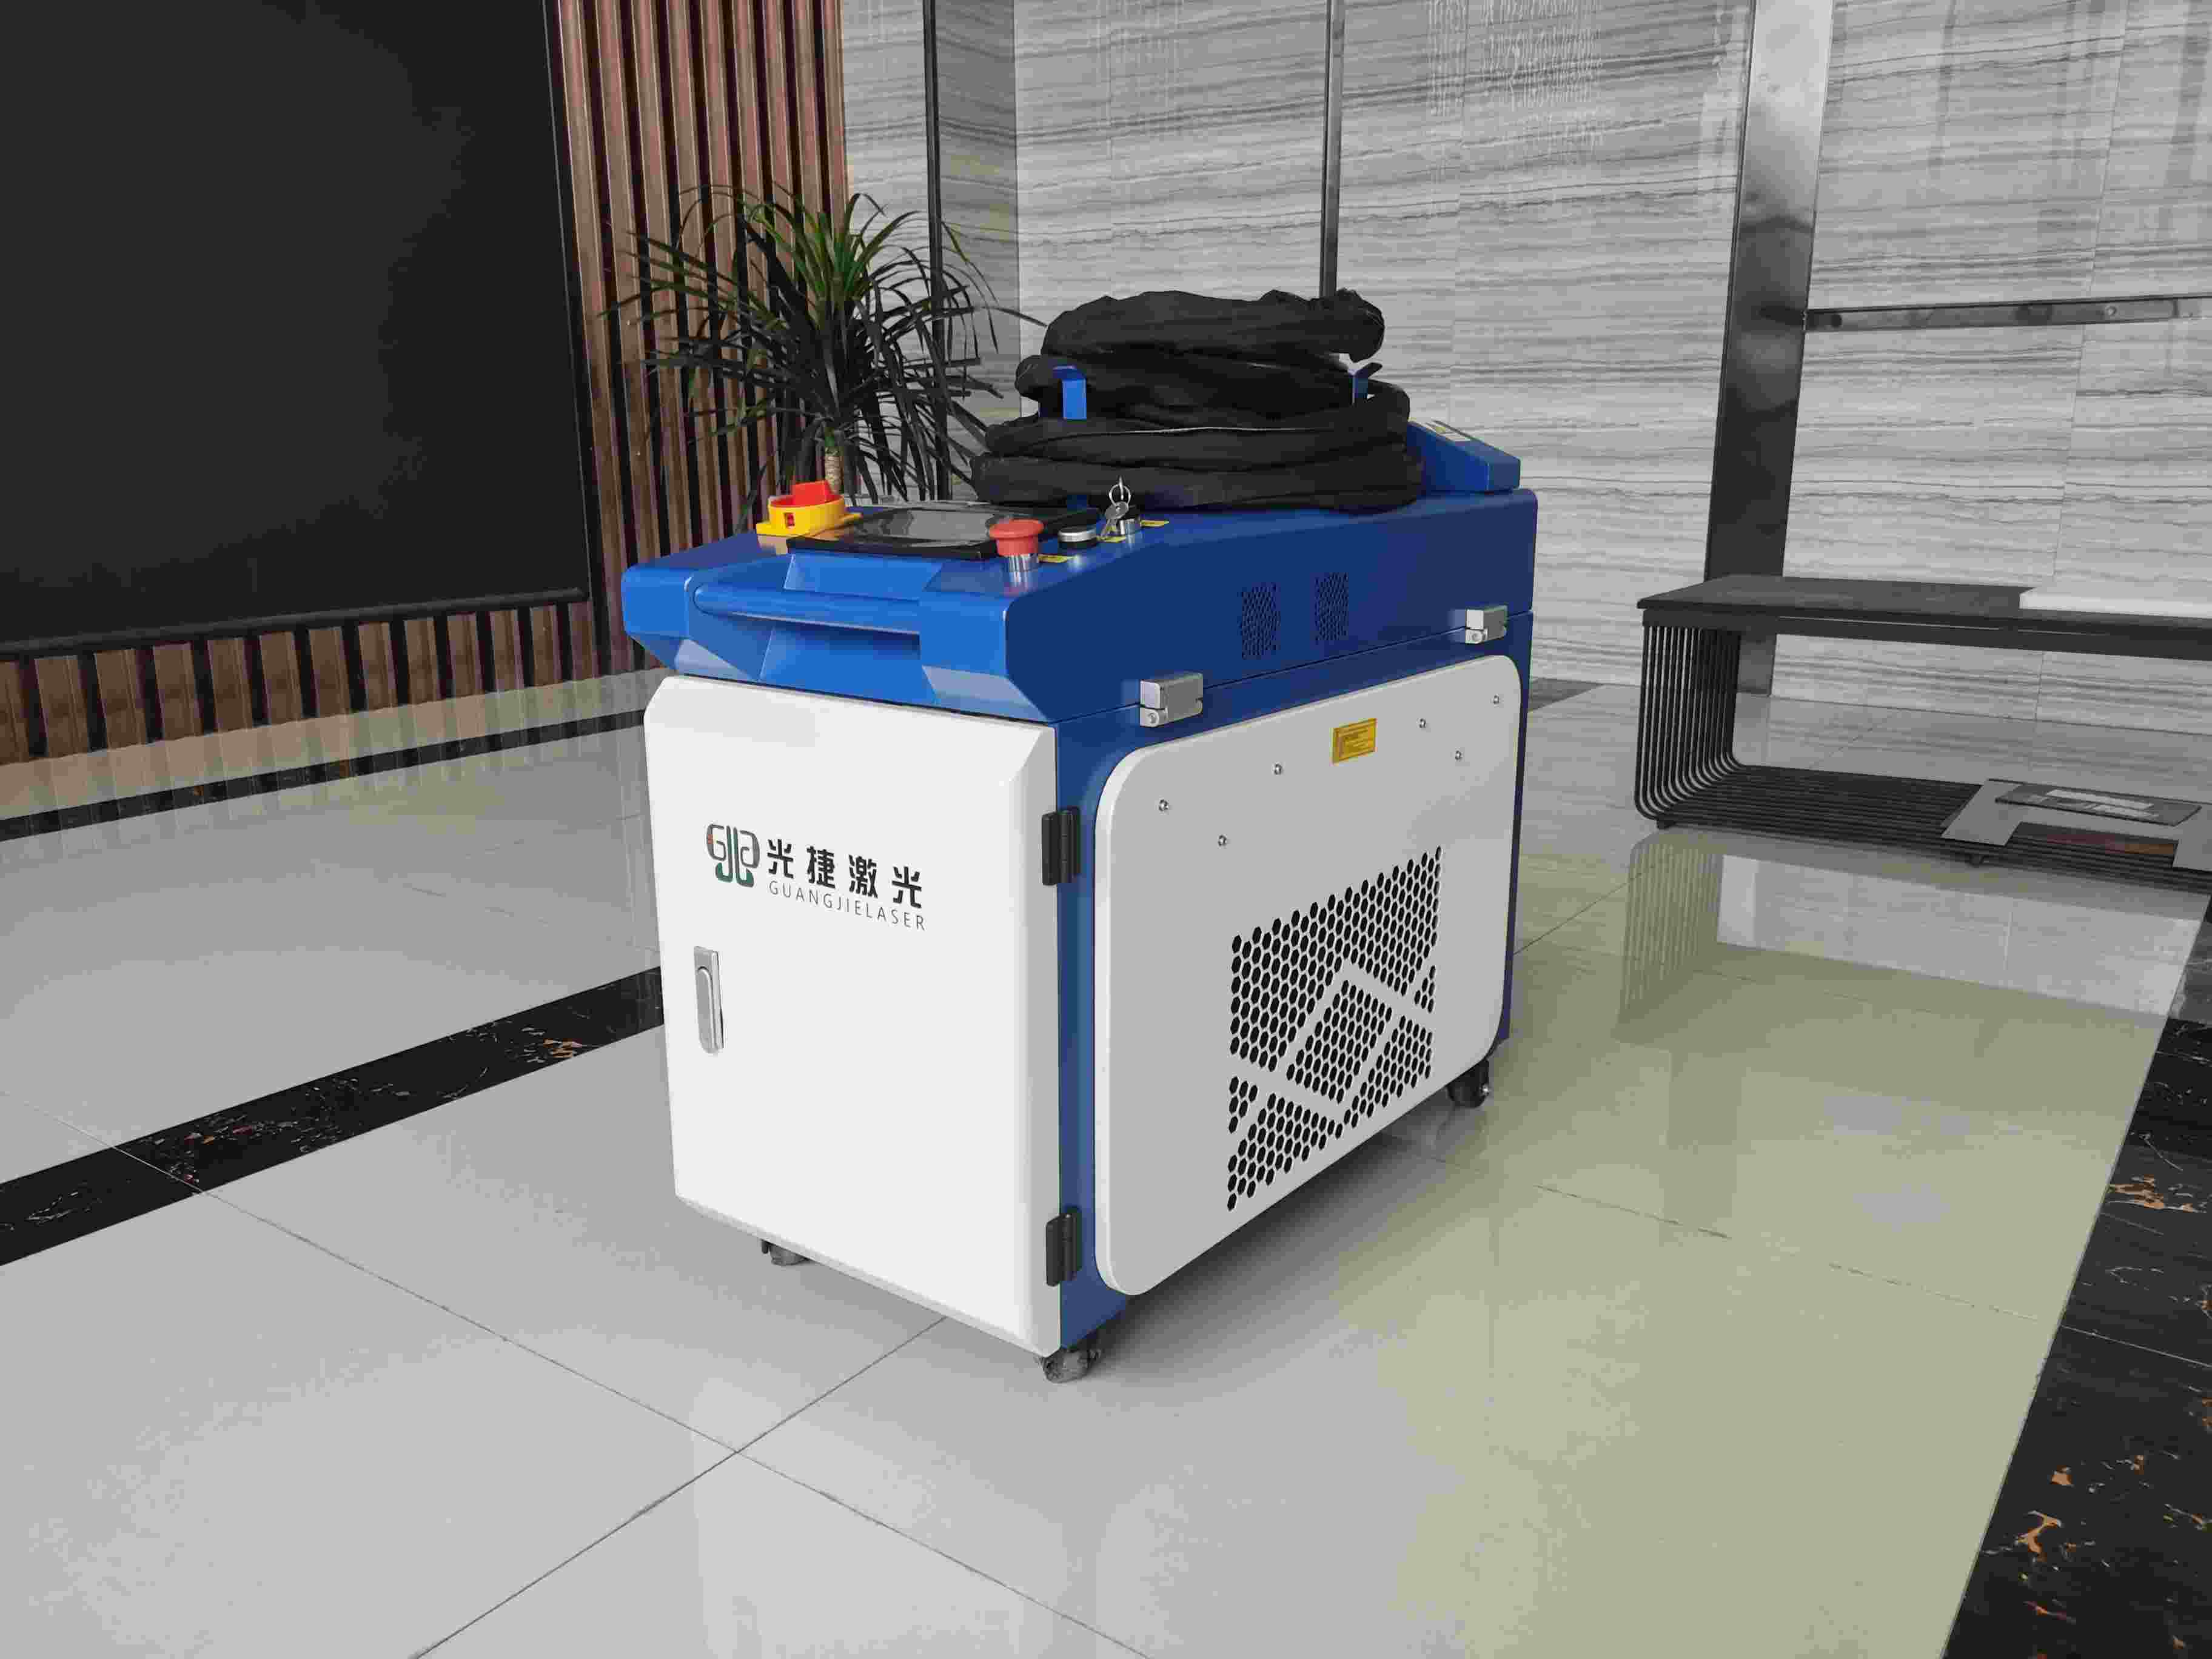
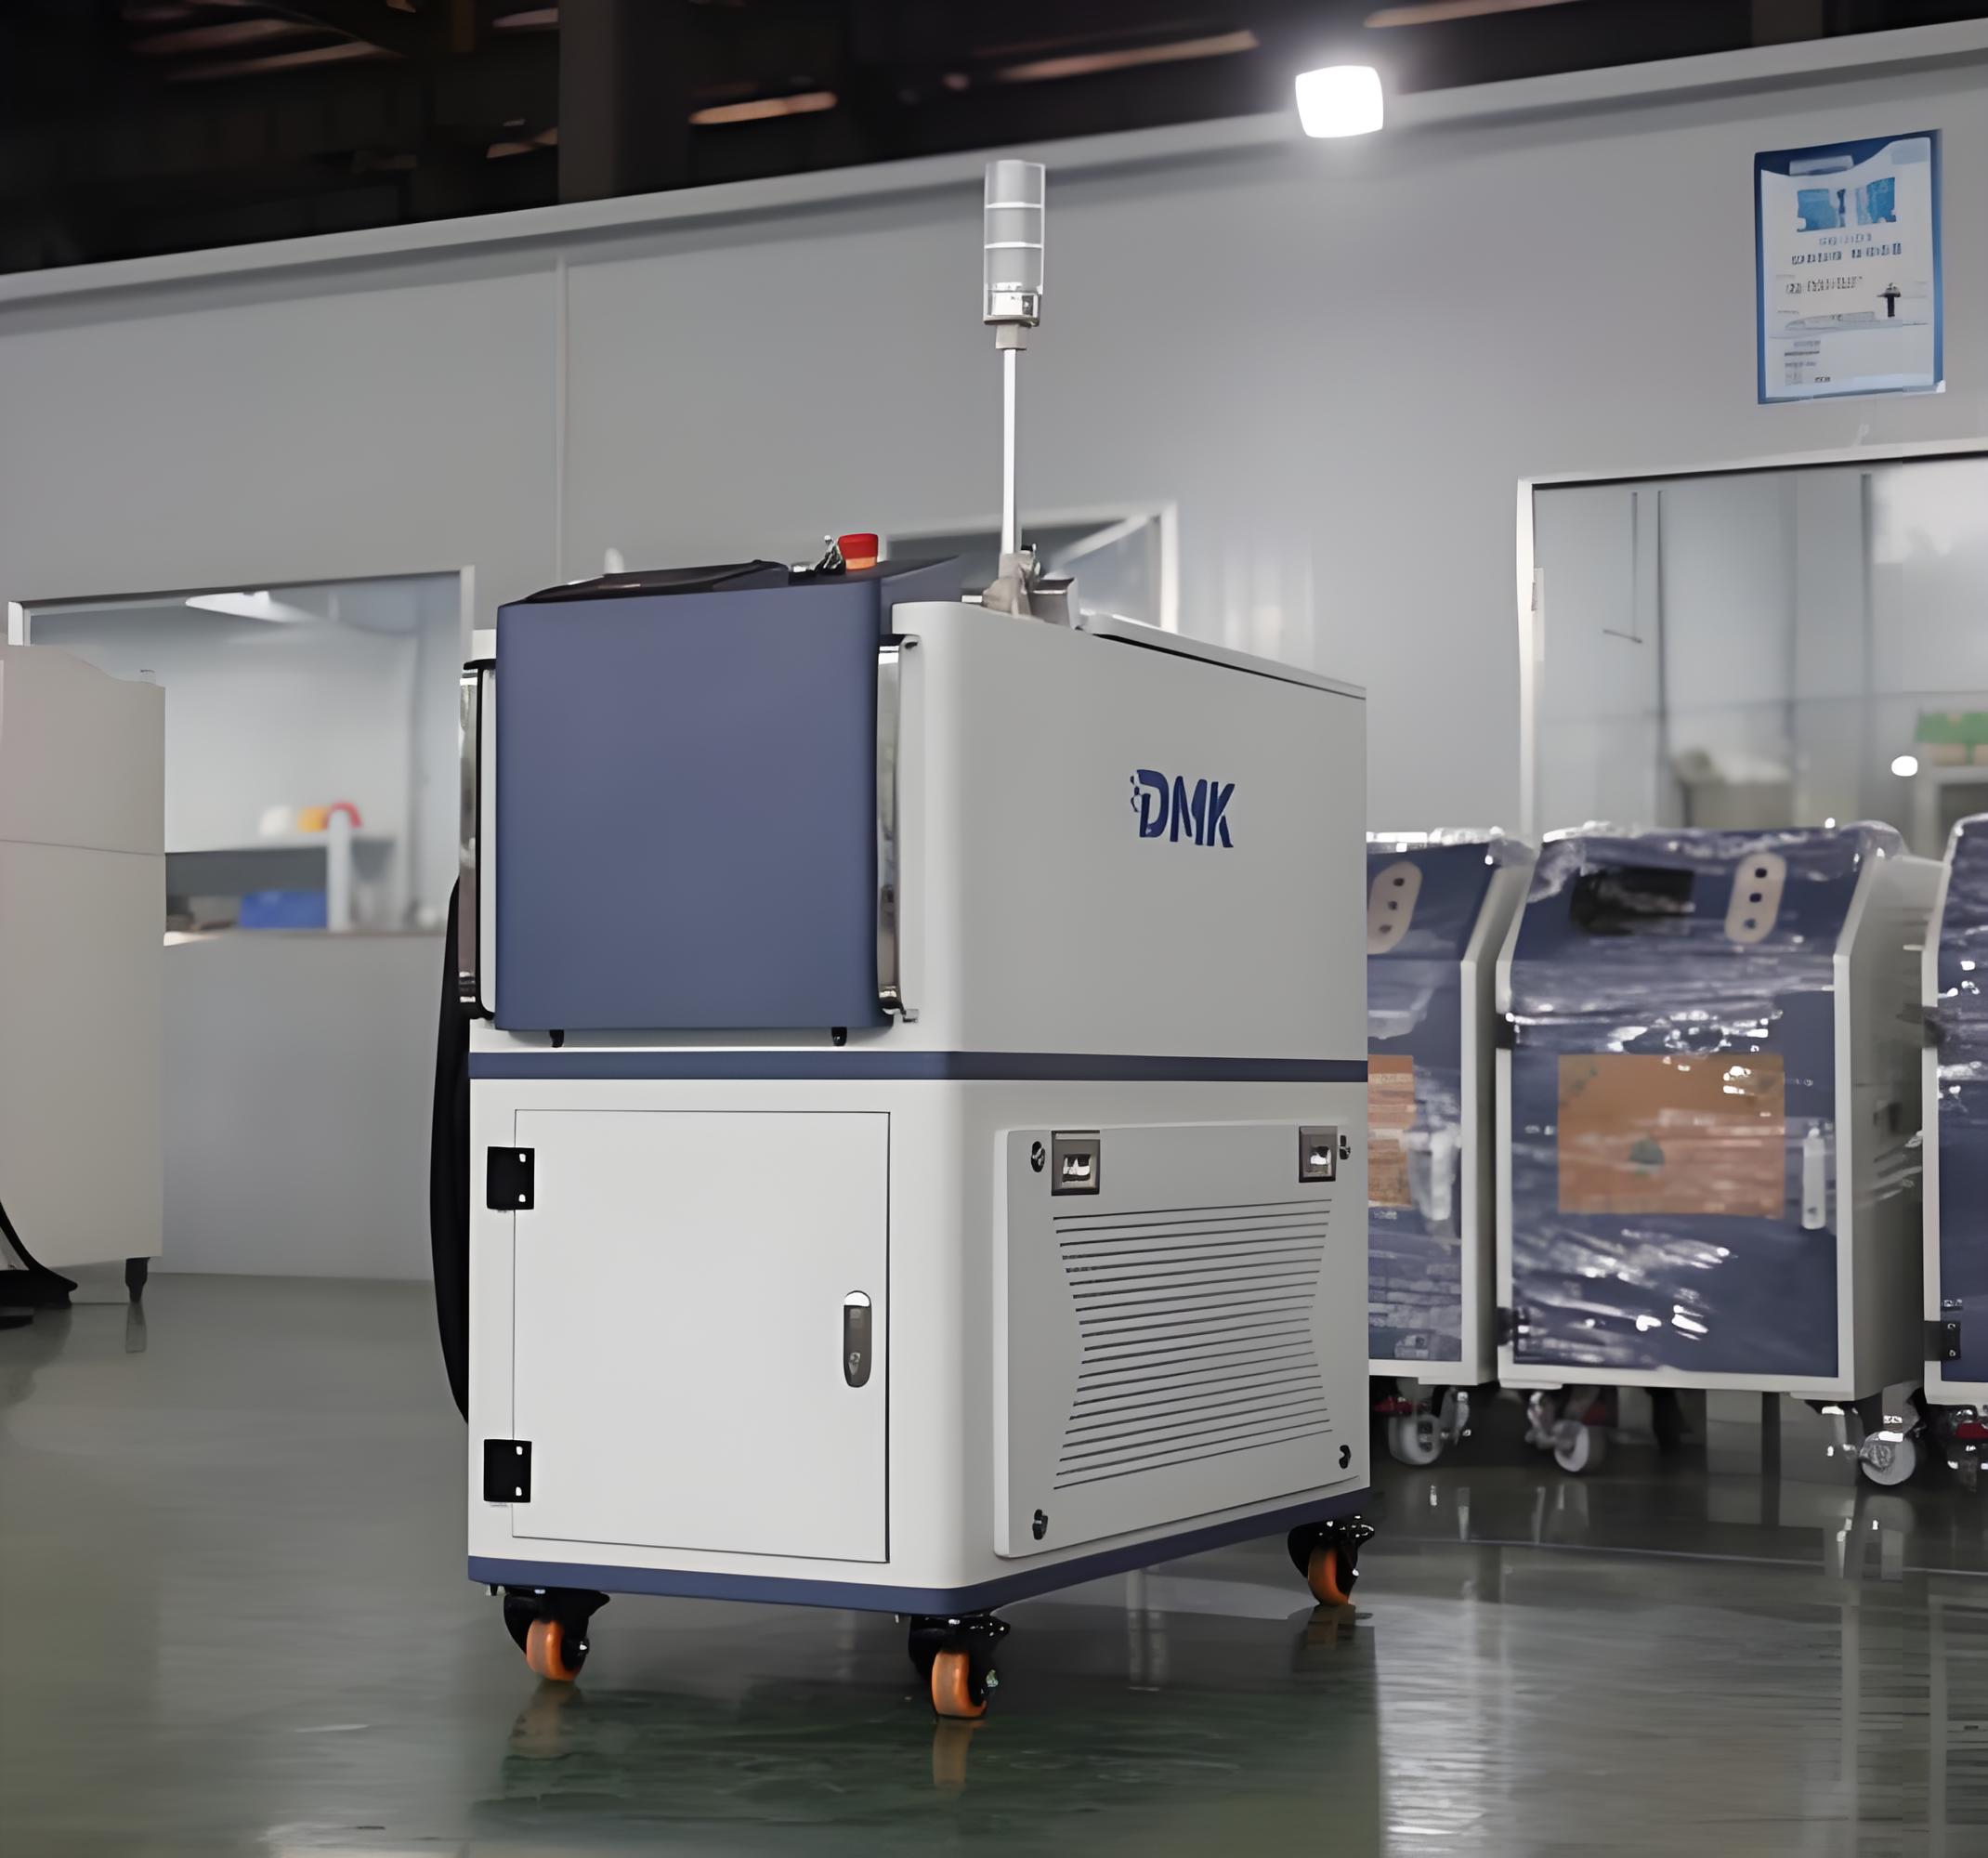
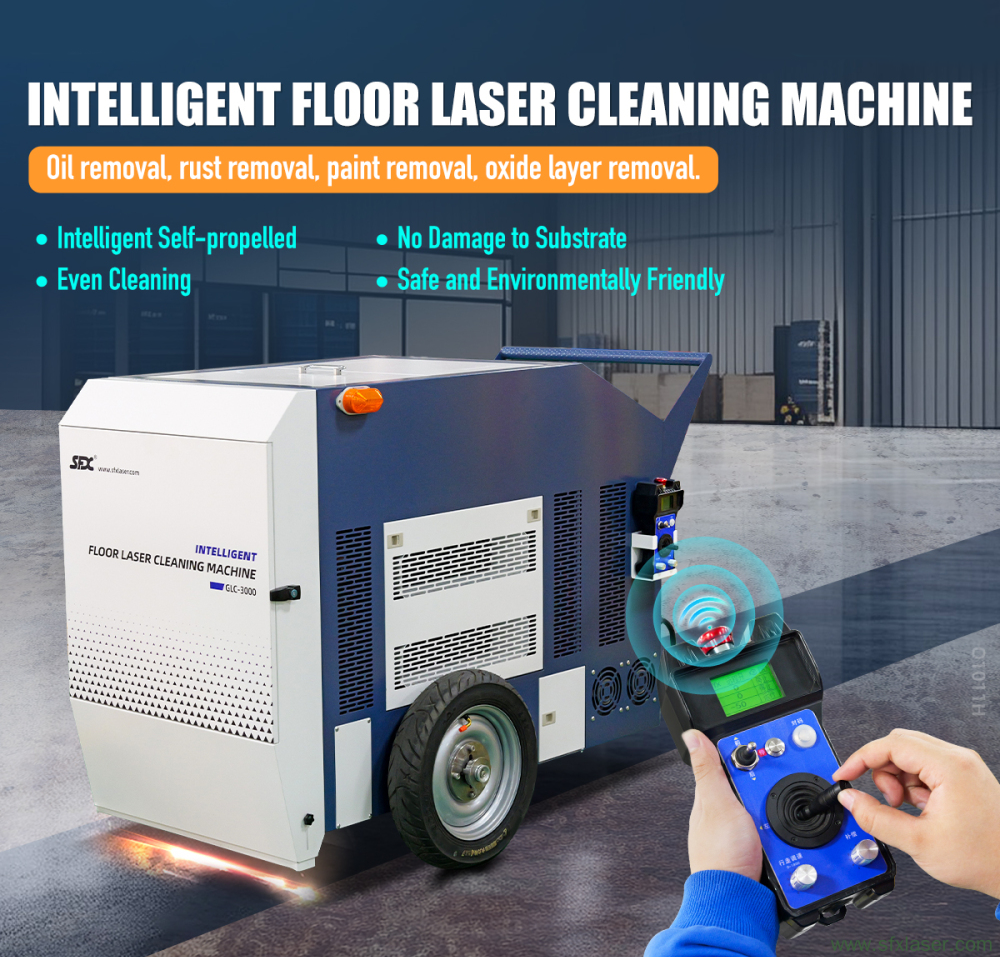
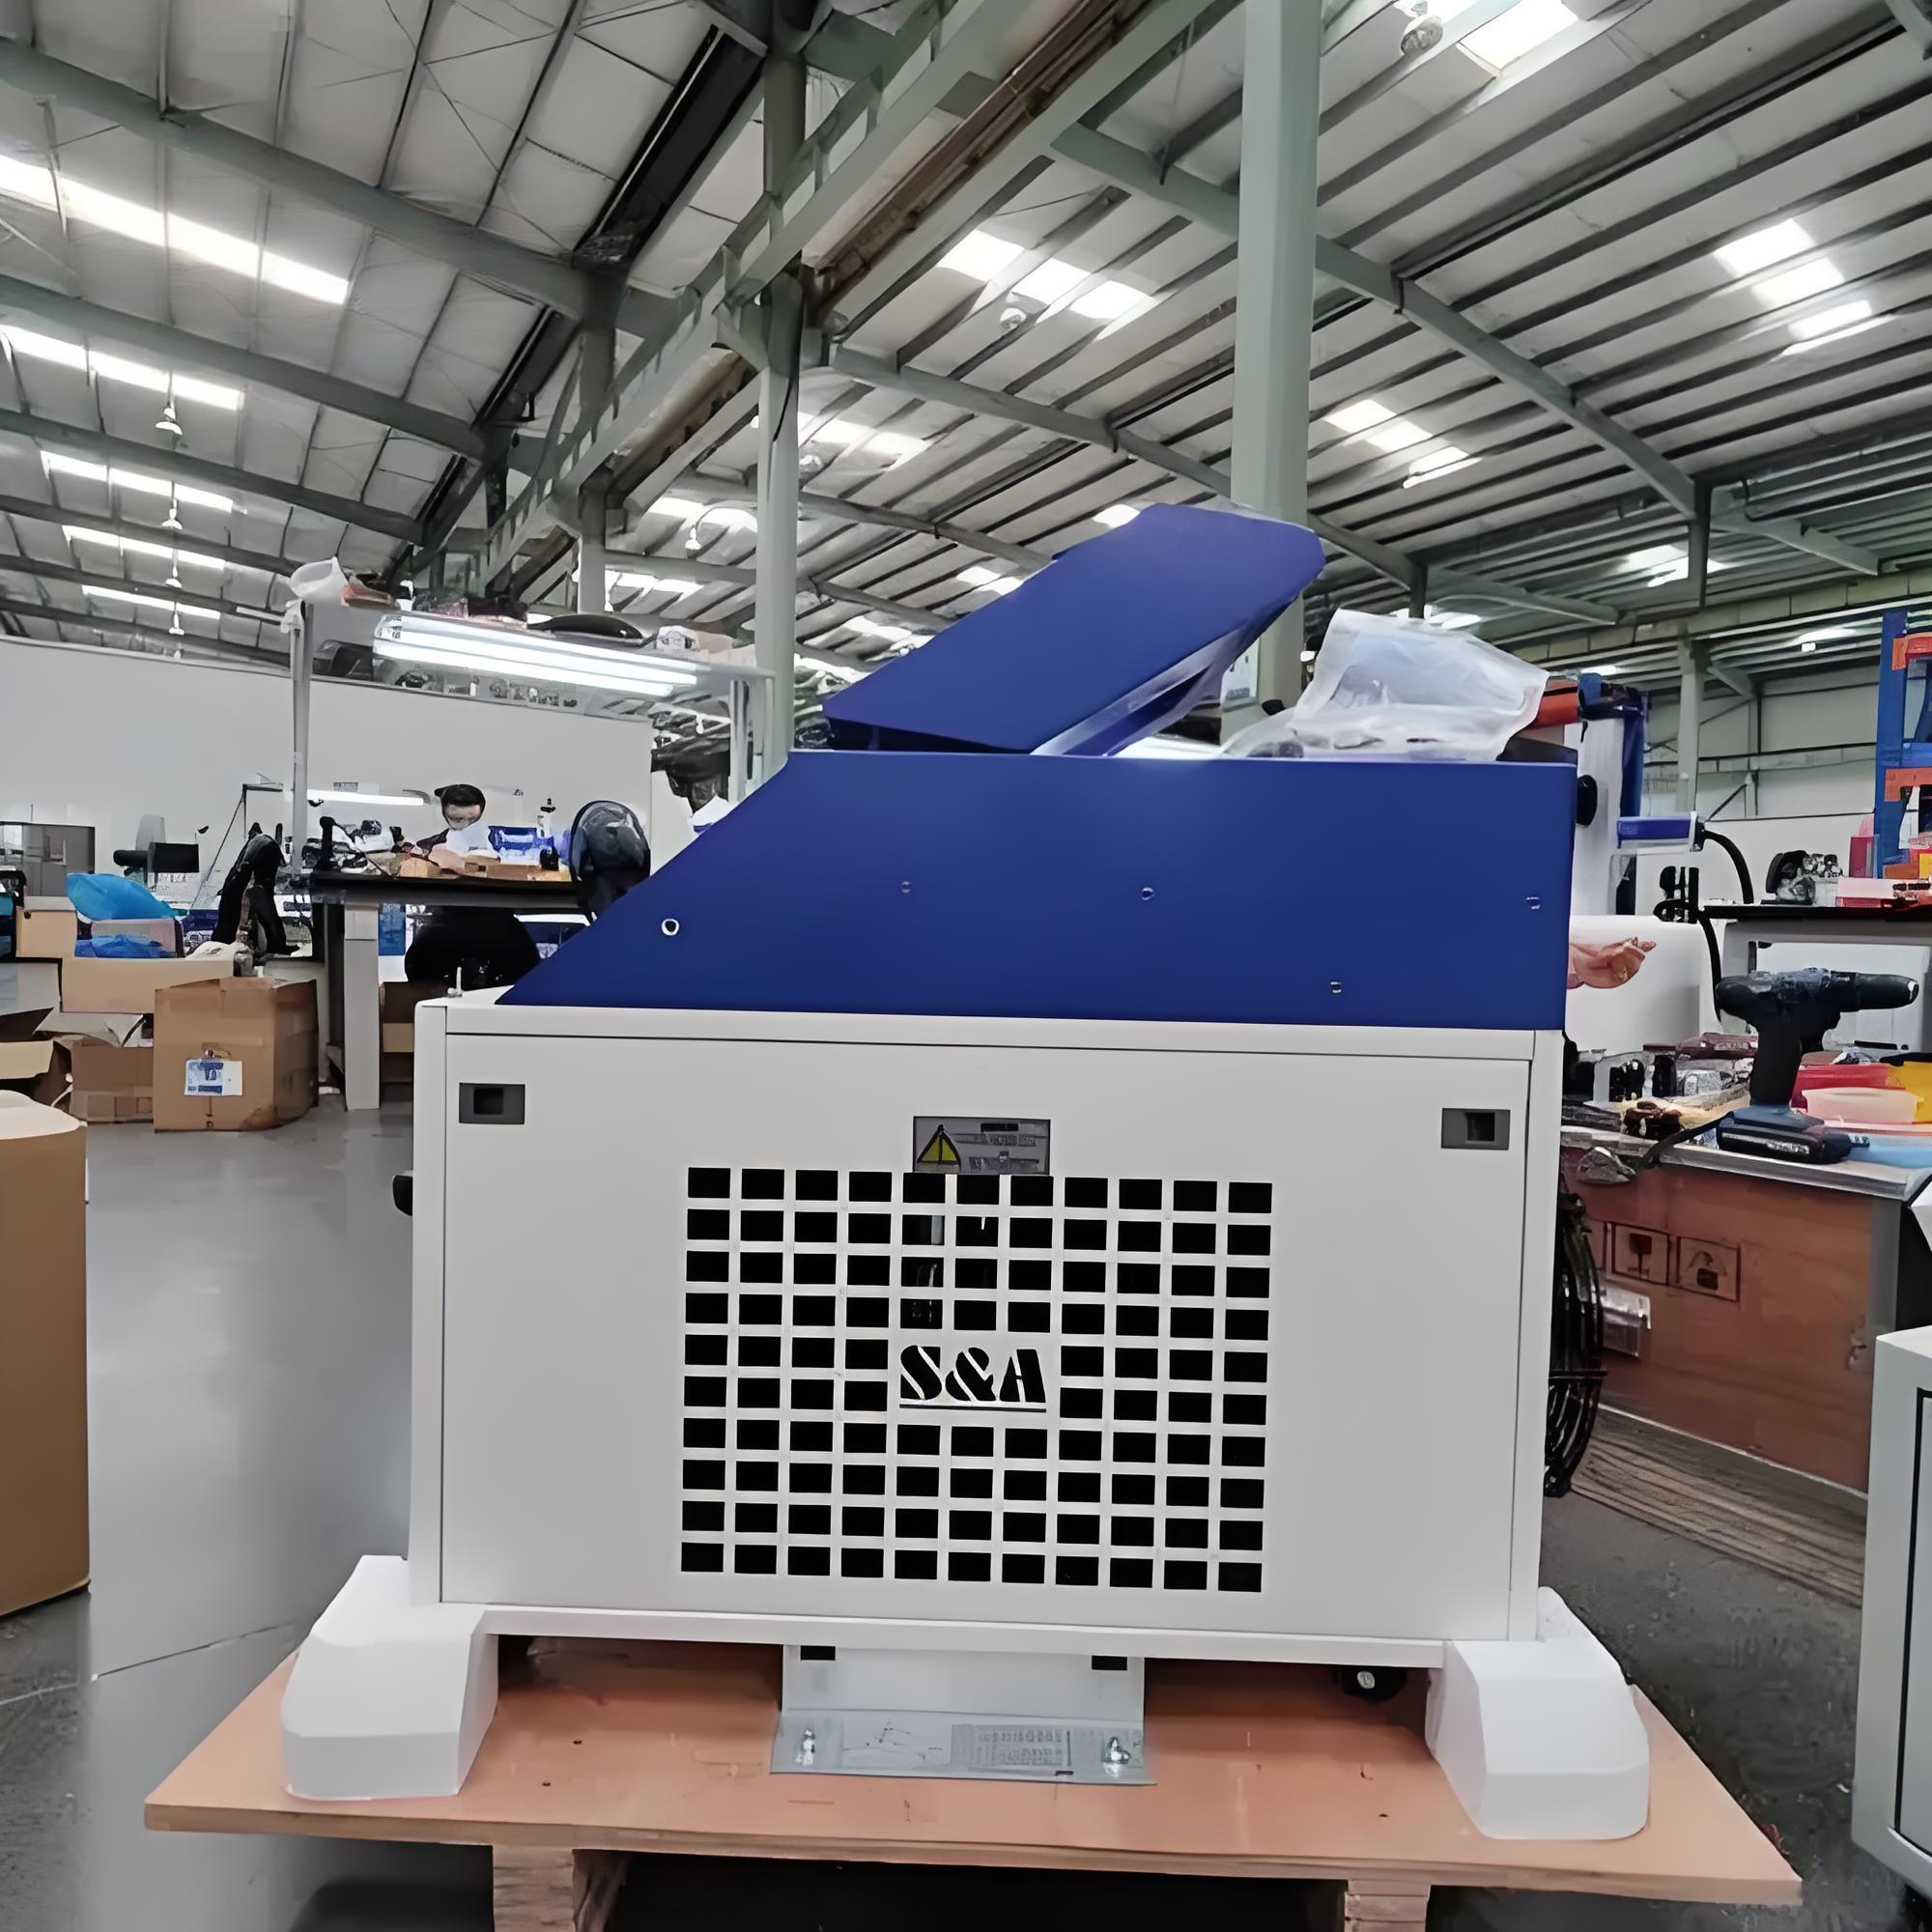
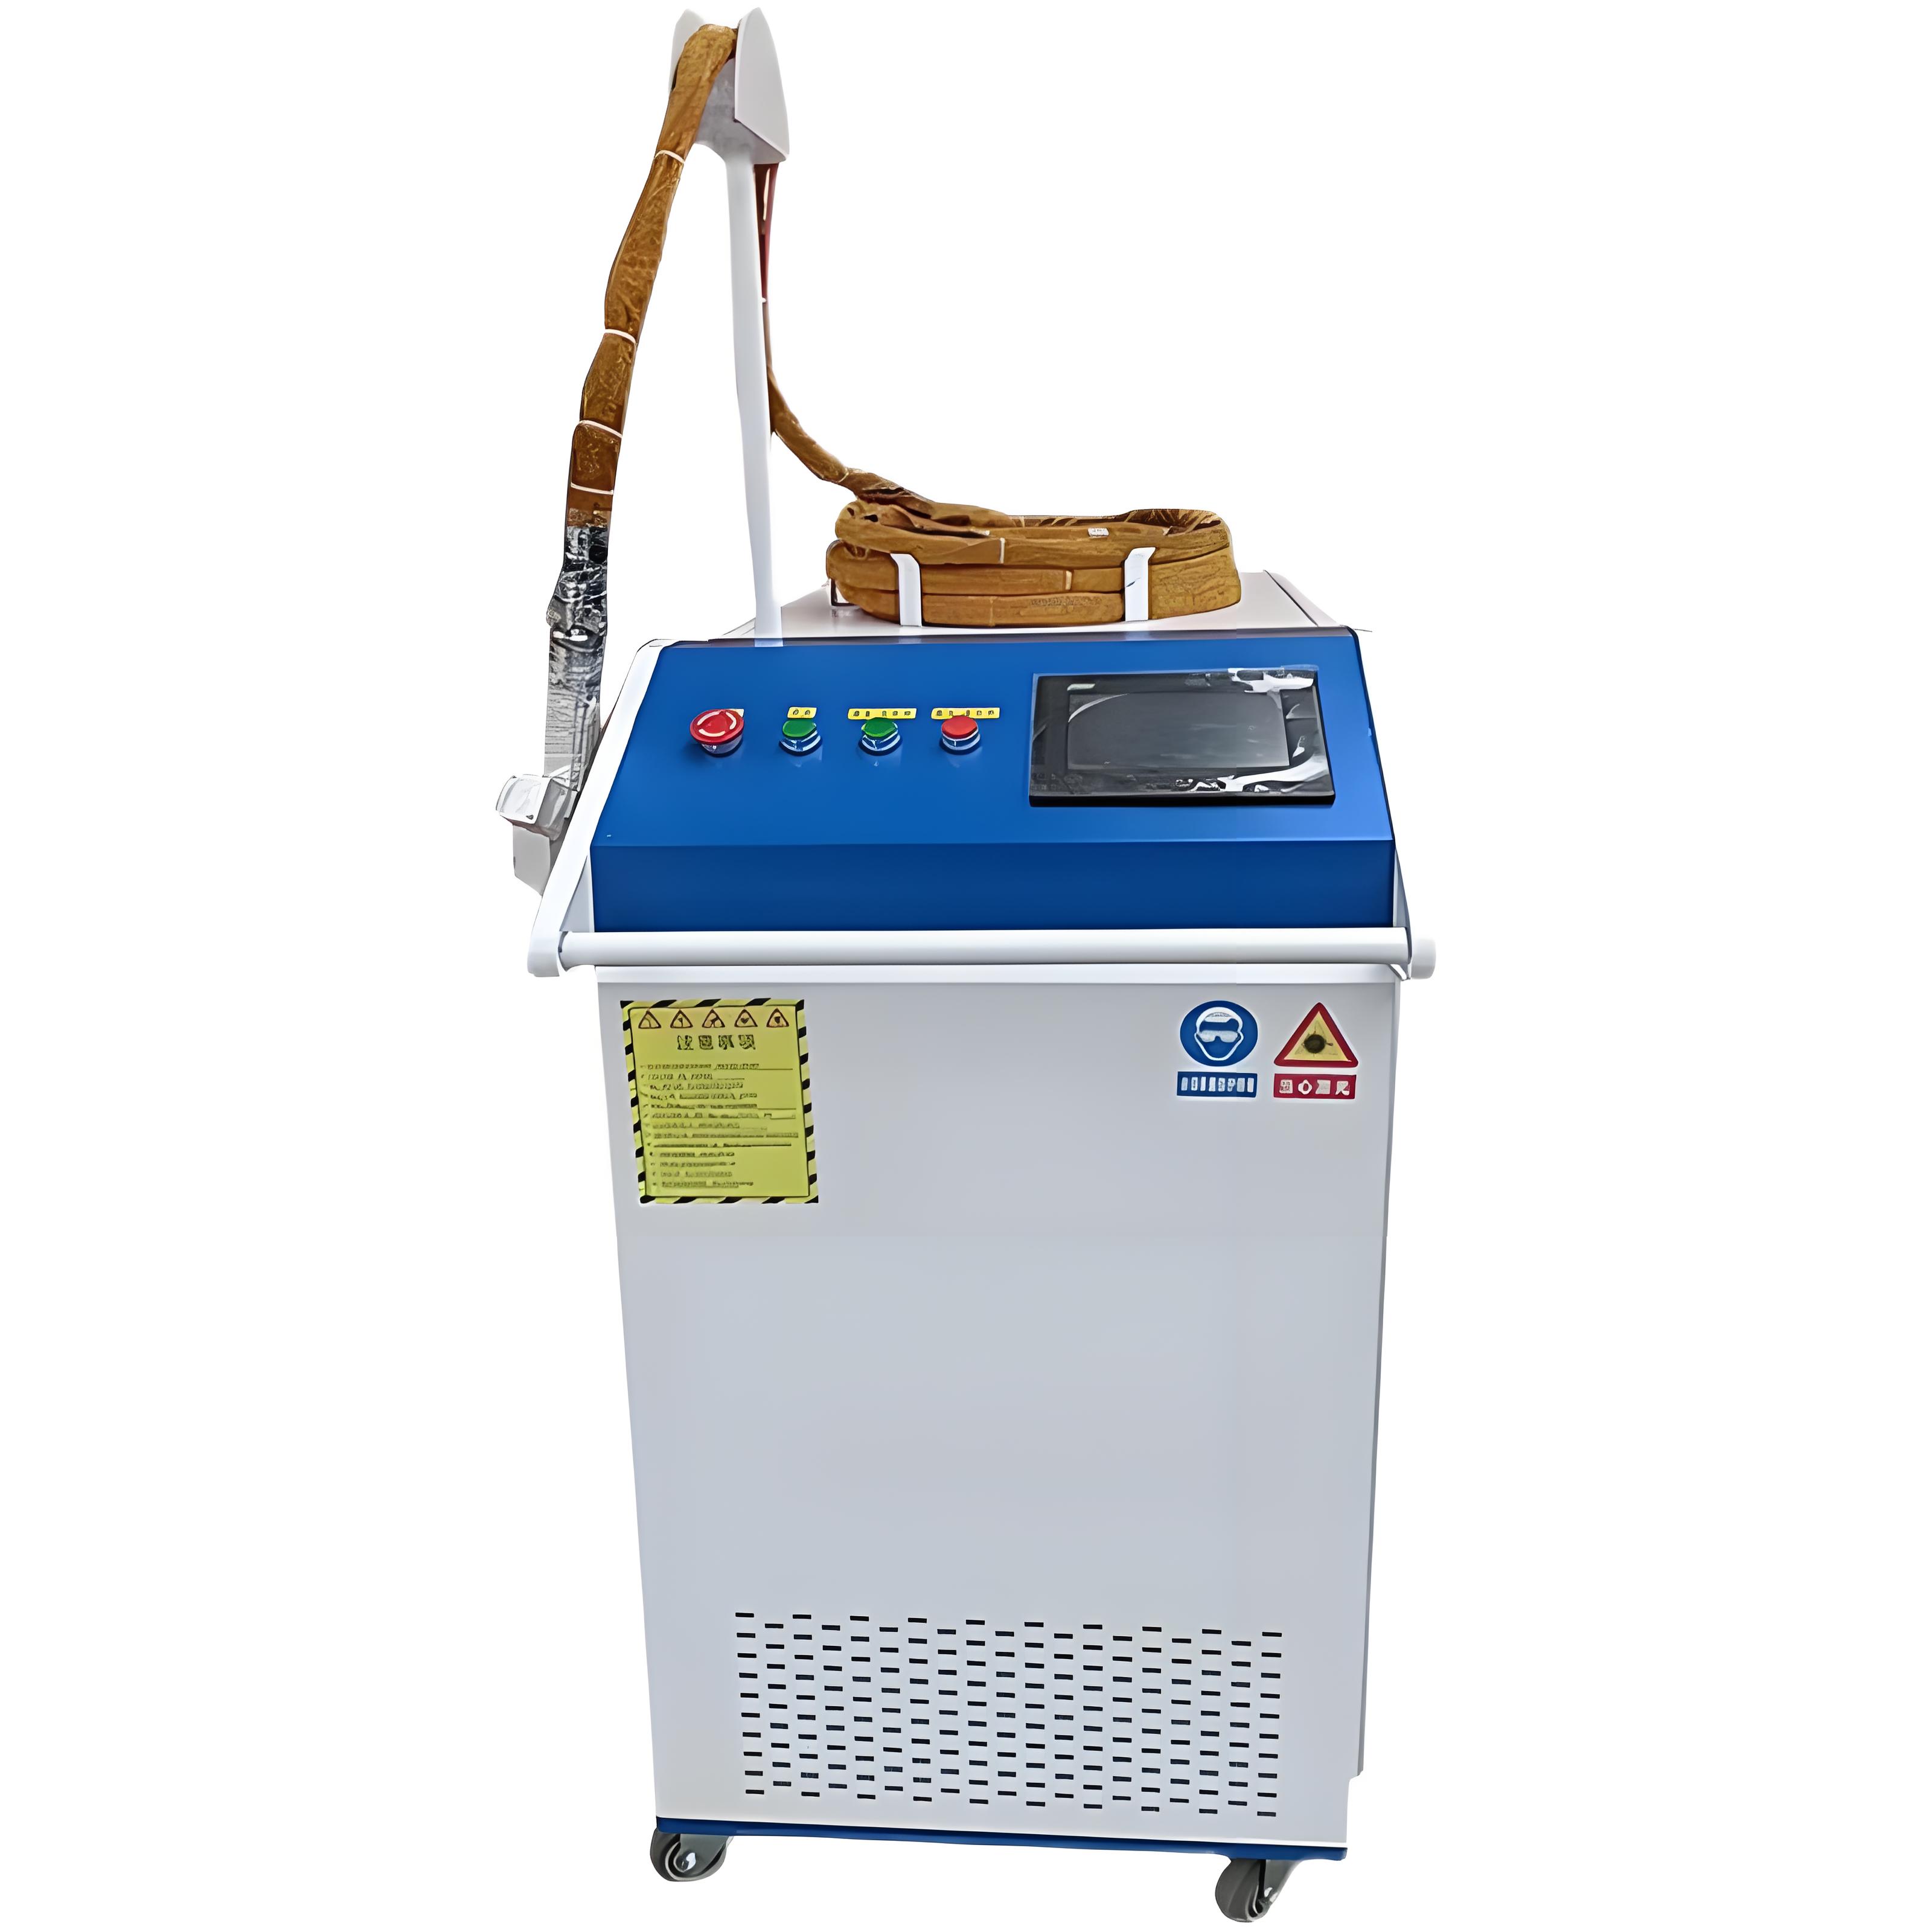
Having spent years working with advanced surface treatment technologies, I’ve seen laser rust removal become a go-to solution for industries ranging from shipbuilding to infrastructure maintenance. Its precision and eco-friendly nature make it a standout choice for tackling corrosion. But when it comes to welded joints—critical components in structures like bridges, pipelines, or machinery—a common concern arises: Will laser rust removal damage the welds? This is a crucial question, especially for projects where the integrity of welded areas is non-negotiable. Drawing from my hands-on experience and technical knowledge, I’ll explore how laser rust removal interacts with welded joints, what factors influence its safety, and how to ensure welds remain intact while achieving a clean surface.
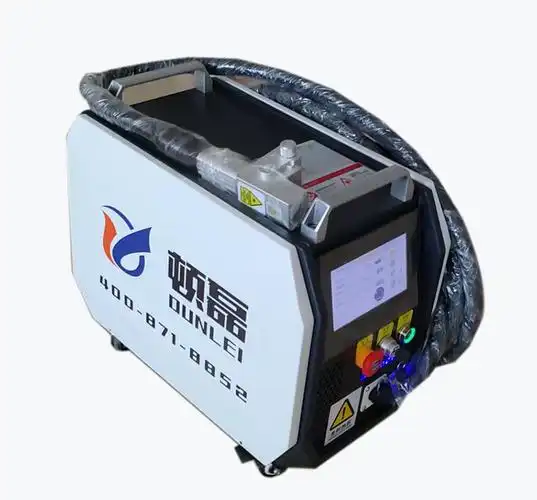
How Laser Rust Removal Works with Welded Joints
To address whether laser rust removal affects welds, let’s first clarify how the process works. Laser rust removal uses a high-energy laser beam to vaporize or ablate rust, oxides, or contaminants from a metal surface. The beam targets the unwanted material, which absorbs the energy and is removed, while the underlying metal reflects the laser, minimizing impact. This selective ablation is what makes laser cleaning ideal for precision tasks, including those involving welds.
Welded joints, however, are unique. They often consist of a mix of base metal and filler material, with potential variations in composition, microstructure, and surface texture. Welds can also have heat-affected zones (HAZs), where the metal’s properties may differ due to the welding process. These factors make welds potentially more sensitive to external processes like laser cleaning. The good news? When done correctly, laser rust removal is highly unlikely to damage welded joints. But the outcome depends on several variables, which I’ll break down below.
Why Welded Joints Raise Concerns
Welds are critical structural elements, and any process applied to them must preserve their strength, integrity, and corrosion resistance. Concerns about laser rust removal damaging welds typically stem from:
Thermal Effects: Lasers generate heat, and welds, especially in the HAZ, may be sensitive to additional thermal stress.
Material Variations: Welds often involve different metals or alloys, which may react differently to laser energy.
Surface Irregularities: Welds can have uneven surfaces (e.g., weld beads or spatter), which may complicate laser application and lead to inconsistent results.
Microstructural Changes: Excessive laser energy could, in theory, alter the microstructure of the weld or HAZ, potentially weakening it.
In my experience, these concerns are valid but manageable with proper technique and equipment. Let’s dive into the factors that determine whether laser rust removal is safe for welds.
Factors Influencing the Safety of Laser Rust Removal on Welds
1. Weld Type and Material
Different welding methods (e.g., MIG, TIG, arc welding) and materials (e.g., carbon steel, stainless steel, aluminum) affect how welds respond to laser cleaning. For example:
Carbon Steel Welds: These are generally robust and highly reflective to laser wavelengths, making them less prone to damage.
Stainless Steel Welds: Stainless steel welds are sensitive to overheating, which can cause discoloration or chromium depletion, affecting corrosion resistance.
Aluminum Welds: Aluminum’s high thermal conductivity requires careful parameter control to avoid excessive heat buildup.
Dissimilar Metal Welds: Welds joining different metals (e.g., steel to aluminum) require extra caution due to varying laser absorption rates.
I once worked on a project involving stainless steel welds on a chemical processing tank. The client was worried about laser cleaning affecting the welds’ corrosion resistance. By using a low-power pulsed laser and testing on a small area, we ensured the welds remained intact with no loss of properties.
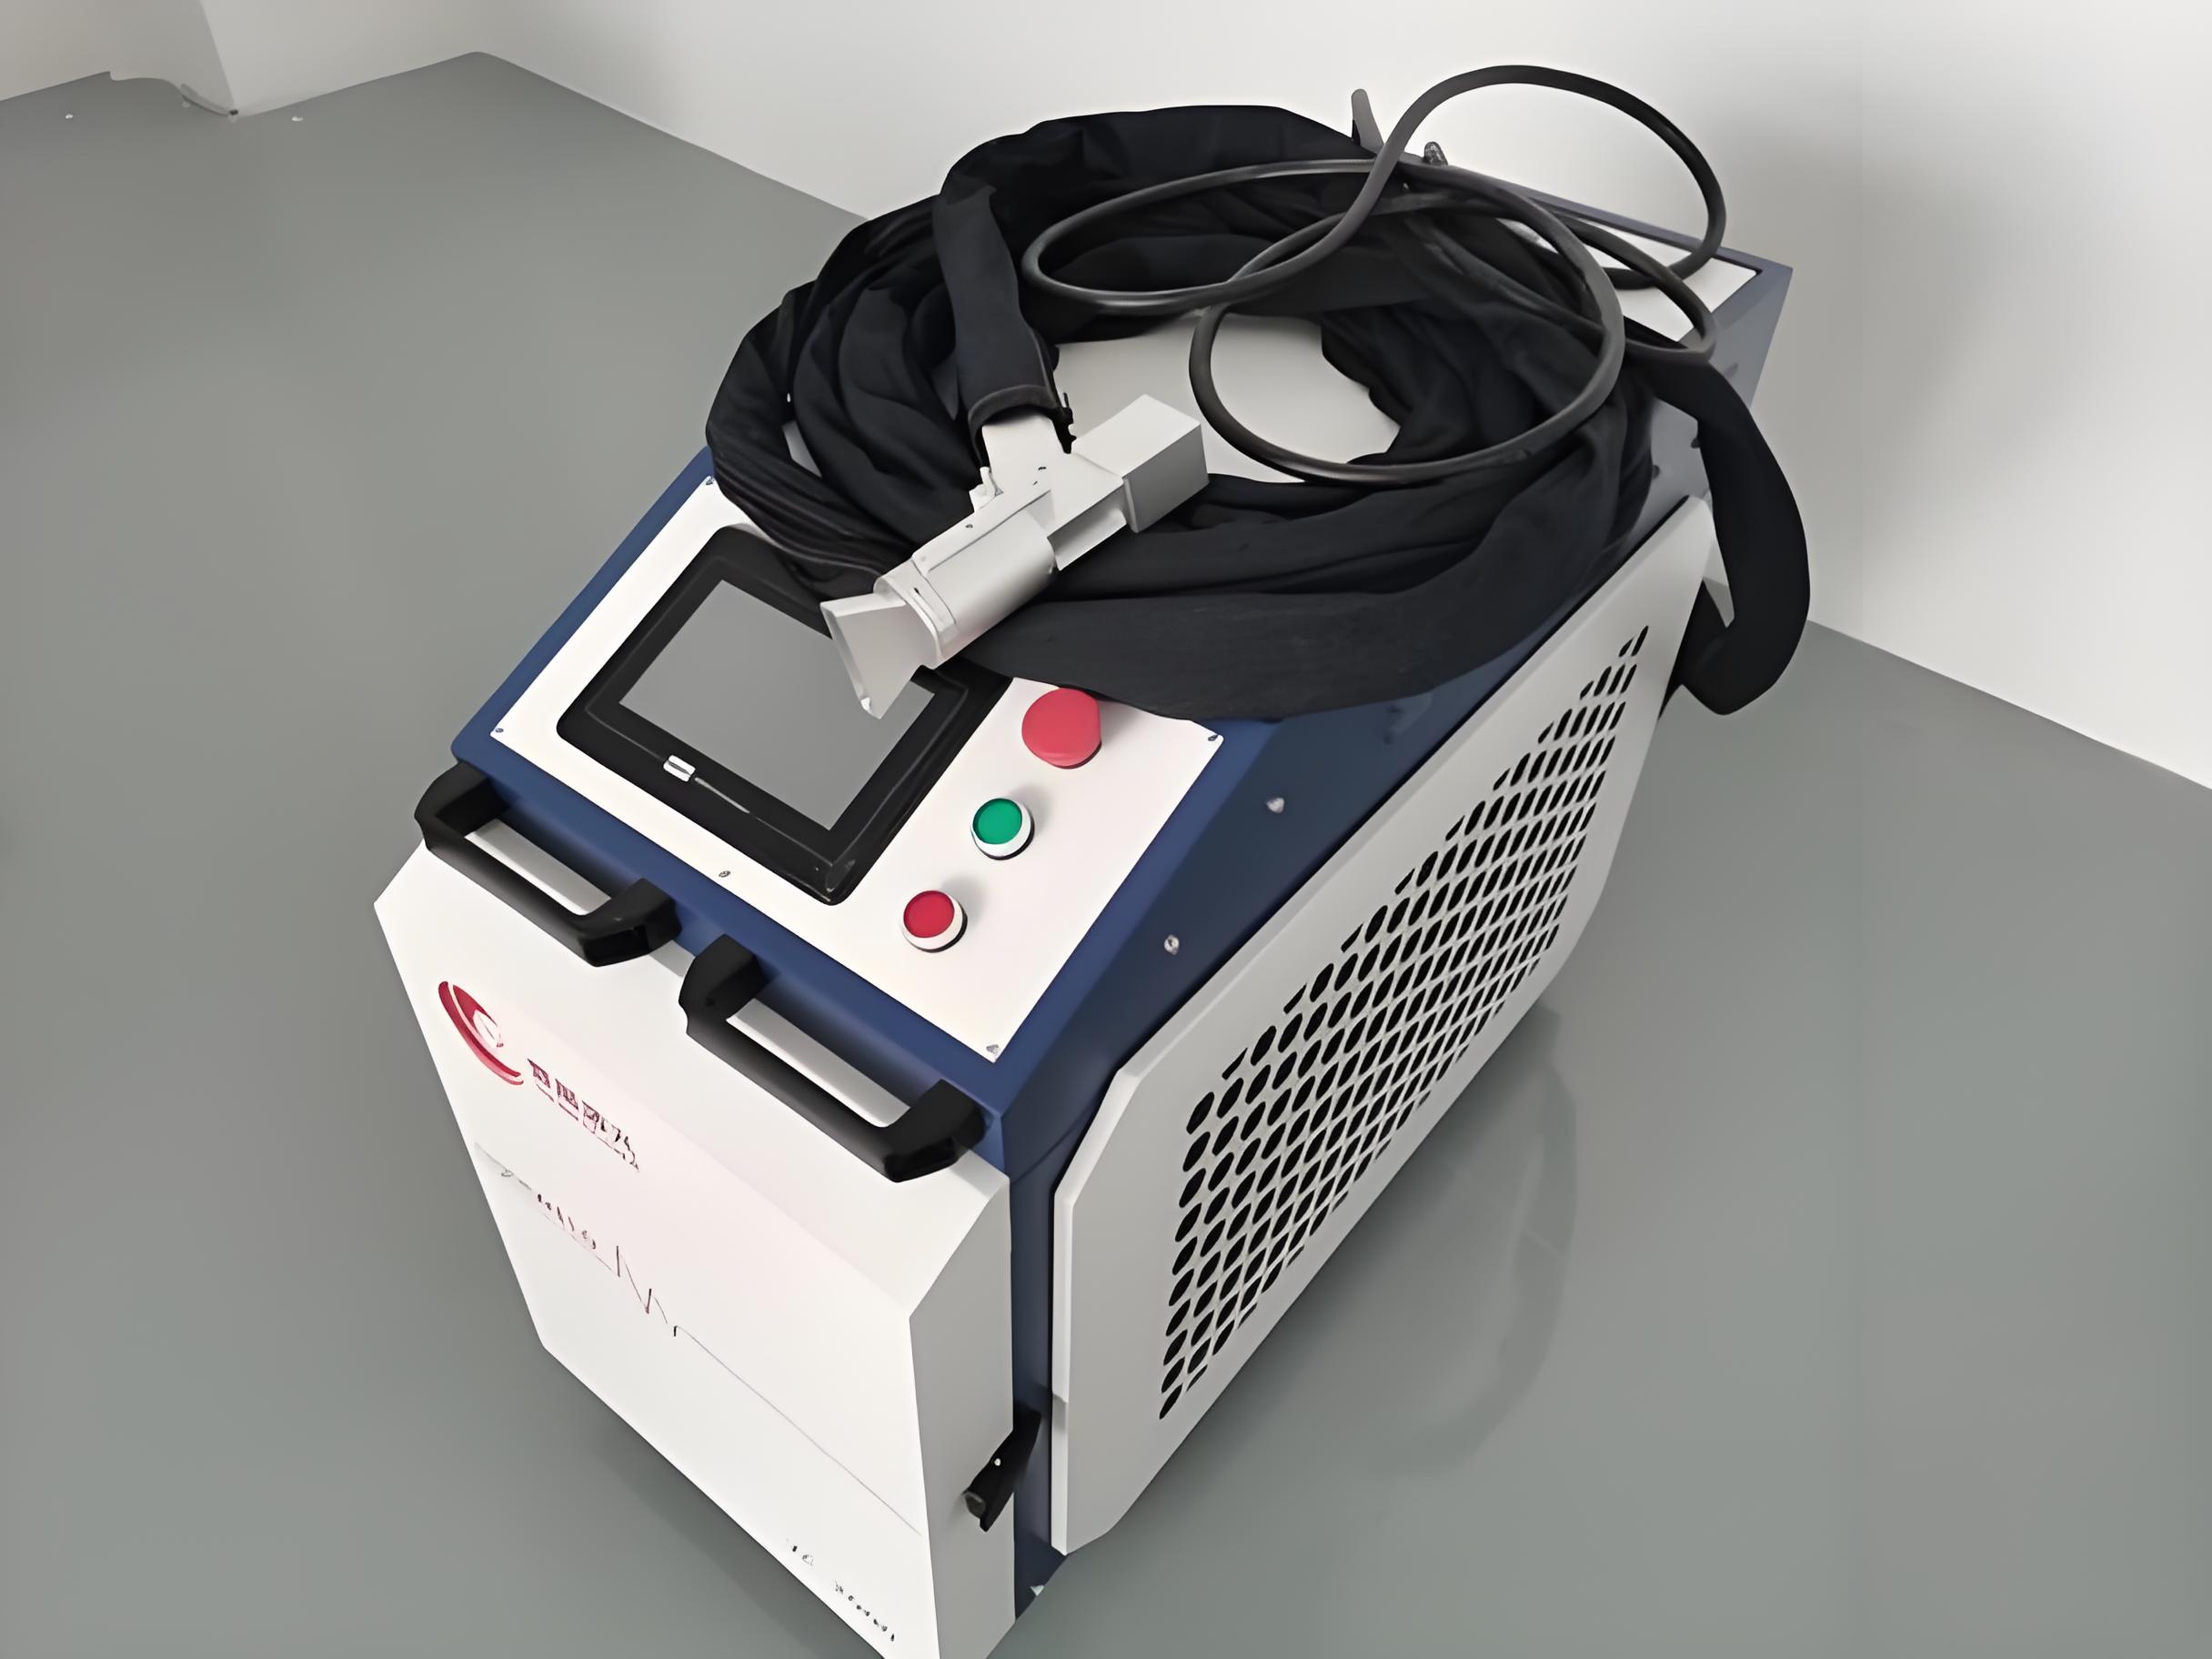
2. Laser Parameters
The laser’s settings—power, frequency, pulse duration, and scanning speed—are critical to avoiding damage. Incorrect parameters can lead to overheating, surface alteration, or micro-cracks in welds. Key considerations include:
Power: High power can overheat the weld, especially in the HAZ, potentially causing micro-structural changes.
Pulse Duration: Short pulses (nanoseconds) minimize heat transfer to the base material, making them ideal for welds.
Frequency: Higher frequencies allow for gentler cleaning, reducing the risk of thermal damage.
Scanning Speed: Moving the laser too slowly can cause excessive heat buildup, while too fast may leave rust behind.
In a pipeline maintenance project, I noticed slight discoloration on a weld when the laser power was set too high. After adjusting to a lower power and faster scanning speed, we achieved a clean weld with no visible damage.
3. Operator Expertise
Laser rust removal requires skill, especially around welds. A trained operator will:
Test parameters on a non-critical area before full cleaning.
Adjust settings based on the weld’s material and condition.
Monitor the process to avoid over-exposure.
I recall training a team to clean welds on a steel bridge. Initially, uneven scanning led to minor surface variations. After practicing consistent techniques, the team produced flawless results, preserving the welds’ integrity.
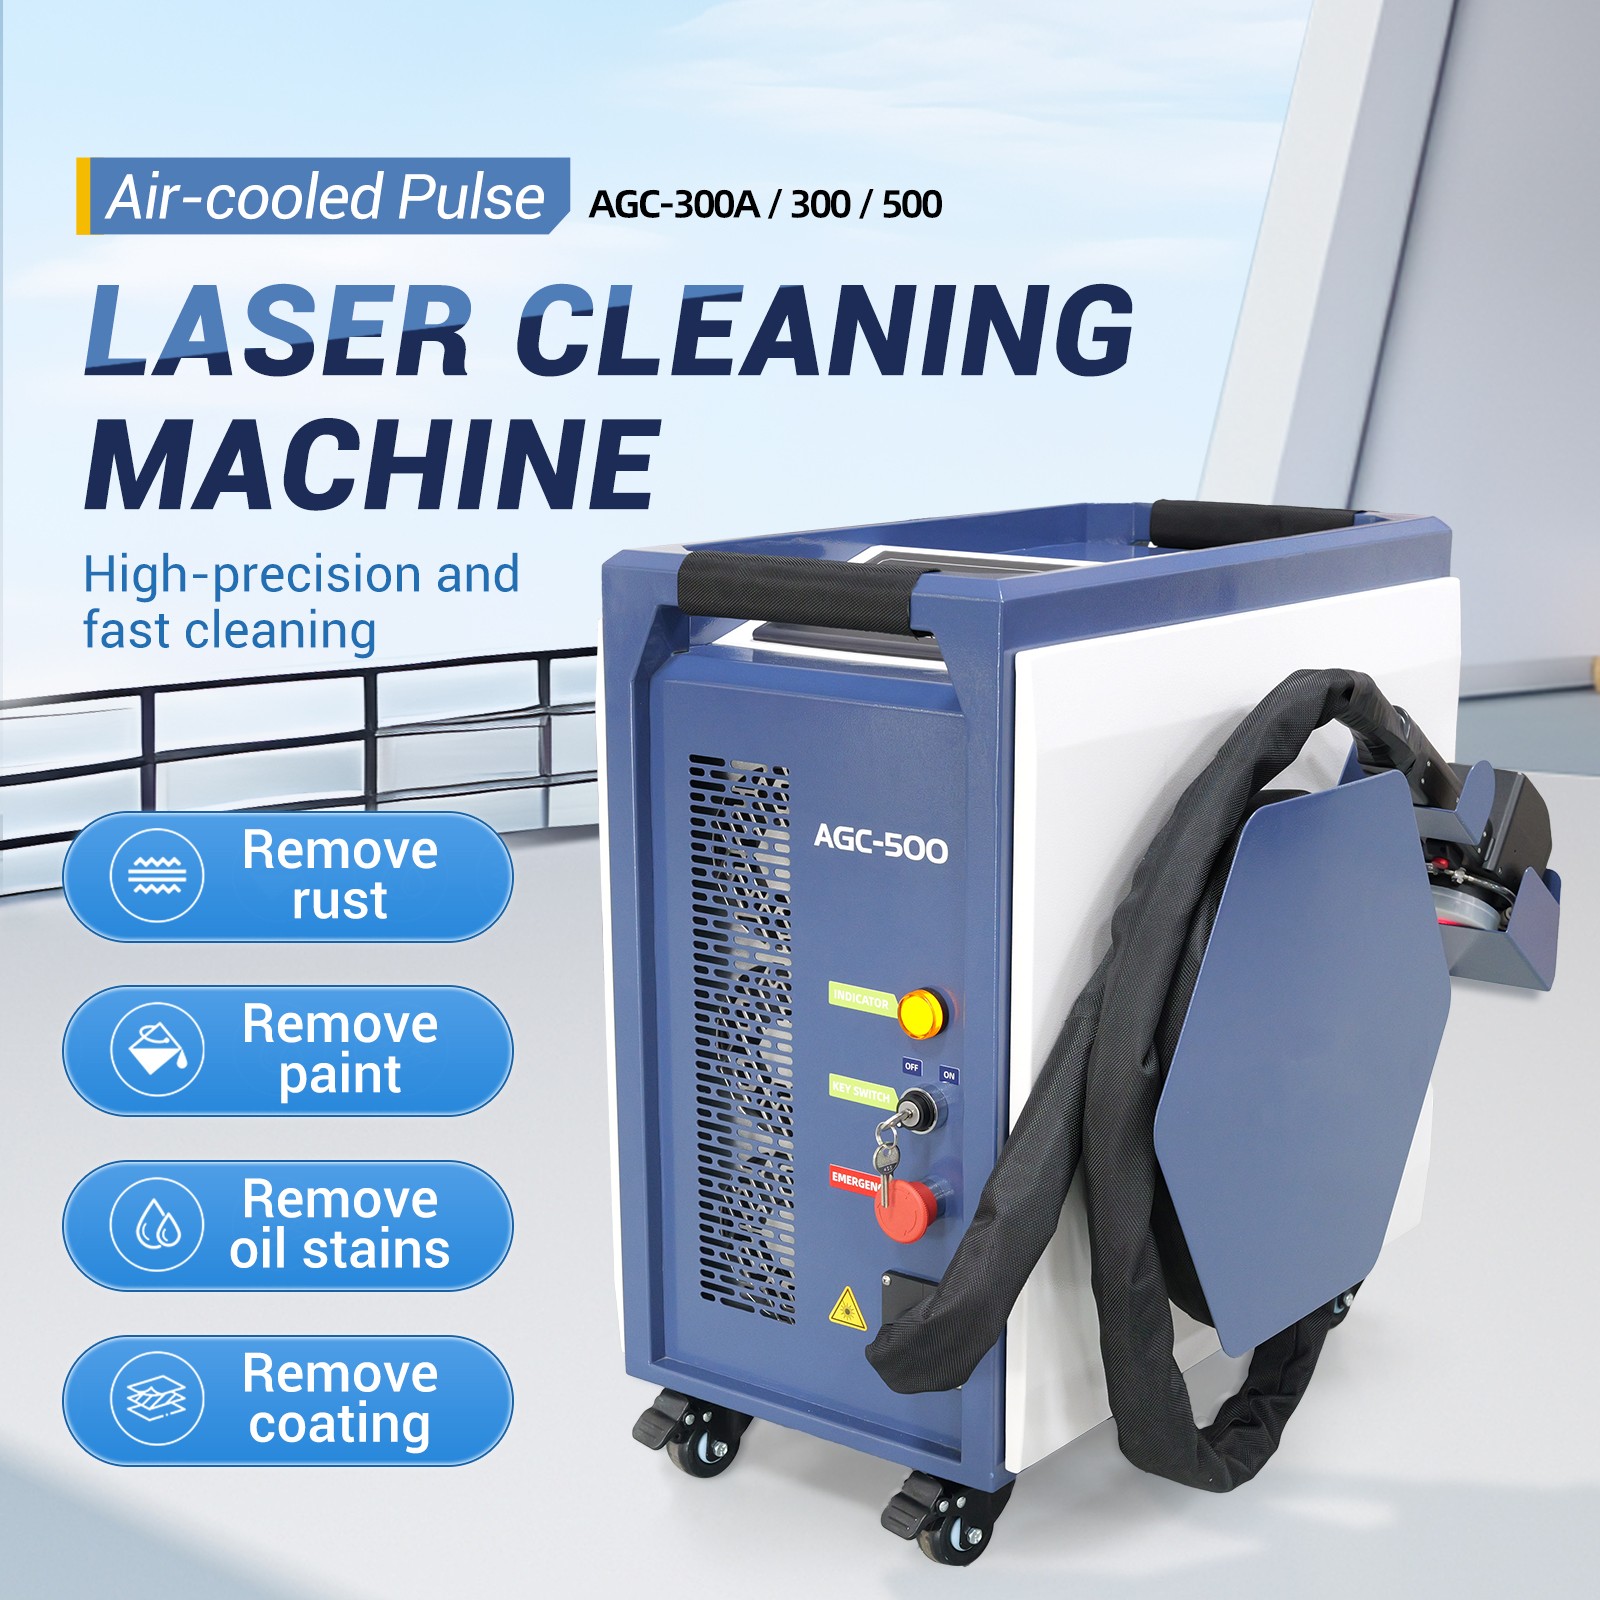
4. Weld Condition
The state of the weld before cleaning matters. Welds with heavy rust, cracks, or porosity may appear altered after laser cleaning, not because of the laser but due to pre-existing imperfections. For example, removing thick rust may expose underlying weld defects, which can be mistaken for laser-induced damage. Pre-inspecting welds with techniques like visual inspection or dye penetrant testing can help set realistic expectations.
Comparing Laser Rust Removal to Traditional Methods for Welds
To understand laser rust removal’s impact on welds, let’s compare it to traditional cleaning methods:
| Method | Risk to Welds | Potential Damage | Considerations |
|---|---|---|---|
| Laser Rust Removal | Low | Discoloration or micro-cracks (if parameters are incorrect) | Non-contact, precise; requires skilled operation. |
| Sandblasting | High | Surface abrasion, stress on welds | Can weaken welds or remove material, not ideal for critical joints. |
| Chemical Cleaning | Medium | Corrosion from residue, uneven cleaning | May affect weld chemistry; requires thorough rinsing. |
| Wire Brushing | High | Scratches, stress concentration | Manual process, risks damaging weld integrity. |
As the table shows, laser rust removal poses a lower risk to welds compared to abrasive or chemical methods, thanks to its non-contact nature and precision. However, its success hinges on proper execution.
Real-World Case Studies: Welds and Laser Cleaning
Let me share two projects that highlight how laser rust removal performs on welded joints.
Case Study 1: Shipyard Weld Maintenance
In a shipyard, we were tasked with cleaning rusted welds on a steel hull. The welds were critical to the ship’s structural integrity, so preserving their strength was paramount. Using a pulsed fiber laser with low power and high frequency, we carefully cleaned the welds, focusing on removing surface rust without affecting the HAZ. Post-cleaning inspections (visual and ultrasonic) confirmed no damage to the welds, and the cleaned surfaces were ready for recoating. This project showed that with the right settings, laser cleaning is safe for critical welds.
Case Study 2: Aluminum Welds on Aerospace Components
In an aerospace facility, we cleaned rusted aluminum welds on a structural component. Aluminum welds are tricky due to their sensitivity to heat. We used a low-power, short-pulse laser and tested multiple settings on a mock-up weld first. The final cleaning left the welds pristine, with no cracks or discoloration, and the client was satisfied with the results. This experience underscored the importance of pre-testing for sensitive materials.
How to Ensure Welds Remain Undamaged
Based on my experience, here are practical steps to safely use laser rust removal on welded joints:
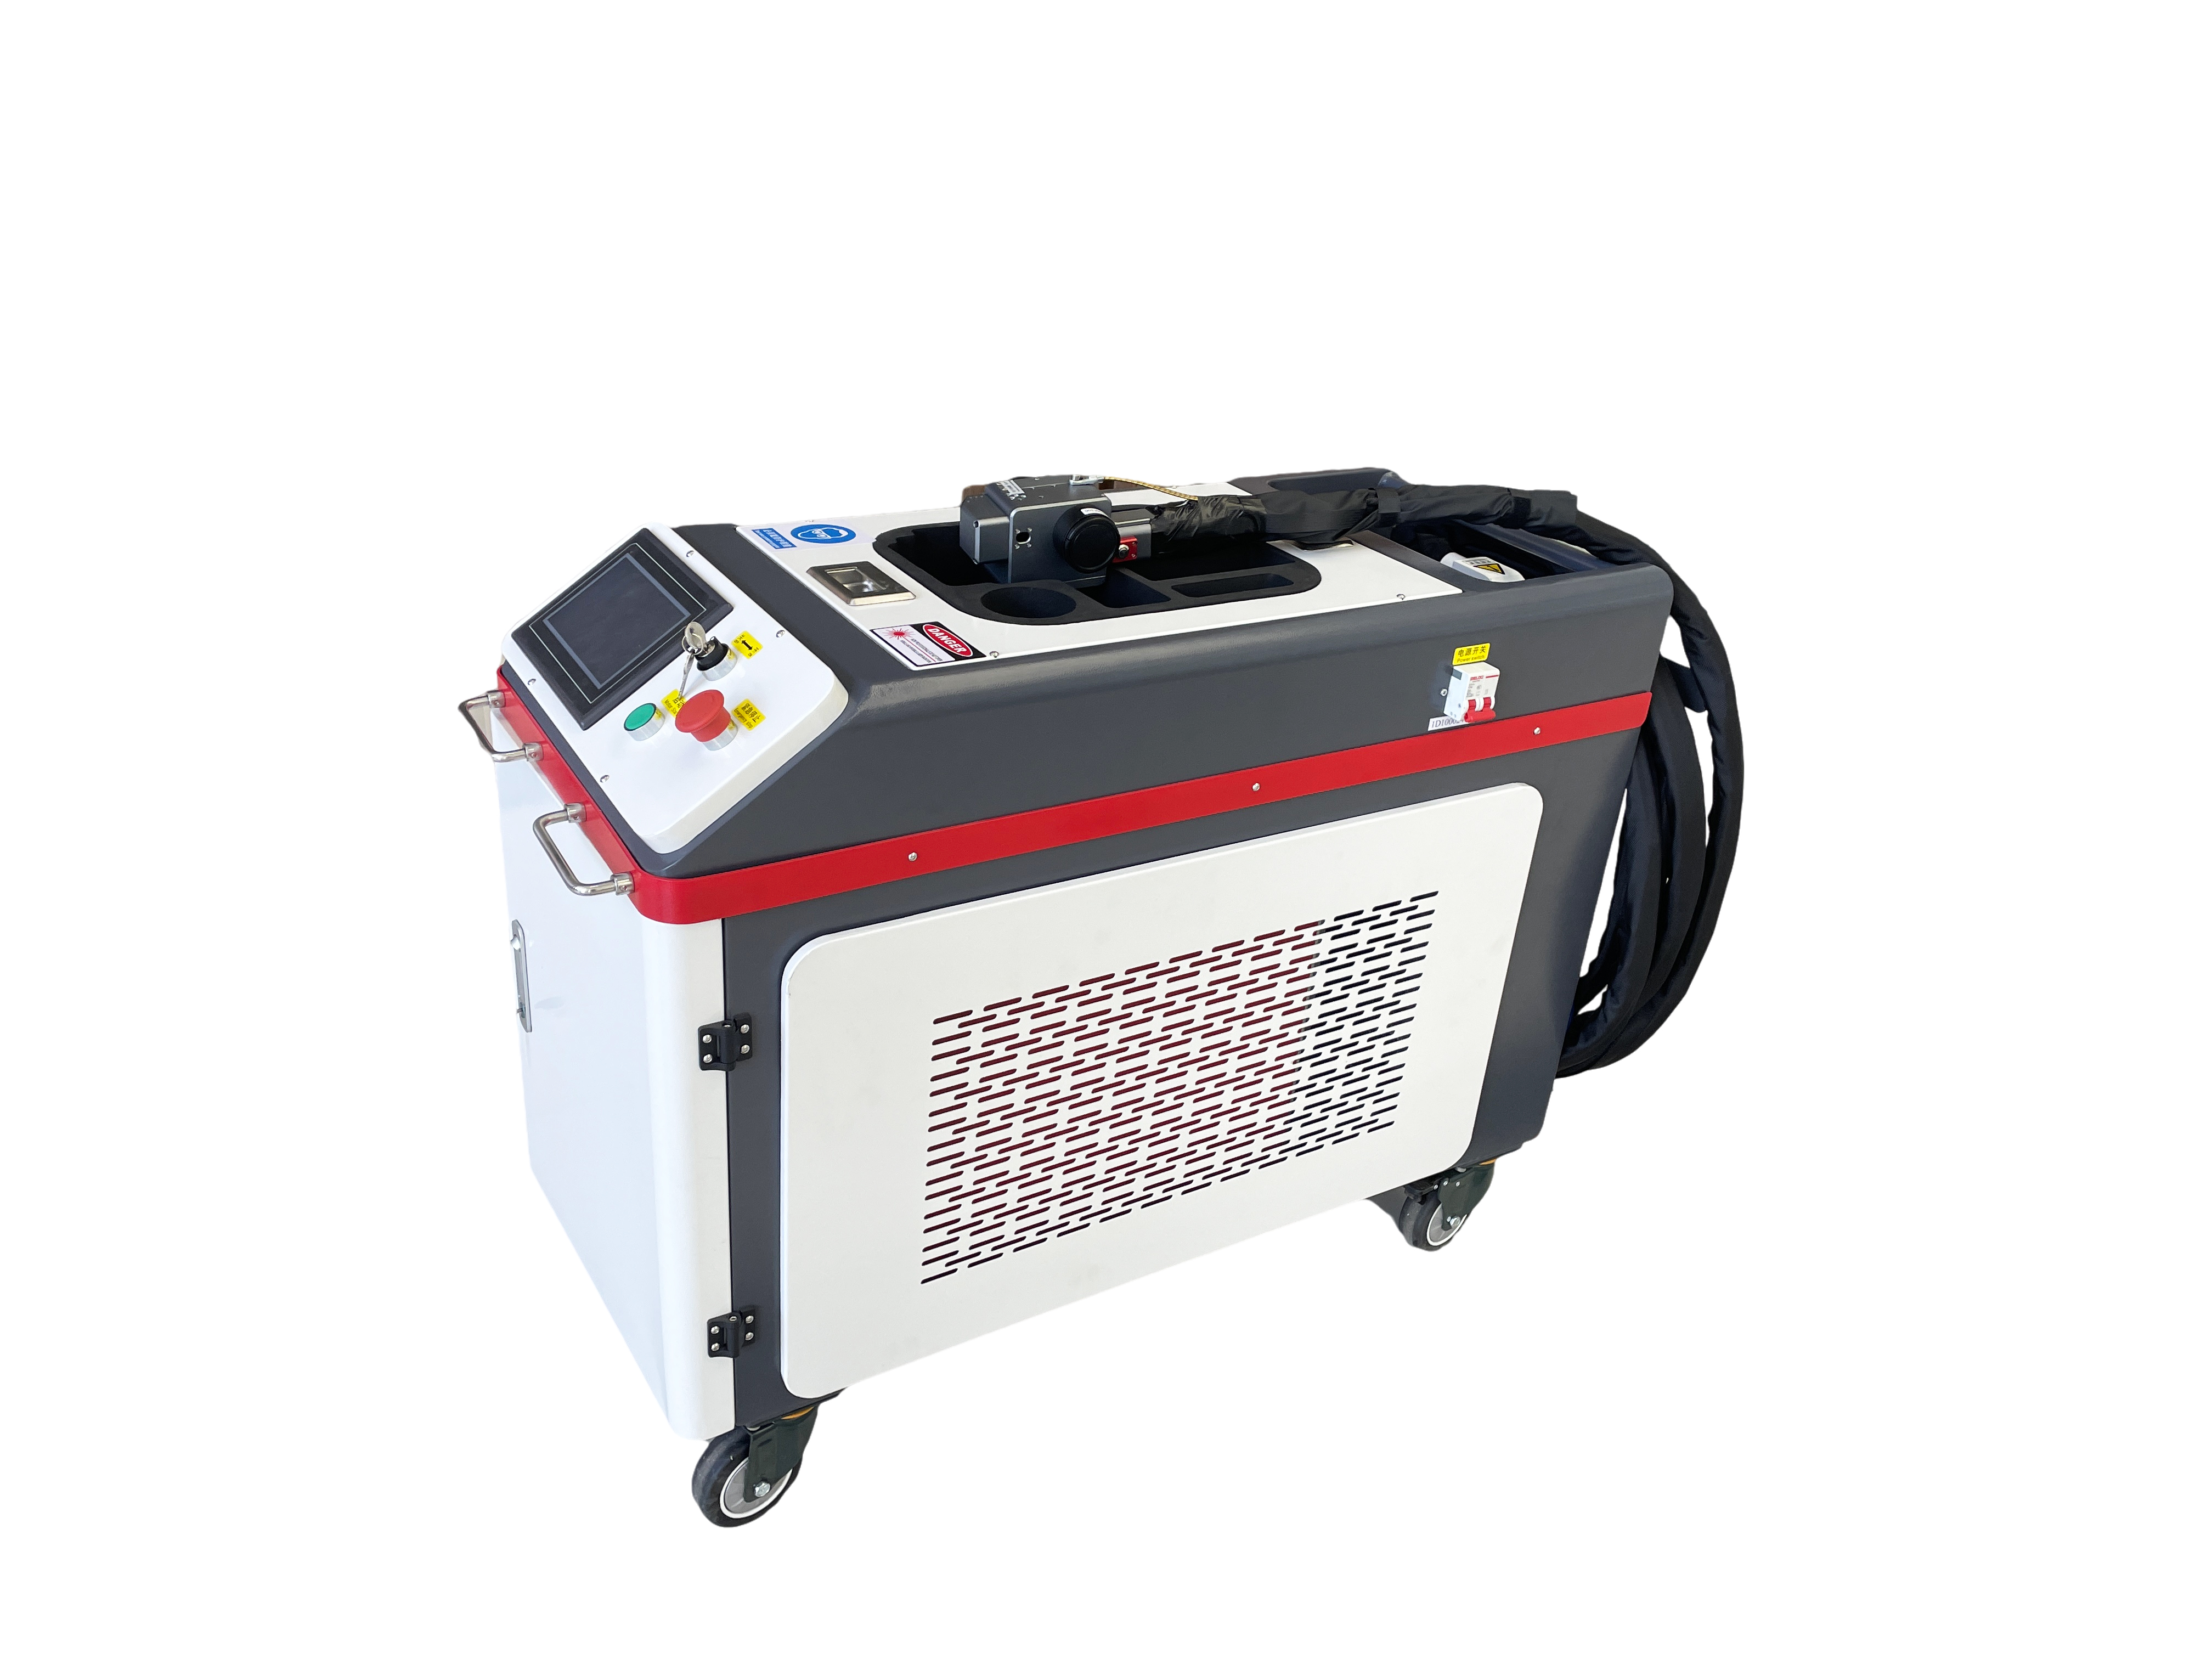
Select the Right Laser: Choose a pulsed fiber laser with adjustable settings. These are best for minimizing heat input and protecting welds.
Test on a Sample: Always conduct a test clean on a similar weld or non-critical area to optimize parameters like power, frequency, and scanning speed.
Inspect Welds First: Check for pre-existing defects (e.g., cracks, porosity) using non-destructive testing methods. This helps distinguish laser effects from existing issues.
Use Conservative Settings: Start with low power and short pulses, gradually increasing only if necessary. Monitor the weld’s appearance during cleaning.
Train Operators: Ensure operators are skilled in laser technology and understand weld metallurgy. Proper scanning techniques are crucial for even cleaning.
Post-Cleaning Inspection: After cleaning, inspect welds visually or with non-destructive testing (e.g., ultrasonic or magnetic particle testing) to confirm integrity.
Protect the Surface: Apply anti-corrosion coatings immediately after cleaning to prevent re-rusting, especially in humid environments.
Addressing Specific Concerns About Welds
Thermal Damage to the HAZ
The heat-affected zone (HAZ) around a weld is often more sensitive than the base metal. Excessive laser energy can cause micro-cracks or alter the HAZ’s microstructure, potentially reducing strength. To avoid this:
Use short-pulse lasers to limit heat transfer.
Keep power settings low and scanning speeds high.
Monitor the weld’s temperature during cleaning, using infrared thermometers if needed.
Discoloration
Discoloration, particularly on stainless steel welds, can occur if the laser overheats the surface, depleting chromium and reducing corrosion resistance. To prevent this:
Use low-power, high-frequency settings.
Cool the weld with compressed air during cleaning.
Test settings on a small area to ensure no color change occurs.
Weld Imperfections Exposed
Laser cleaning may reveal pre-existing weld imperfections, such as porosity or incomplete fusion, which can be mistaken for laser-induced damage. Communicating with clients about the weld’s condition before cleaning is essential to manage expectations.
When Laser Cleaning Welds Is Beneficial
Interestingly, laser rust removal can sometimes improve weld quality by:
Removing Surface Contaminants: Rust, oxides, or welding spatter can weaken welds over time. Laser cleaning removes these without compromising the weld.
Preparing for Inspection: Clean welds are easier to inspect for defects using techniques like dye penetrant or ultrasonic testing.
Enhancing Coating Adhesion: A clean weld surface improves the adhesion of protective coatings, extending the structure’s lifespan.
In one project, we used laser cleaning to prepare welds for non-destructive testing on a pressure vessel. The clean surface allowed for accurate inspection, revealing minor defects that were repaired before the vessel was put into service.
Choosing the Right Equipment for Weld Cleaning
To safely clean welds, select equipment with:
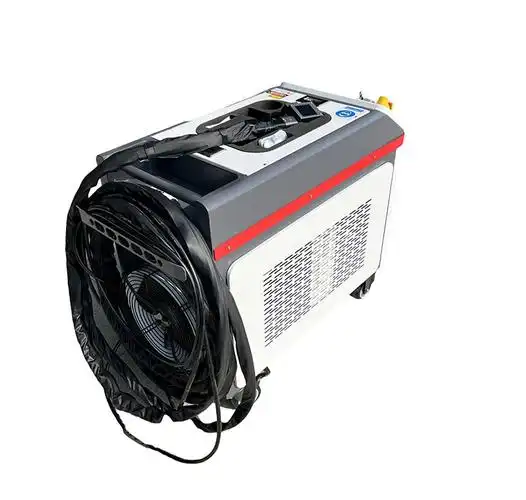
Pulsed Laser Technology: Reduces heat input, protecting the weld and HAZ.
Adjustable Parameters: Allows fine-tuning for different weld types and materials.
Reliable Cooling Systems: Prevents equipment overheating during prolonged use.
Reputable Support: Choose brands with strong after-sales service for maintenance and training.
Early in my career, I used a continuous-wave laser on a welded steel structure, which caused slight overheating in the HAZ. Switching to a pulsed laser solved the issue, and I’ve since prioritized pulsed systems for weld-related projects.
Post-Cleaning Care for Welds
To maintain weld integrity after laser cleaning:
Apply Protective Coatings: Use primers or anti-corrosion coatings to seal the weld and prevent re-rusting.
Store Properly: Keep cleaned components in a dry, controlled environment to avoid corrosion.
Schedule Regular Inspections: Monitor welds for signs of rust or degradation, especially in harsh environments like marine or chemical plants.
Conclusion: Laser Rust Removal Can Be Weld-Safe with the Right Approach
From my years of working with laser rust removal, I can confidently say that this technology is safe for welded joints when executed with care and expertise. Its non-contact, precise nature makes it far less likely to damage welds compared to abrasive or chemical methods. The key is to use appropriate equipment, fine-tune parameters, and rely on skilled operators who understand both laser technology and weld metallurgy. Whether you’re maintaining a pipeline, restoring a welded artifact, or preparing a structure for coating, laser rust removal can deliver clean, undamaged welds that meet the highest standards.
If you’re planning to use laser rust removal on welded joints and have concerns, feel free to share your project details. I’d be happy to offer tailored advice based on my experience to ensure your welds stay strong and corrosion-free!
Frequently Asked Questions
1. Can laser rust removal weaken welded joints?
When done correctly with proper settings, laser rust removal does not weaken welds. Use pulsed lasers and low-power settings to minimize thermal impact, and inspect welds post-cleaning to confirm integrity.
2. Will laser cleaning affect the corrosion resistance of stainless steel welds?
If parameters are incorrect, overheating can deplete chromium, reducing corrosion resistance. Use short-pulse, low-power settings and test on a small area to avoid discoloration or damage.
3. How do I know if my welds are suitable for laser rust removal?
Inspect welds for pre-existing defects like cracks or porosity. Consult with a laser cleaning expert to select appropriate settings based on the weld type and material.
4. Can laser rust removal be used on dissimilar metal welds?
Yes, but it requires careful parameter adjustment due to differing laser absorption rates. Test on a sample weld first to ensure both metals are cleaned without damage.
5. What should I do if I notice changes in my welds after laser cleaning?
Check if the changes are pre-existing defects exposed by the laser. If the laser caused discoloration or other issues, adjust settings (lower power, faster scanning) and re-test. Consult a professional for non-destructive testing to verify weld integrity.

