As someone who’s been in the industrial cleaning game for over a decade, I’ve tackled my fair share of grimy surfaces, from rusted ship hulls to grease-covered machinery. Among the many tools I’ve used, laser cleaning machines have become my go-to for removing oil and grease from stainless steel surfaces. These machines offer a precision and eco-friendliness that traditional methods like solvents or abrasive blasting simply can’t match. If you’re looking to clean oil or grease off stainless steel—whether for food processing equipment, automotive parts, or architectural panels—this article is for you. I’ll walk you through the essential steps, share tips from my years of hands-on experience, and help you achieve a spotless, professional finish while avoiding common pitfalls.

The Challenge of Oil and Grease on Stainless Steel
Stainless steel is prized for its durability and corrosion resistance, making it a staple in industries like food production, pharmaceuticals, and marine engineering. But its smooth, non-porous surface can be a magnet for oil, grease, and other contaminants, especially in high-traffic environments like kitchens or factories. These residues not only affect aesthetics but can also compromise hygiene, interfere with coatings, or weaken welds. Traditional cleaning methods often involve harsh chemicals, which can be hazardous, or mechanical scrubbing, which risks scratching the surface. Laser cleaning, however, uses a focused beam of light to vaporize contaminants without damaging the metal, offering a clean, safe, and efficient solution.
I remember my first encounter with laser cleaning—a greasy stainless steel conveyor belt in a food processing plant. The client was fed up with solvent-based cleaning, which left residues and required hours of labor. After switching to a laser cleaner, we had the belt sparkling in under an hour, with no chemicals or mess. Since then, I’ve refined my approach to laser cleaning, and below, I’ll share the key steps to get it right.
Understanding Laser Cleaning for Oil and Grease
Laser cleaning works by directing a high-energy laser beam at the surface, where it interacts with contaminants like oil or grease. The process, called laser ablation, causes the contaminants to absorb the laser’s energy, heat up, and either vaporize or break apart into particles that are easily removed. Stainless steel has a higher ablation threshold than organic contaminants, so the laser can target the oil or grease without harming the metal. The result? A pristine surface ready for further processing or use.
The beauty of laser cleaning is its precision and environmental benefits. Unlike solvents, which can leave residues or require disposal, lasers produce minimal waste—just some vapor and fine particles that can be captured with a fume extractor. Over the years, I’ve learned that success with laser cleaning hinges on proper equipment setup, parameter tuning, and safety measures. Let’s break down the process step by step.
Step-by-Step Guide to Laser Cleaning Stainless Steel
Here’s how I approach cleaning oil and grease from stainless steel surfaces using a laser cleaning machine. This method is based on countless hours spent fine-tuning settings and troubleshooting real-world challenges.
Step 1: Evaluate the Surface Condition
Before turning on the laser, I always inspect the stainless steel surface to understand the type and extent of contamination. Is it a thin film of cutting oil from machining? Heavy grease from a kitchen exhaust? Or a mix of grease and dirt? The thickness and composition of the contaminant affect the laser settings. For example, light oil films require lower power, while thick, baked-on grease demands higher energy.
I also check the stainless steel grade (e.g., 304 or 316) and surface finish (e.g., brushed or mirror-polished). Different grades and finishes react slightly differently to laser cleaning, and polished surfaces are more prone to visible marks if settings are off. If you’re unsure about the grade, a quick check with a material spec sheet or a magnet (316 is less magnetic than 304) can help.

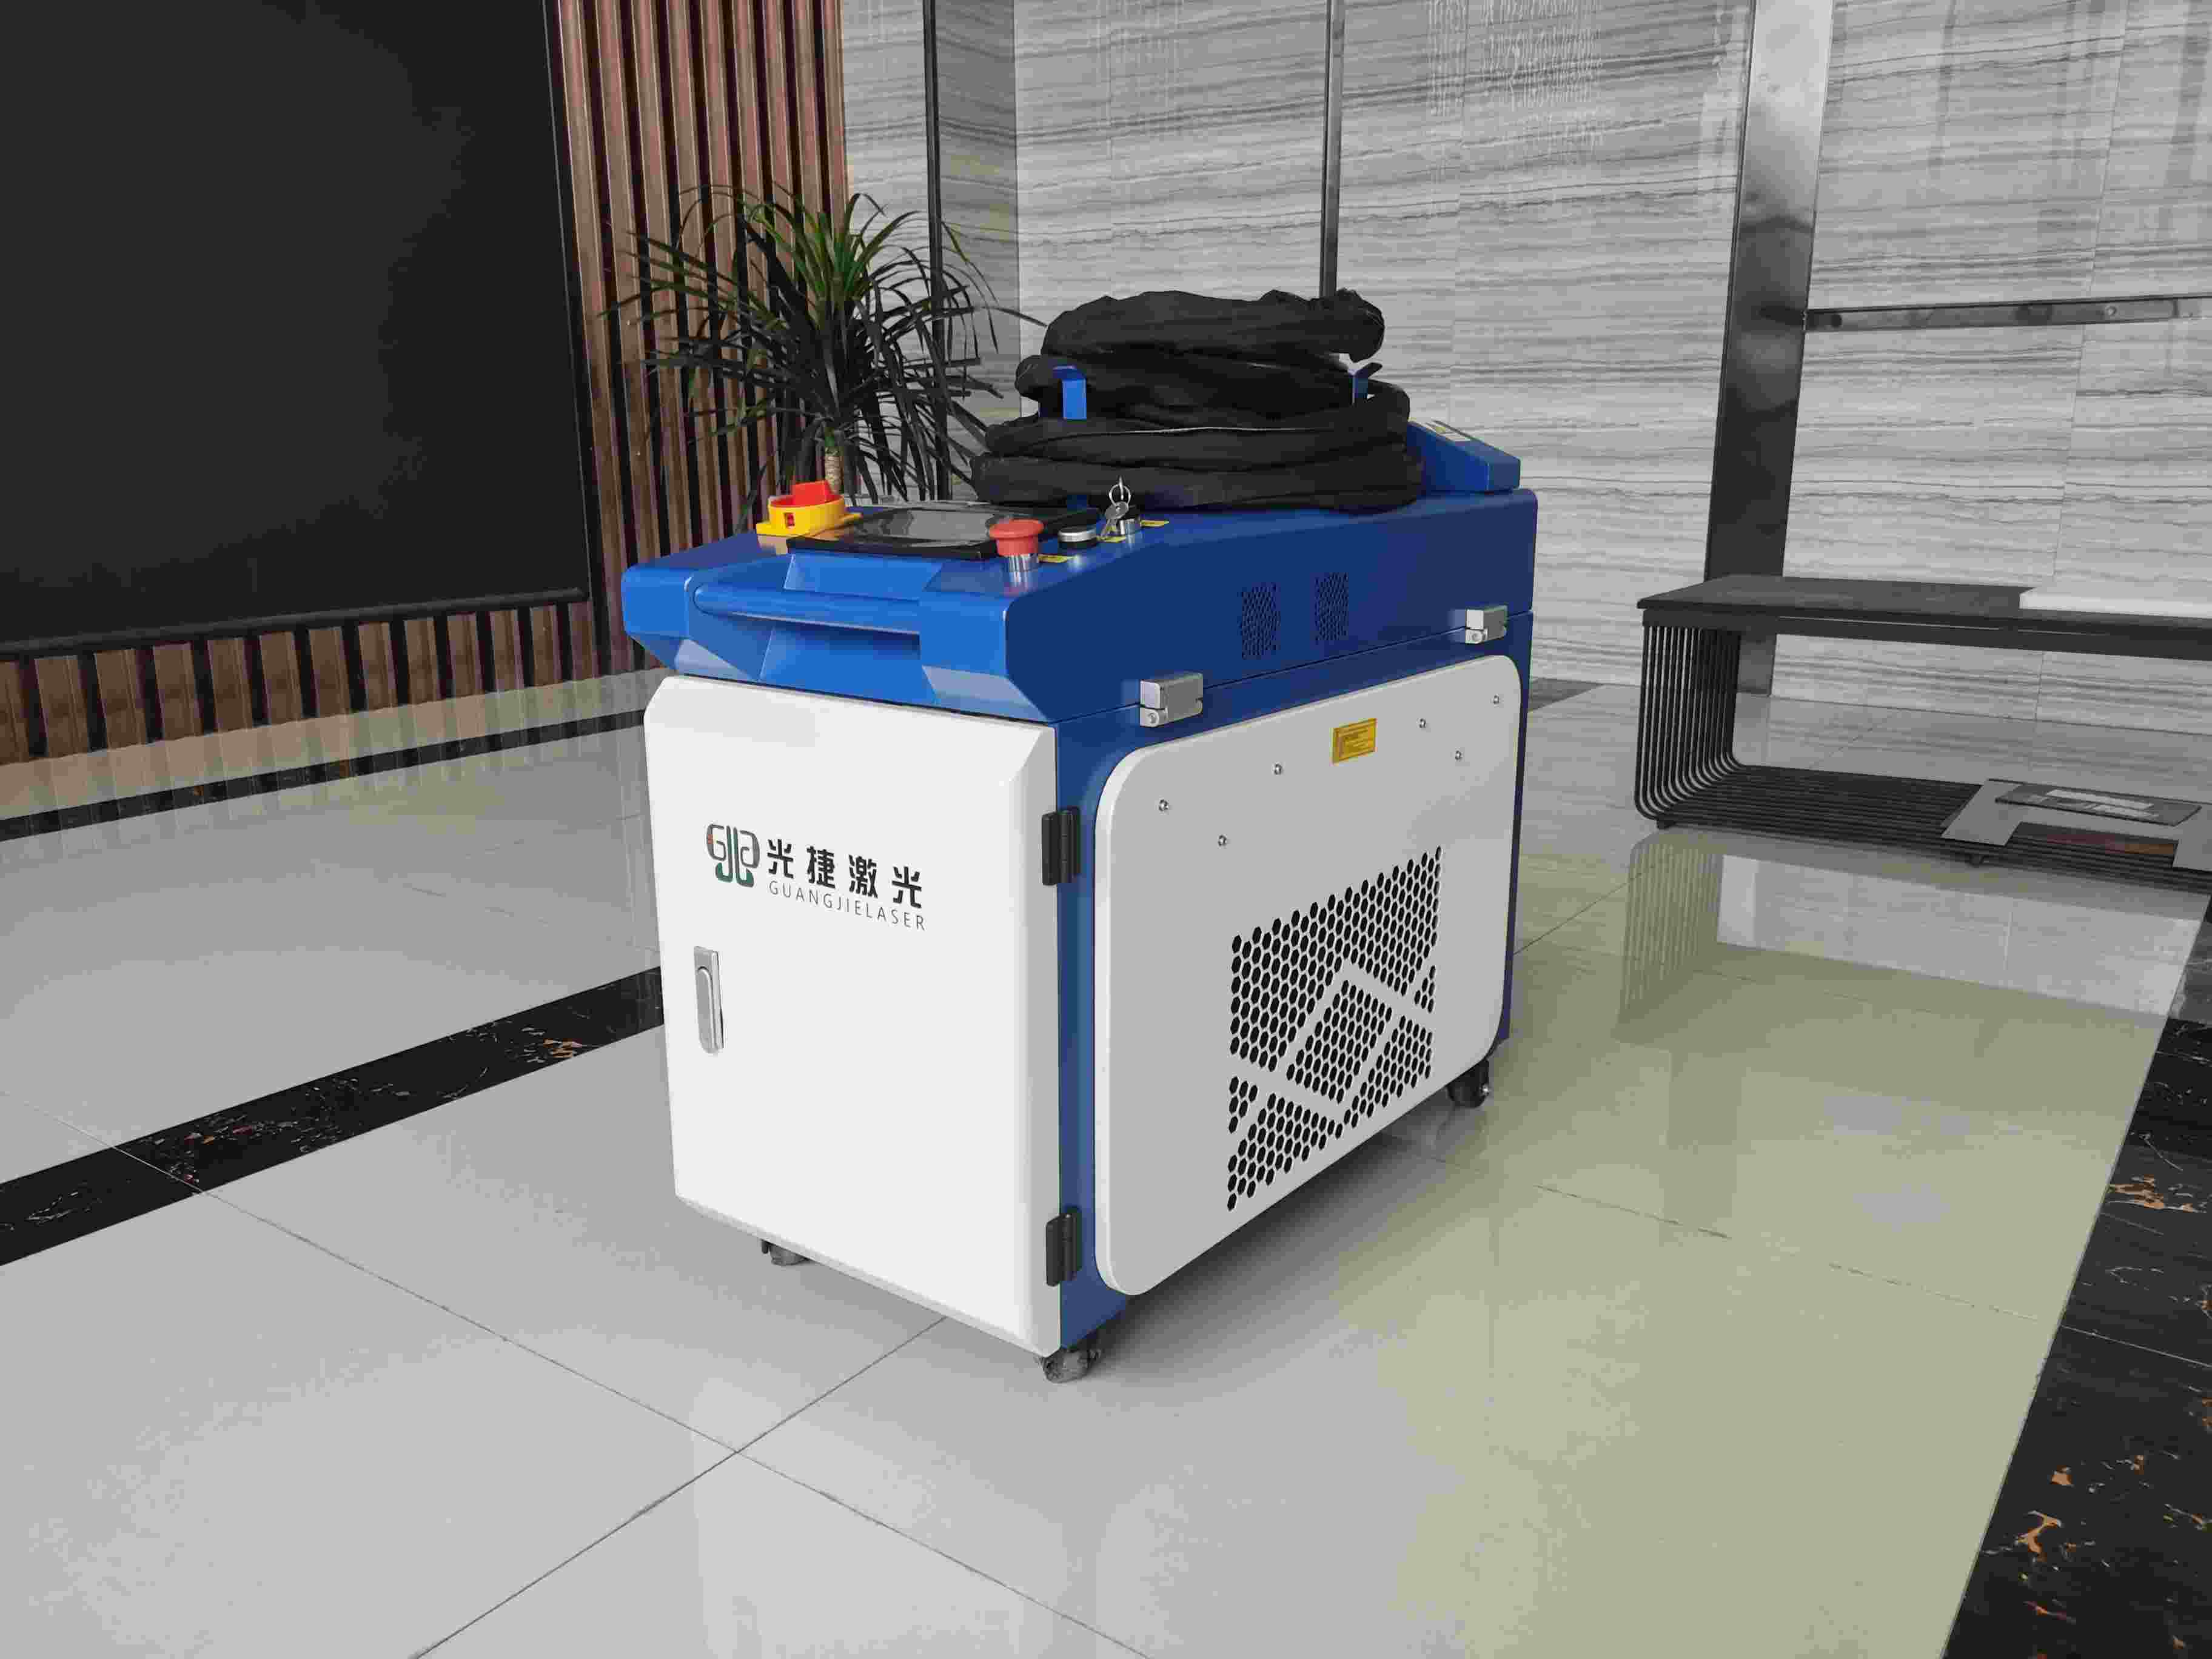
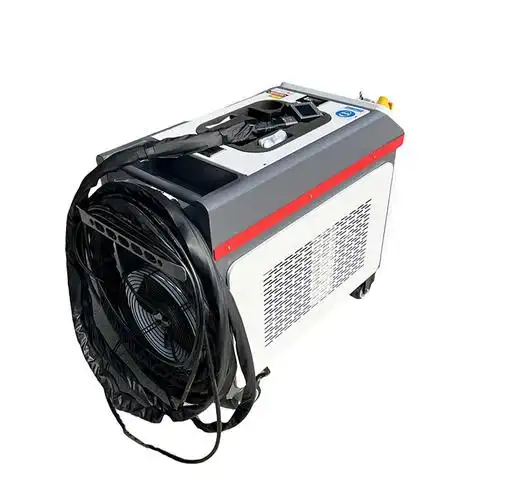
Step 2: Choose the Right Laser Cleaning Machine
Not all laser cleaning machines are suited for oil and grease removal. For stainless steel, I recommend pulsed fiber lasers in the 50W to 500W range, as they offer the precision needed to avoid overheating the metal. Pulsed lasers deliver short bursts of energy, which are ideal for removing organic contaminants without causing thermal damage. Continuous wave (CW) lasers, while faster for heavy rust, can generate too much heat for delicate tasks like grease removal.
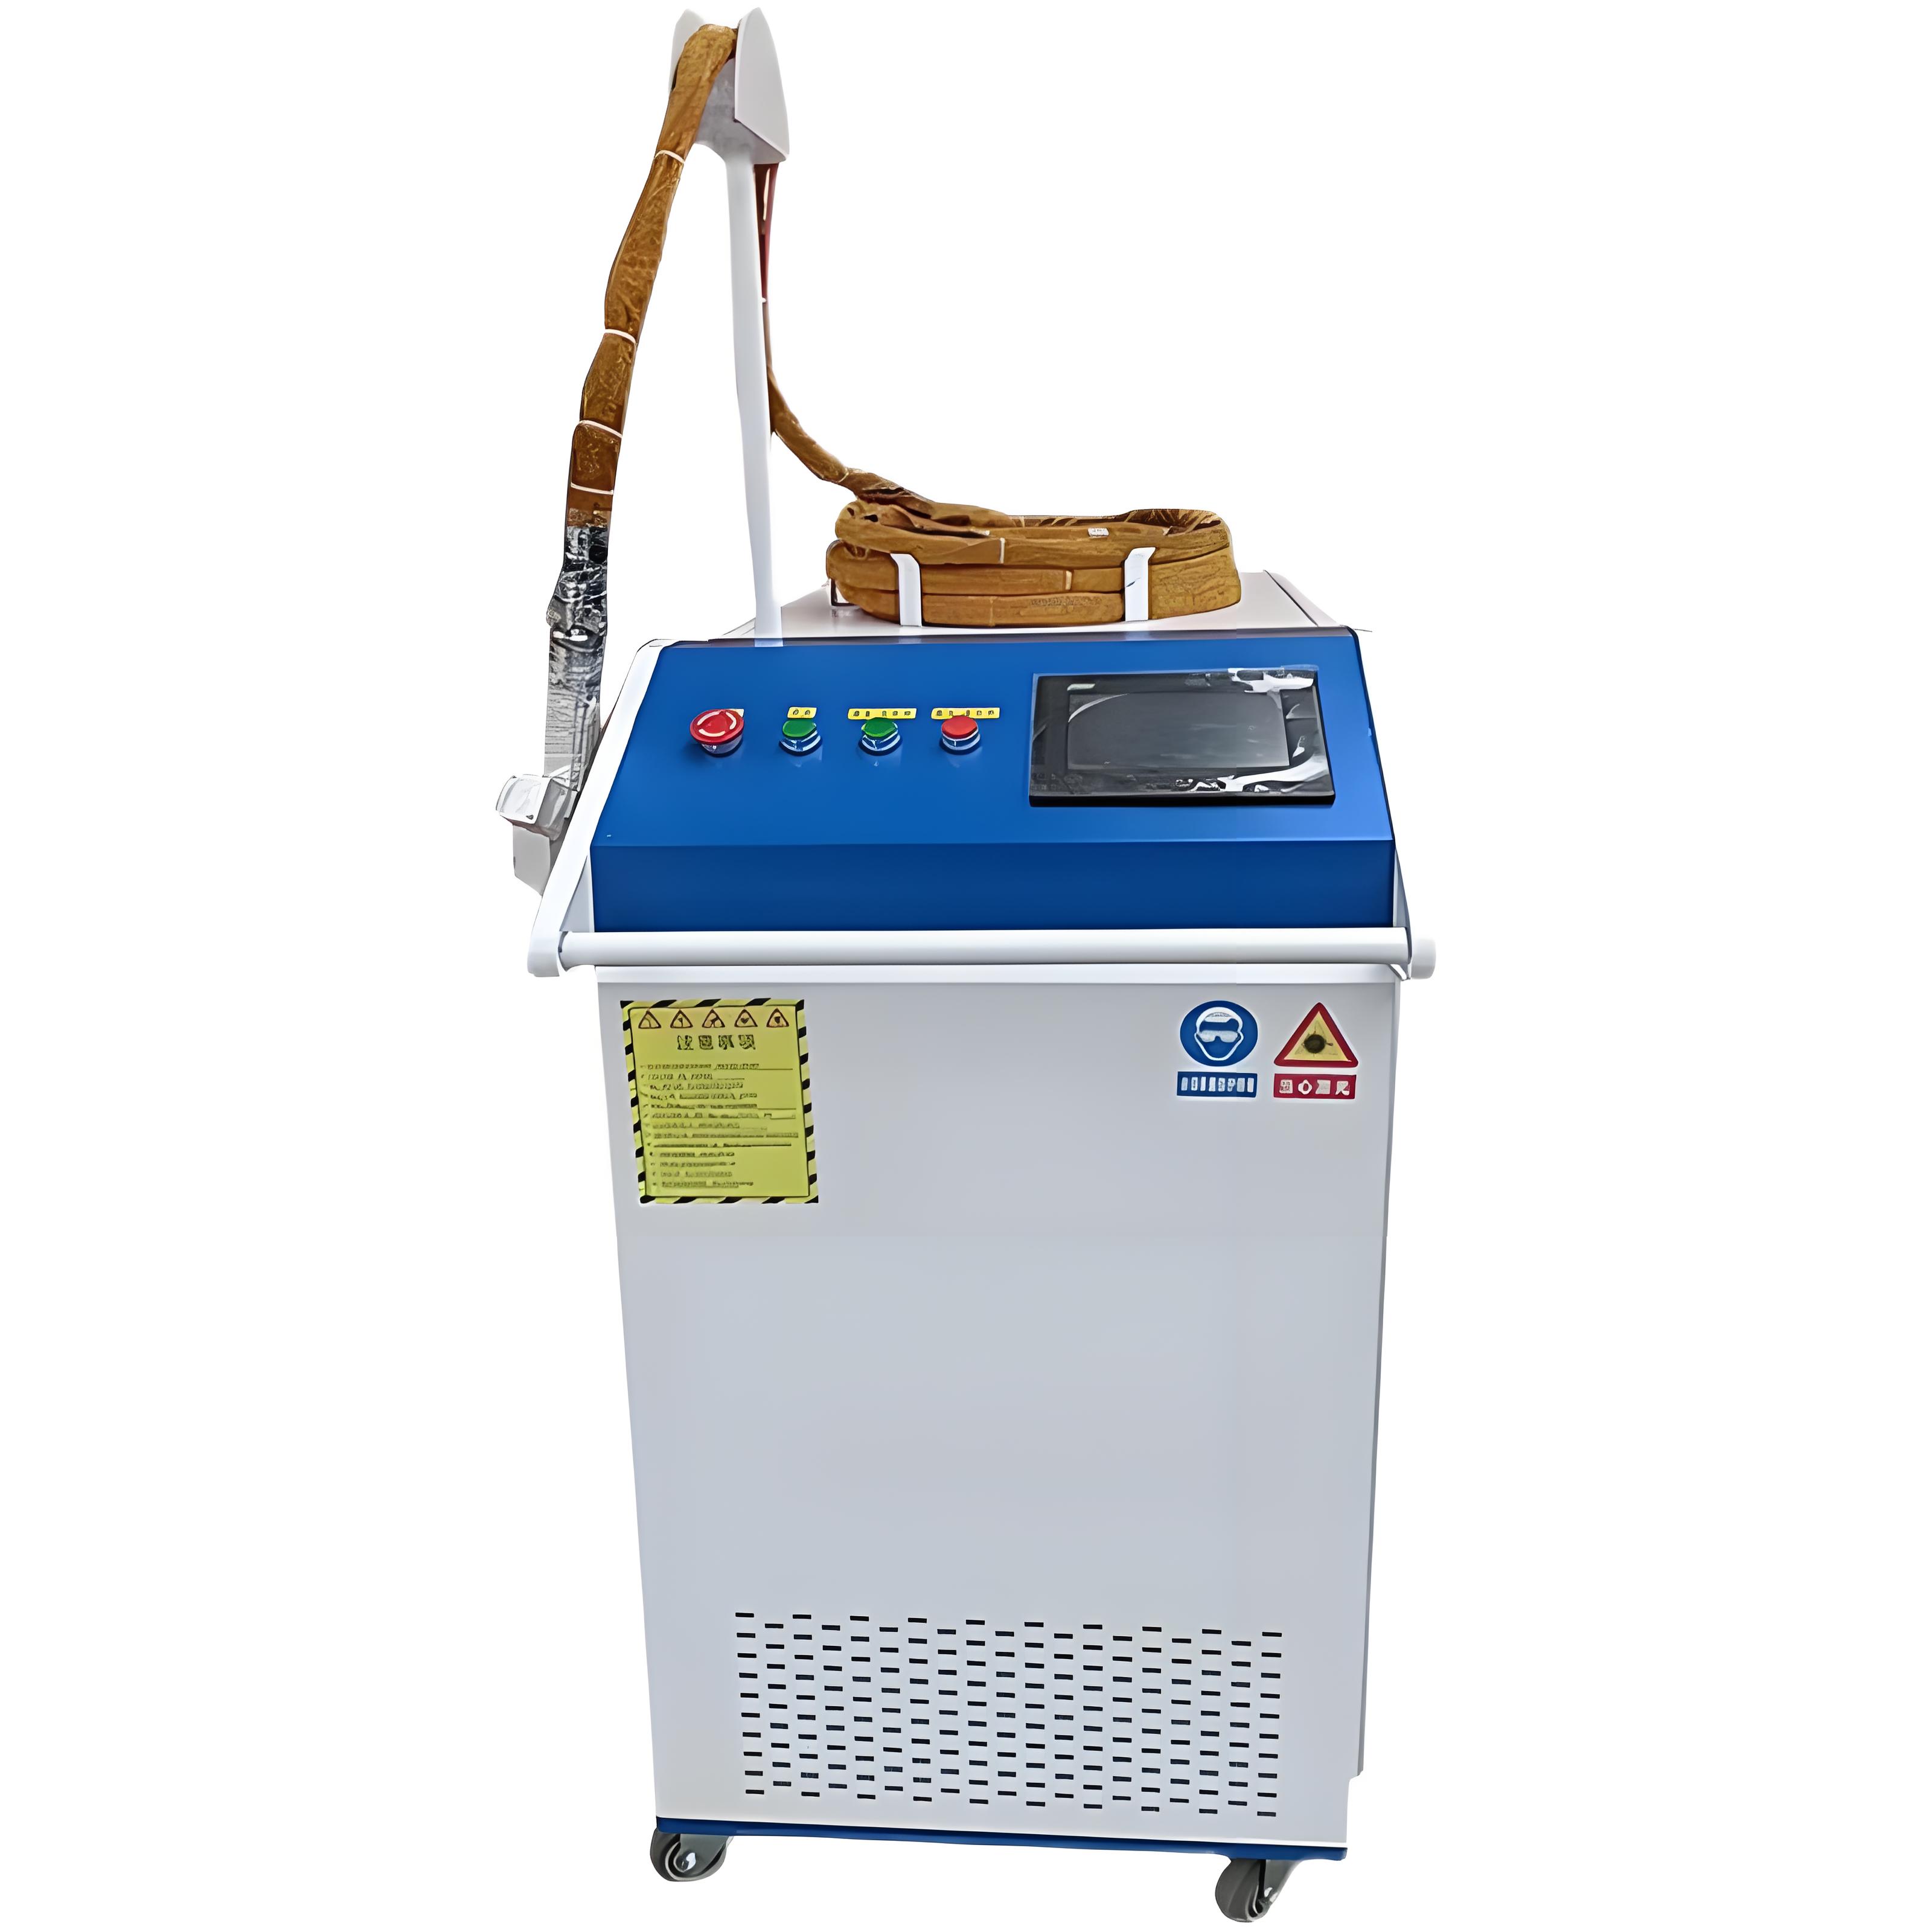
Some reliable brands I’ve used include Laserax, KEYENCE, and HeatSign. For small parts or spot cleaning, a 50W–100W handheld laser is perfect. For larger surfaces, like industrial tanks, a 200W–500W portable or benchtop system is more efficient. If you’re dealing with high-volume production, consider an industrial system with automation capabilities.
Step 3: Set Up the Laser Parameters
Getting the laser settings right is critical for effective cleaning without damaging the stainless steel. Here’s a table summarizing the key parameters I adjust, based on my experience:
|
Parameter |
Purpose |
Typical Range for Oil/Grease |
Notes |
|---|---|---|---|
|
Power (W) |
Controls energy delivered to surface |
50–200W |
Start low (50W) for thin oil films; increase for thick grease. |
|
Pulse Frequency (kHz) |
Determines pulse rate for precision |
20–80 kHz |
Higher frequencies for light contaminants; lower for stubborn grease. |
|
Scanning Speed (mm/s) |
Affects beam movement speed |
500–2000 mm/s |
Faster speeds for light oil; slower for heavy grease to ensure removal. |
|
Beam Pattern |
Shapes the cleaning path |
Linear or circular |
Circular patterns work well for uniform grease removal. |
When I first started, I made the mistake of using too high a power setting on a polished stainless steel panel, which left faint discoloration. Now, I always start with conservative settings (e.g., 50W, 50 kHz, 1000 mm/s) and test on a small area. Most laser systems come with software that lets you save presets for different tasks, which is a lifesaver for repetitive jobs.
Step 4: Prepare the Work Environment
Safety and workspace setup are non-negotiable. Laser cleaning is safer than chemical methods, but you still need to take precautions. I always wear laser safety glasses rated for the laser’s wavelength (typically 1064 nm for fiber lasers). Oil and grease can produce fumes or fine particles when vaporized, so ensure the area is well-ventilated or use a machine with a built-in fume extractor. For food-grade stainless steel, this is especially important to avoid contamination.
Secure the workpiece to prevent movement, and if you’re using a handheld laser, maintain a consistent distance (usually 150–300 mm) from the surface. For automated systems, program the scanning path to cover the entire contaminated area. I once cleaned a greasy stainless steel tank with a handheld laser and learned the hard way that inconsistent distance can lead to uneven results—steady hands or a guide rail are key.

Step 5: Execute the Cleaning Process
With everything set, it’s time to clean. I start with a test pass on a small, inconspicuous area to check the results. The laser should remove the oil or grease, leaving the stainless steel surface clean and slightly matte. For light oil films, a single pass at 1000 mm/s with a 50W laser is often enough. For thicker grease, I slow the scanning speed to 500 mm/s and increase the power to 100–150W.
The process is fast—typically 20–50 cm²/sec for a 200W laser, based on my experience with brands like Laserax. If you’re cleaning a large surface, like a commercial kitchen hood, work in sections to ensure consistency. Check the surface periodically with a clean cloth to confirm all grease is gone. If you notice residue, adjust the pulse frequency or power slightly and try again.
Step 6: Inspect and Post-Process
After cleaning, I inspect the surface under bright lighting to ensure no oil or grease remains. Stainless steel should look uniformly clean, with no streaks or smudges. For food-grade applications, I use a white cloth test—wipe the surface, and if the cloth stays clean, the job is done. If you’re preparing the surface for coating or welding, verify the cleanliness with a water break test (water should spread evenly on a clean surface).
In some cases, laser cleaning can slightly alter the surface’s appearance, especially on mirror-polished stainless steel. This is normal and often beneficial, as it can improve coating adhesion. If aesthetics are critical, test the settings on a sample to avoid visible changes. Store cleaned parts in a dry, clean environment to prevent re-contamination.
Benefits of Laser Cleaning for Oil and Grease
From my years of using laser cleaners, here are the advantages that stand out:
No Chemicals: Eliminates the need for solvents, reducing health risks and disposal costs.
Precision: Targets only the contaminants, preserving the stainless steel’s integrity.
Speed: Cleans large areas quickly, often in minutes compared to hours for manual methods.
Eco-Friendly: Produces minimal waste, just vapor and particles that can be captured.
Versatility: Works on various stainless steel grades and finishes, from 304 to 316L.
One project that sold me on laser cleaning was a pharmaceutical reactor vessel coated in machining oil. Traditional solvent cleaning would’ve taken days and risked contamination. With a 200W laser, we cleaned the entire interior in a few hours, meeting strict hygiene standards.

Common Challenges and How to Overcome Them
Laser cleaning isn’t foolproof, and I’ve hit a few snags over the years. One challenge is dealing with thick, baked-on grease, which can require multiple passes or higher power, increasing the risk of overheating. To avoid this, I use a lower power setting and slower scanning speed, checking frequently to prevent surface damage.
Another issue is the initial cost—entry-level laser cleaners start at $6,000, and high-end models can exceed $30,000. However, the savings from reduced labor, no consumables, and faster turnaround often offset the investment. For small shops, I recommend starting with a handheld unit or outsourcing to a laser cleaning service, as I did early on.
Finally, operator skill matters. Incorrect settings can leave residue or mark the surface. I always recommend training with the supplier and practicing on scrap pieces. Most manufacturers, like KEYENCE, offer hands-on demos, which helped me get comfortable with the technology.
Real-World Applications
I’ve used laser cleaning for oil and grease removal in various scenarios:
Food Processing: Cleaning stainless steel conveyors and tanks to meet hygiene standards.
Automotive: Removing machining oil from engine components before assembly.
Pharmaceuticals: Preparing reactor vessels for sterile production.
Architecture: Cleaning decorative stainless steel panels for a polished, grease-free finish.
A standout job was cleaning a set of stainless steel kitchen hoods for a high-end restaurant. The grease buildup was thick, but a 100W handheld laser removed it in under an hour per hood, leaving a surface clean enough for food prep without any chemical residue.
Choosing the Right Laser Cleaner
Here’s a quick guide to selecting a laser cleaning machine for oil and grease removal:
|
Feature |
Handheld (50–100W) |
Portable (100–500W) |
Industrial (500W+) |
|---|---|---|---|
|
Best For |
Small parts, spot cleaning |
Medium surfaces, field work |
Large-scale production |
|
Cleaning Speed |
10–20 cm²/sec |
20–50 cm²/sec |
50–100 cm²/sec |
|
Cost Range |
$6,000–$15,000 | $15,000–$30,000 | $30,000–$100,000 |
|
Applications |
Jewelry, small machinery |
Kitchen equipment, marine |
Industrial tanks, aerospace |
For most small to medium jobs, a 100W–200W portable laser offers the best balance of cost and performance. For high-volume or critical applications, like pharmaceutical equipment, an industrial system with automation is worth considering.
Tips from the Trenches
Here’s what I’ve learned from years of laser cleaning:
Test First: Always run a test pass on a small area to fine-tune settings. It saves time and prevents costly mistakes.
Use Fume Extraction: Oil and grease produce fumes, so a good extractor is essential, especially indoors.
Document Settings: Keep a log of successful parameters for different stainless steel grades and contaminant types.
Clean the Lens: A dirty focusing lens reduces efficiency. I check and clean mine weekly during heavy use.
Train Thoroughly: Even user-friendly lasers require practice to master. Take advantage of supplier training sessions.

Conclusion
Laser cleaning oil and grease from stainless steel surfaces is a game-changer for anyone dealing with contaminated metal. By following a systematic approach—evaluating the surface, choosing the right machine, optimizing parameters, and prioritizing safety—you can achieve a clean, professional finish without the drawbacks of traditional methods. My years in the field have shown me that laser cleaning saves time, reduces environmental impact, and delivers consistent results, whether you’re working on a small part or a massive industrial component. If you’re new to this technology, start with a test run, consult with suppliers, and invest in proper training. The effort will pay off with surfaces that are not only clean but ready for whatever comes next.
Related Questions and Answers
Q: Can laser cleaning remove all types of oil and grease from stainless steel?
A: Yes, laser cleaning is effective for most organic contaminants, including cutting oils, kitchen grease, and industrial lubricants. For very thick or carbonized grease, multiple passes or higher power may be needed.
Q: Will laser cleaning damage the stainless steel surface?
A: Not if the settings are correct. Pulsed lasers are designed to target contaminants without affecting the metal. Always test on a small area and use conservative settings to avoid overheating or marking.
Q: How fast is laser cleaning compared to solvent-based methods?
A: Laser cleaning is often faster, especially for large surfaces. A 200W laser can clean 20–50 cm²/sec, while solvents require scrubbing and drying time. For a greasy tank, lasers can cut cleaning time in half.
Q: Is laser cleaning safe for food-grade stainless steel?
A: Absolutely. Laser cleaning leaves no chemical residue, making it ideal for food processing equipment. Just ensure proper fume extraction to avoid re-contamination from vaporized grease.
Q: What’s the cost of a laser cleaning machine for oil removal?
A: Handheld units start at $6,000–$15,000, portable models range from $15,000–$30,000, and industrial systems can exceed $30,000. For small shops, a 100W handheld laser is a cost-effective starting point.