As someone who’s spent years in the metal processing industry, I’ve seen firsthand how transformative laser technology can be for tasks like rust removal and surface preparation. Stainless steel, with its sleek appearance and corrosion resistance, is a staple in industries ranging from automotive to food processing. But sometimes, you need to give that smooth surface a bit more texture—whether for better coating adhesion, improved welding results, or enhanced mechanical bonding. That’s where a laser rust removal machine comes into play, not just for cleaning but also for roughening stainless steel surfaces with precision and efficiency. In this article, I’ll walk you through the method, share practical insights from my experience, and provide actionable tips to achieve the desired surface roughness while keeping things eco-friendly and cost-effective.

Why Roughen Stainless Steel Surfaces?
Before diving into the how-to, let’s talk about why you’d want to roughen stainless steel in the first place. Stainless steel’s natural passivation layer makes it resistant to rust, but that same smoothness can be a drawback in certain applications. For example, when preparing a surface for painting or coating, a smooth finish can lead to poor adhesion, causing the coating to peel off prematurely. Similarly, in welding, a polished surface might result in weak joints due to insufficient grip for the weld material. Roughening the surface creates micro-abrasions that enhance bonding strength, improve friction, or prepare the material for further processing.
Laser rust removal machines, traditionally used to strip away oxides, paint, or contaminants, are also highly effective for controlled surface roughening. Unlike abrasive methods like sandblasting, which can be messy and less precise, lasers offer a non-contact, environmentally friendly solution that doesn’t compromise the material’s integrity. Over the years, I’ve worked with various laser systems, and I’ve learned how to tweak their settings to achieve the perfect balance of cleanliness and texture.
Understanding Laser Rust Removal Machines
A laser rust removal machine operates using a high-energy laser beam, typically a pulsed or continuous wave (CW) fiber laser, to ablate unwanted material from a metal surface. The process, known as laser ablation, involves directing focused light at the surface, where it vaporizes rust, oxides, or coatings without damaging the underlying metal. The key lies in the ablation threshold—the energy level at which a material is removed. Rust, for instance, has a lower ablation threshold than stainless steel, allowing the laser to selectively target contaminants while leaving the base material intact.
For roughening, the laser’s parameters are adjusted to not only clean but also create controlled micro-textures on the surface. This is achieved by manipulating the laser’s power, pulse frequency, and scanning pattern. In my experience, getting the right roughness requires a bit of trial and error, but once you nail the settings, the results are consistent and repeatable.
Step-by-Step Method for Roughening Stainless Steel Surfaces
Here’s how I approach roughening stainless steel surfaces using a laser rust removal machine. This method is based on years of tinkering with laser systems and collaborating with engineers to optimize outcomes.

Step 1: Assess the Surface and Define Roughness Goals
Before firing up the laser, I always start by evaluating the stainless steel surface. Is it heavily rusted, lightly oxidized, or relatively clean? The initial condition affects how much cleaning is needed before roughening. Next, I consider the desired roughness level, often measured in terms of Ra (average roughness) or Rz (maximum height of the profile). For example:
Coating preparation typically requires an Ra of 0.8–2.5 µm.
Welding prep might need a slightly rougher surface, around 2.5–5 µm.
Mechanical bonding could demand even higher roughness, up to 10 µm.
Understanding the end goal helps me set the laser parameters correctly. If you’re unsure about the required roughness, consult with your coating supplier or welding engineer—they often have specific requirements.
Step 2: Select the Right Laser System
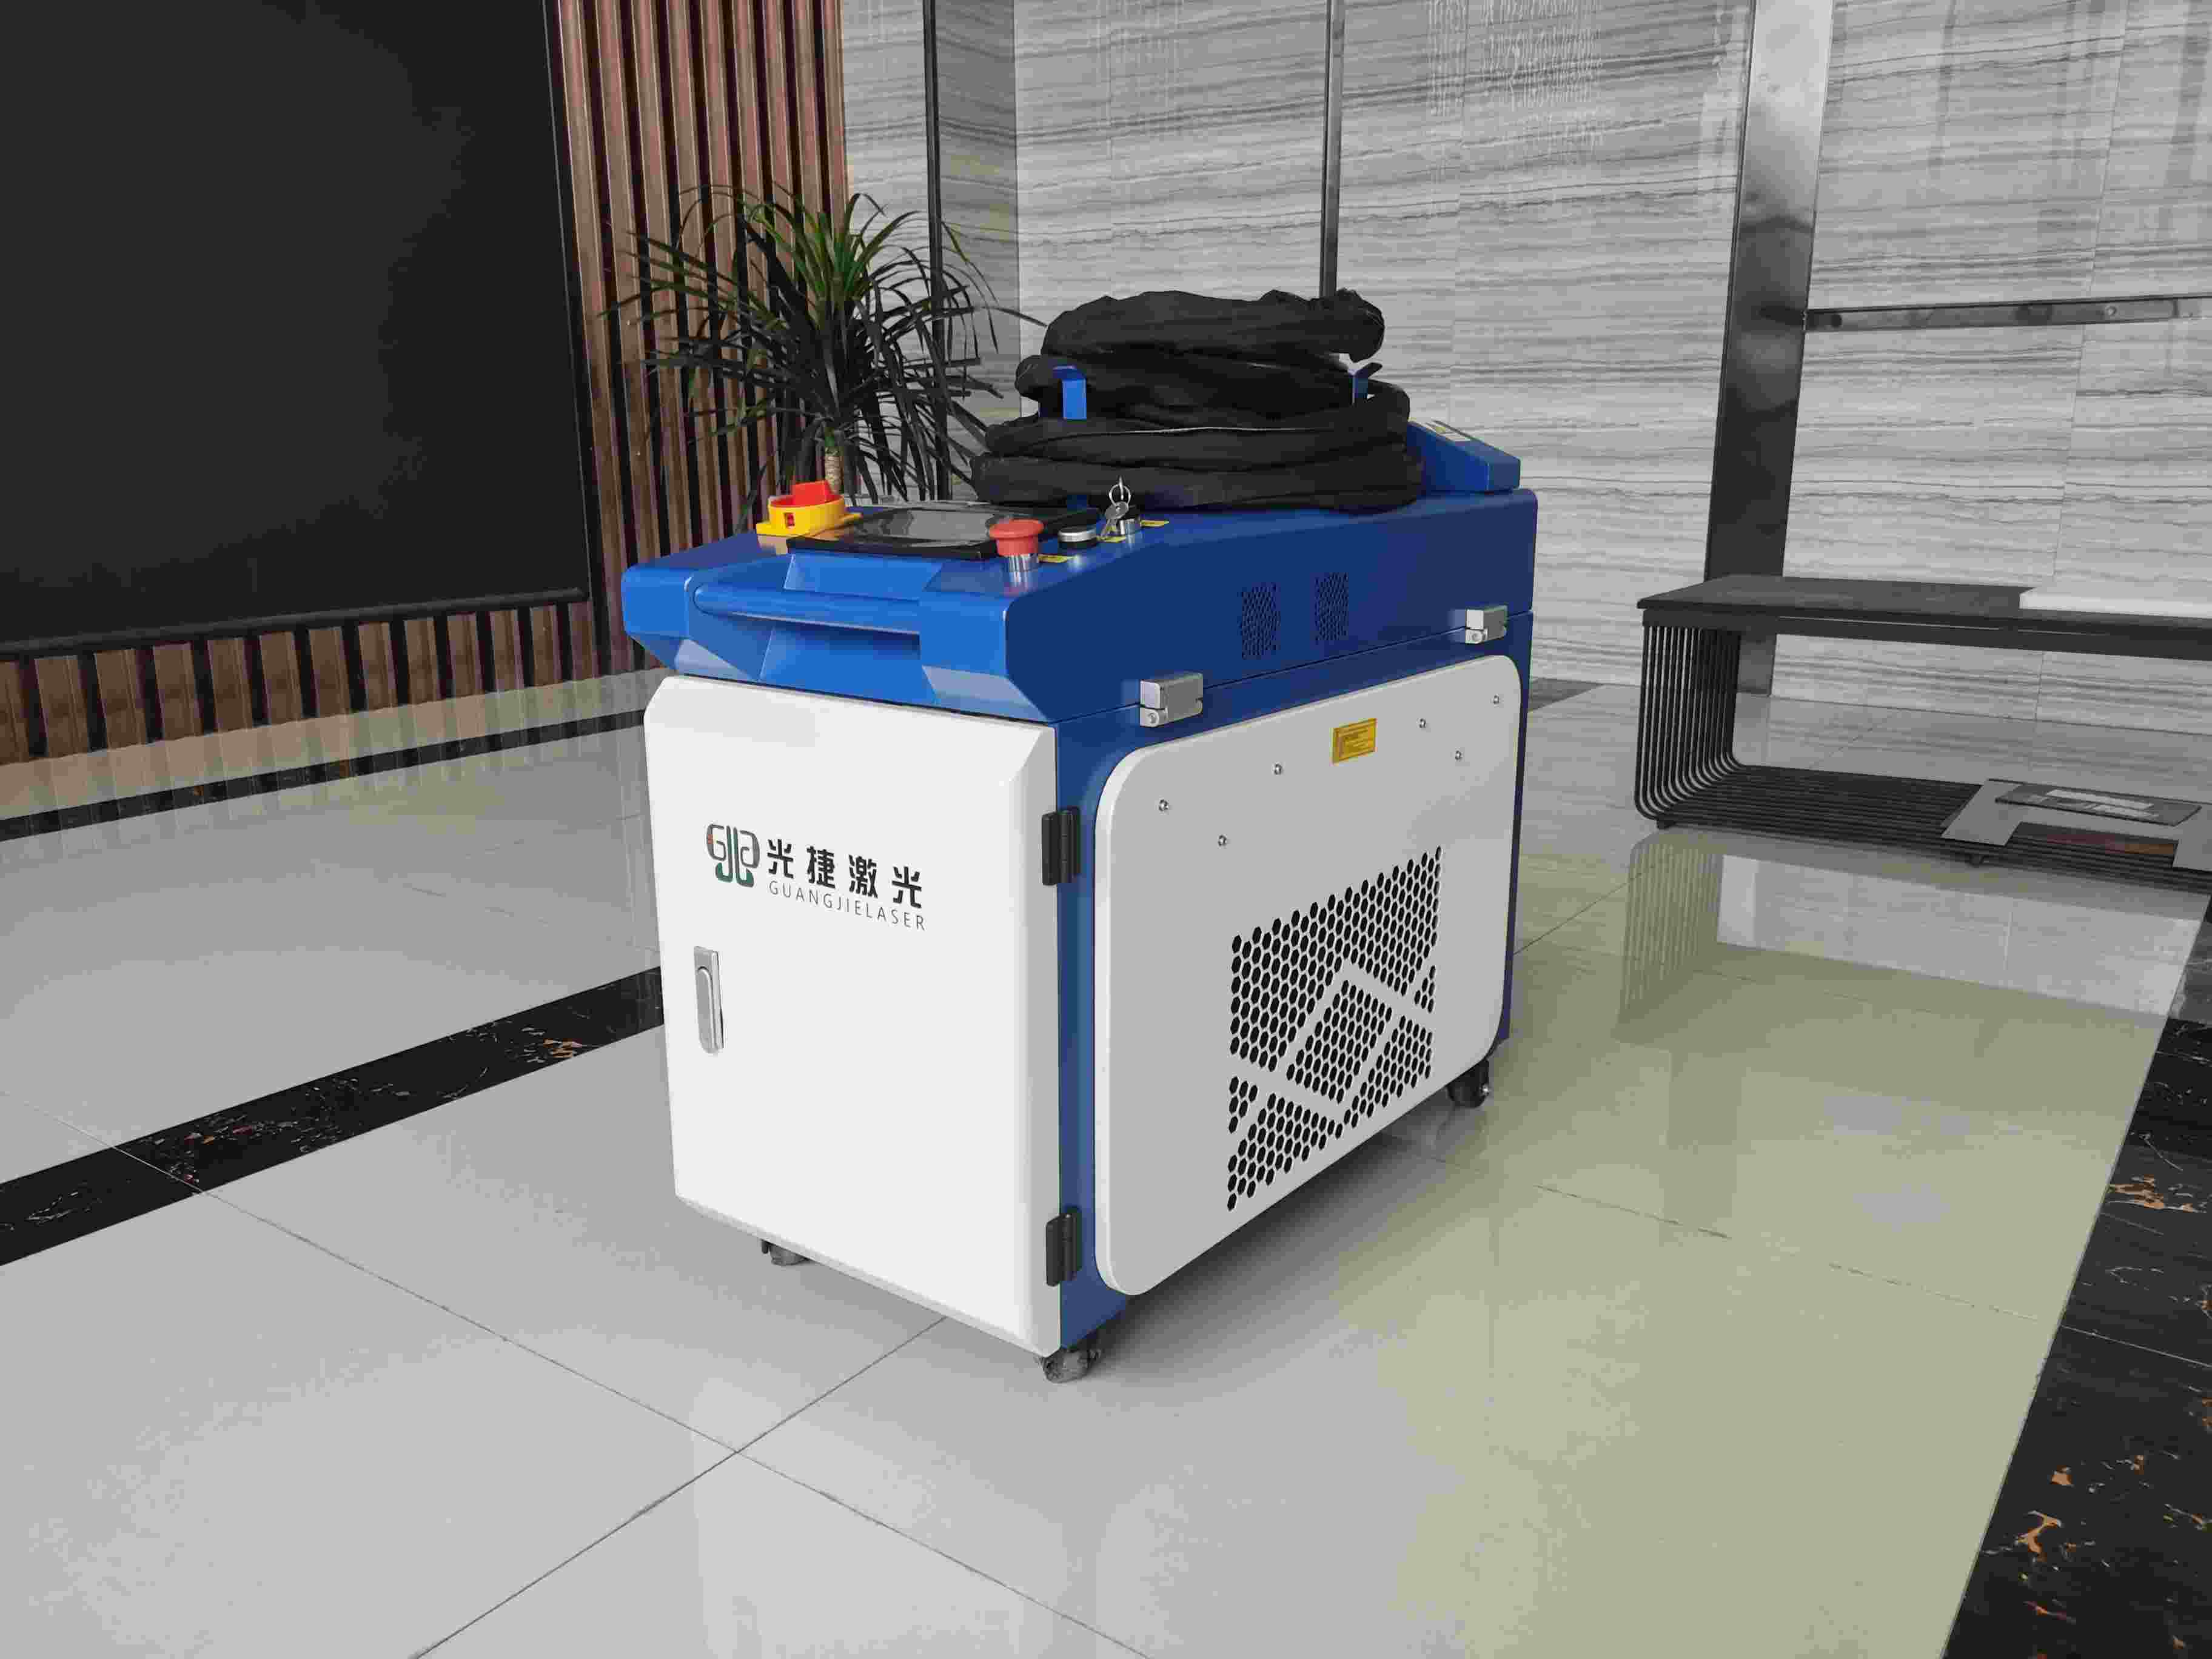
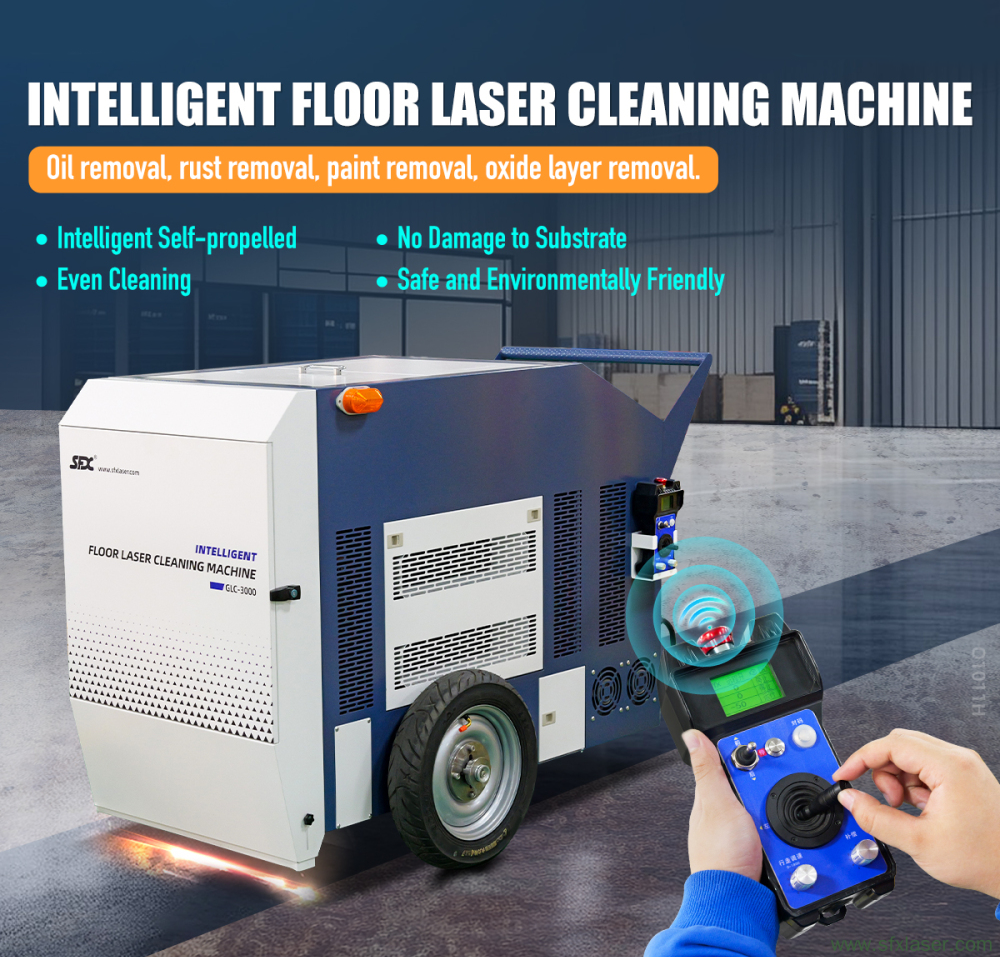
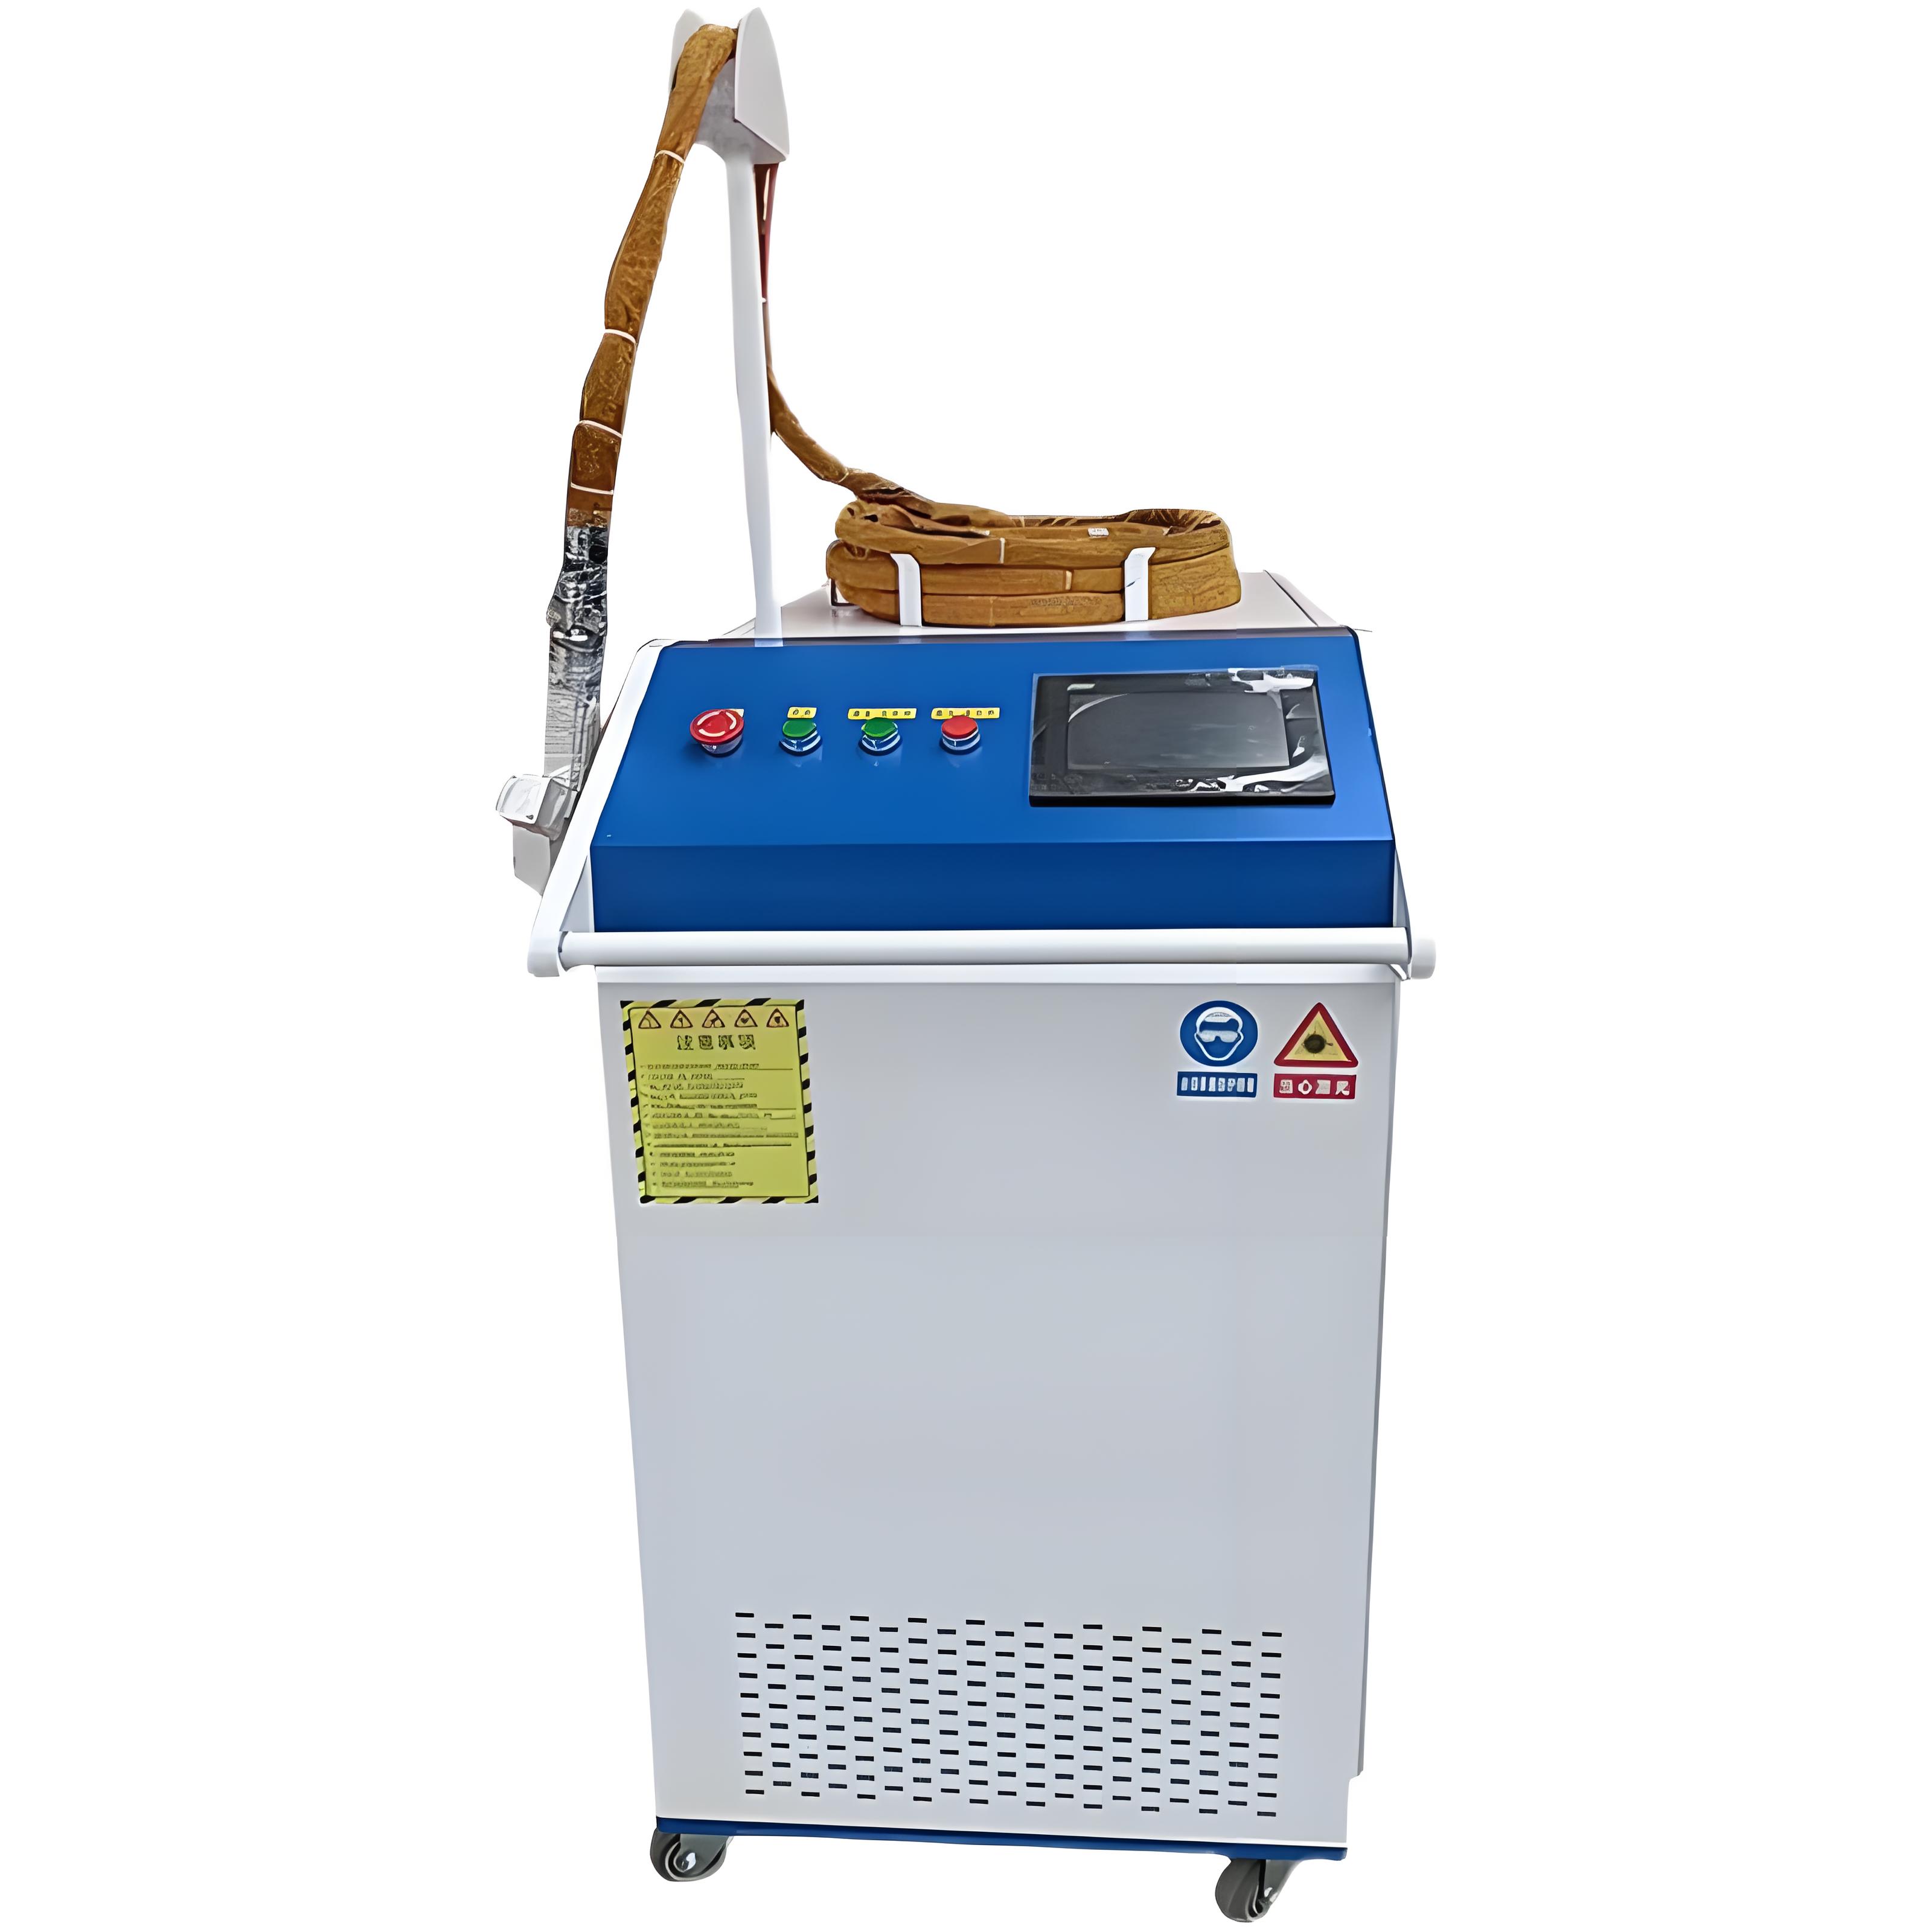
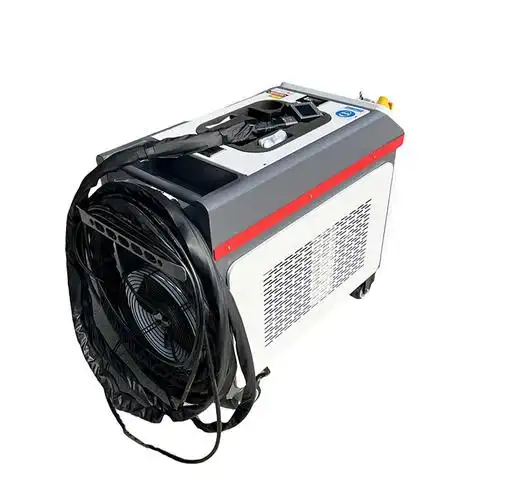
Not all laser rust removal machines are created equal. For stainless steel, I prefer pulsed fiber lasers with power ratings between 50W and 500W, depending on the project scale. Lower-power systems (50–100W) are great for precision work on smaller parts, while high-power lasers (200–500W) are better for large surfaces or heavy rust. For roughening, a pulsed laser is ideal because it delivers short, high-energy bursts that create controlled surface textures without excessive heat buildup.
Some brands I’ve worked with, like Laserax and HeatSign, offer versatile systems with adjustable settings for both cleaning and texturing. If you’re investing in a machine, look for one with a galvanometric scanner for precise beam control and a cooling system (air or water) to prevent overheating during extended use.
Step 3: Optimize Laser Parameters
This is where the magic happens. To roughen stainless steel, you need to adjust the laser’s power, pulse frequency, scanning speed, and beam pattern. Here’s a breakdown of the key parameters I focus on:
|
Parameter |
Purpose |
Typical Range for Roughening |
Notes |
|---|---|---|---|
|
Power (W) |
Determines energy delivered to surface |
50–200W |
Higher power for faster roughening; lower for delicate surfaces. |
|
Pulse Frequency (kHz) |
Controls pulse rate for texture control |
20–100 kHz |
Higher frequency for finer textures; lower for deeper abrasions. |
|
Scanning Speed (mm/s) |
Affects how quickly the beam moves |
100–1000 mm/s |
Slower speeds increase roughness; faster speeds create smoother textures. |
|
Beam Pattern |
Shapes the texture pattern |
Linear, circular, or grid |
Grid patterns often yield uniform roughness for coating adhesion. |
In my early days, I made the mistake of cranking up the power too high, which overheated the stainless steel and caused discoloration. Now, I start with conservative settings (e.g., 50W, 50 kHz, 500 mm/s) and adjust based on test runs. Most modern laser systems come with software that lets you save presets for different materials and tasks, which saves a ton of time.

Step 4: Prepare the Work Area
Safety first. Laser cleaning is safer than chemical or abrasive methods, but you still need to protect yourself and your workspace. I always wear laser safety glasses rated for the specific wavelength of the laser (typically 1064 nm for fiber lasers). Ensure the work area is well-ventilated, as laser ablation can produce fine particles or fumes, especially if there’s rust or paint involved. For hazardous contaminants like lead-based coatings, use a system with a built-in fume extractor.
Position the stainless steel part securely, and if you’re using a handheld laser gun, maintain a consistent distance (usually 200–400 mm) from the surface. For automated setups, program the laser’s path to cover the target area evenly.
Step 5: Perform the Roughening Process
With the parameters set and safety measures in place, it’s time to roughen the surface. I typically run a test pass on a small, inconspicuous area to check the texture. Use a profilometer to measure the roughness if precision is critical. The laser will remove any surface contaminants (rust, oxides, or grease) while creating micro-abrasions. For stainless steel, the process is fast—light rust can be removed and roughened at speeds up to 50 cm²/sec with a 200W laser, based on my experience with systems like those from Laserax.
If the roughness isn’t quite right, tweak the scanning speed or pulse frequency. Slower speeds or lower frequencies tend to create deeper textures, while faster speeds produce finer ones. Be patient—overdoing it can lead to excessive material removal or surface damage.
Step 6: Inspect and Post-Process
After roughening, I inspect the surface under good lighting to ensure uniformity. A properly roughened stainless steel surface should feel slightly gritty to the touch and have a matte appearance. If you’re preparing for coating, test adhesion with a cross-hatch test. For welding, check that the surface is free of oxides and has the desired texture for strong joints.
In some cases, laser roughening can form a new passivation layer on stainless steel, enhancing its corrosion resistance. This is a bonus I’ve noticed in applications where the parts are exposed to harsh environments. If further processing (like coating or welding) isn’t immediate, store the parts in a dry, clean environment to prevent re-oxidation.
Benefits of Laser Roughening for Stainless Steel
Over the years, I’ve come to appreciate how laser roughening stands out compared to traditional methods like sandblasting or chemical etching. Here are some advantages that have made my work easier:
Precision: The laser allows pinpoint control, so you only roughen the areas you need, avoiding damage to surrounding surfaces.
Eco-Friendly: No chemicals or abrasive media mean less waste and no environmental cleanup.
Consistency: Once you dial in the settings, the results are uniform across large batches.
Versatility: The same machine can clean, roughen, and even mark stainless steel, saving on equipment costs.
Safety: No flying debris or toxic fumes, making it safer for operators like me.

Challenges and How to Overcome Them
No method is perfect, and laser roughening has its challenges. One issue I’ve encountered is overheating, especially with thin stainless steel sheets (e.g., 3 mm or less). Excessive heat can cause warping or color changes, which ruins the material’s aesthetics. To avoid this, I use lower power settings and increase the scanning speed to reduce heat buildup.
Another challenge is cost. Laser machines aren’t cheap—entry-level models start at around $6,000, and high-end systems can exceed $20,000. However, the long-term savings from reduced consumables, labor, and waste disposal often justify the investment. If you’re on a budget, consider outsourcing to a laser cleaning service for one-off projects, as I did early in my career.
Finally, achieving the exact roughness can take practice. I recommend running tests on scrap pieces of stainless steel to fine-tune your settings before tackling critical parts. Most suppliers, like KEYENCE or Laser Photonics, offer demo units or testing services to help you get started.
Real-World Applications
In my work, I’ve used laser roughening for a variety of stainless steel applications:
Automotive: Preparing exhaust components for ceramic coatings to improve heat resistance.
Food Processing: Roughening stainless steel tanks to enhance paint adhesion for hygienic coatings.
Aerospace: Texturing structural parts for better adhesive bonding in composite assemblies.
Marine: Cleaning and roughening stainless steel fittings to prevent corrosion in salty environments.
One memorable project involved roughening stainless steel panels for a luxury yacht’s exterior. The client needed a specific Ra value for a high-gloss coating, and the laser delivered perfectly uniform results across 50 panels in just a few hours. It was a game-changer compared to the sandblasting we’d used previously, which took days and left a mess.
Choosing the Right Machine for Your Needs
If you’re considering a laser rust removal machine for roughening, here’s a quick guide to help you pick the right one:
|
Feature |
Low-Power (50–100W) |
Mid-Power (200W) |
High-Power (500W+) |
|---|---|---|---|
|
Best For |
Small parts, precision |
Medium-sized parts |
Large surfaces, heavy rust |
|
Roughening Speed |
10–20 cm²/sec |
20–50 cm²/sec |
50–100 cm²/sec |
|
Cost Range |
$6,000–$12,000 | $12,000–$18,000 | $18,000–$30,000 |
|
Applications |
Jewelry, electronics |
Automotive, marine |
Industrial, shipbuilding |
For most small to medium-sized shops, a 200W pulsed laser strikes the best balance of cost and performance. If you’re dealing with large-scale projects, like shipbuilding, a 500W or higher system might be worth the investment.
Tips from the Field
Here are some hard-earned lessons from my years of working with laser systems:
Calibrate Regularly: Check your laser’s focus and alignment monthly to ensure consistent results.
Test on Scrap First: Always run a test piece to avoid costly mistakes on production parts.
Document Settings: Keep a log of successful parameter combinations for different stainless steel grades (e.g., 304 vs. 316).
Train Your Team: Proper training reduces the risk of accidents and improves efficiency. Many suppliers offer free training with purchase.
Monitor Fumes: Even though laser cleaning is eco-friendly, use ventilation or fume extractors for large-scale jobs.

Conclusion
Using a laser rust removal machine to roughen stainless steel surfaces is a game-changer for anyone in the metalworking industry. It’s precise, efficient, and environmentally friendly, offering a level of control that traditional methods can’t match. By carefully selecting your machine, optimizing parameters, and following a systematic process, you can achieve the perfect surface texture for coating, welding, or bonding applications. Over the years, I’ve seen how this technology can save time, reduce costs, and deliver superior results, whether you’re working on a small prototype or a massive industrial project. If you’re new to laser roughening, start small, experiment with settings, and don’t hesitate to reach out to suppliers for demos or advice. It’s an investment that pays off in quality and efficiency.
Related Questions and Answers
Q: Can a laser rust removal machine damage stainless steel while roughening?
A: If the laser parameters are set correctly, the machine won’t damage the stainless steel. The key is to stay below the ablation threshold of the base material while targeting the rust or surface layer. Always test on a scrap piece first to ensure the settings are appropriate.
Q: How long does it take to roughen a large stainless steel surface?
A: The time depends on the laser power and surface area. A 200W laser can roughen about 20–50 cm²/sec, so a 1 m² panel might take 20–50 seconds. Larger systems (500W+) can be faster but require careful heat management to avoid warping.
Q: Is laser roughening cost-effective compared to sandblasting?
A: While the upfront cost of a laser machine is higher, it saves money in the long run by eliminating consumables, reducing labor, and minimizing waste disposal. For high-volume or precision work, lasers are often more cost-effective.
Q: Can I use the same laser machine for both rust removal and roughening?
A: Yes, most modern laser rust removal machines are versatile enough to handle both tasks. You’ll just need to adjust the power, frequency, and scanning pattern to switch between cleaning and roughening modes.
Q: What safety precautions should I take when using a laser rust removal machine?
A: Always wear laser safety glasses rated for the machine’s wavelength, ensure proper ventilation, and follow the manufacturer’s safety guidelines. For handheld units, maintain a consistent distance from the surface, and never point the laser at reflective surfaces that could redirect the beam.