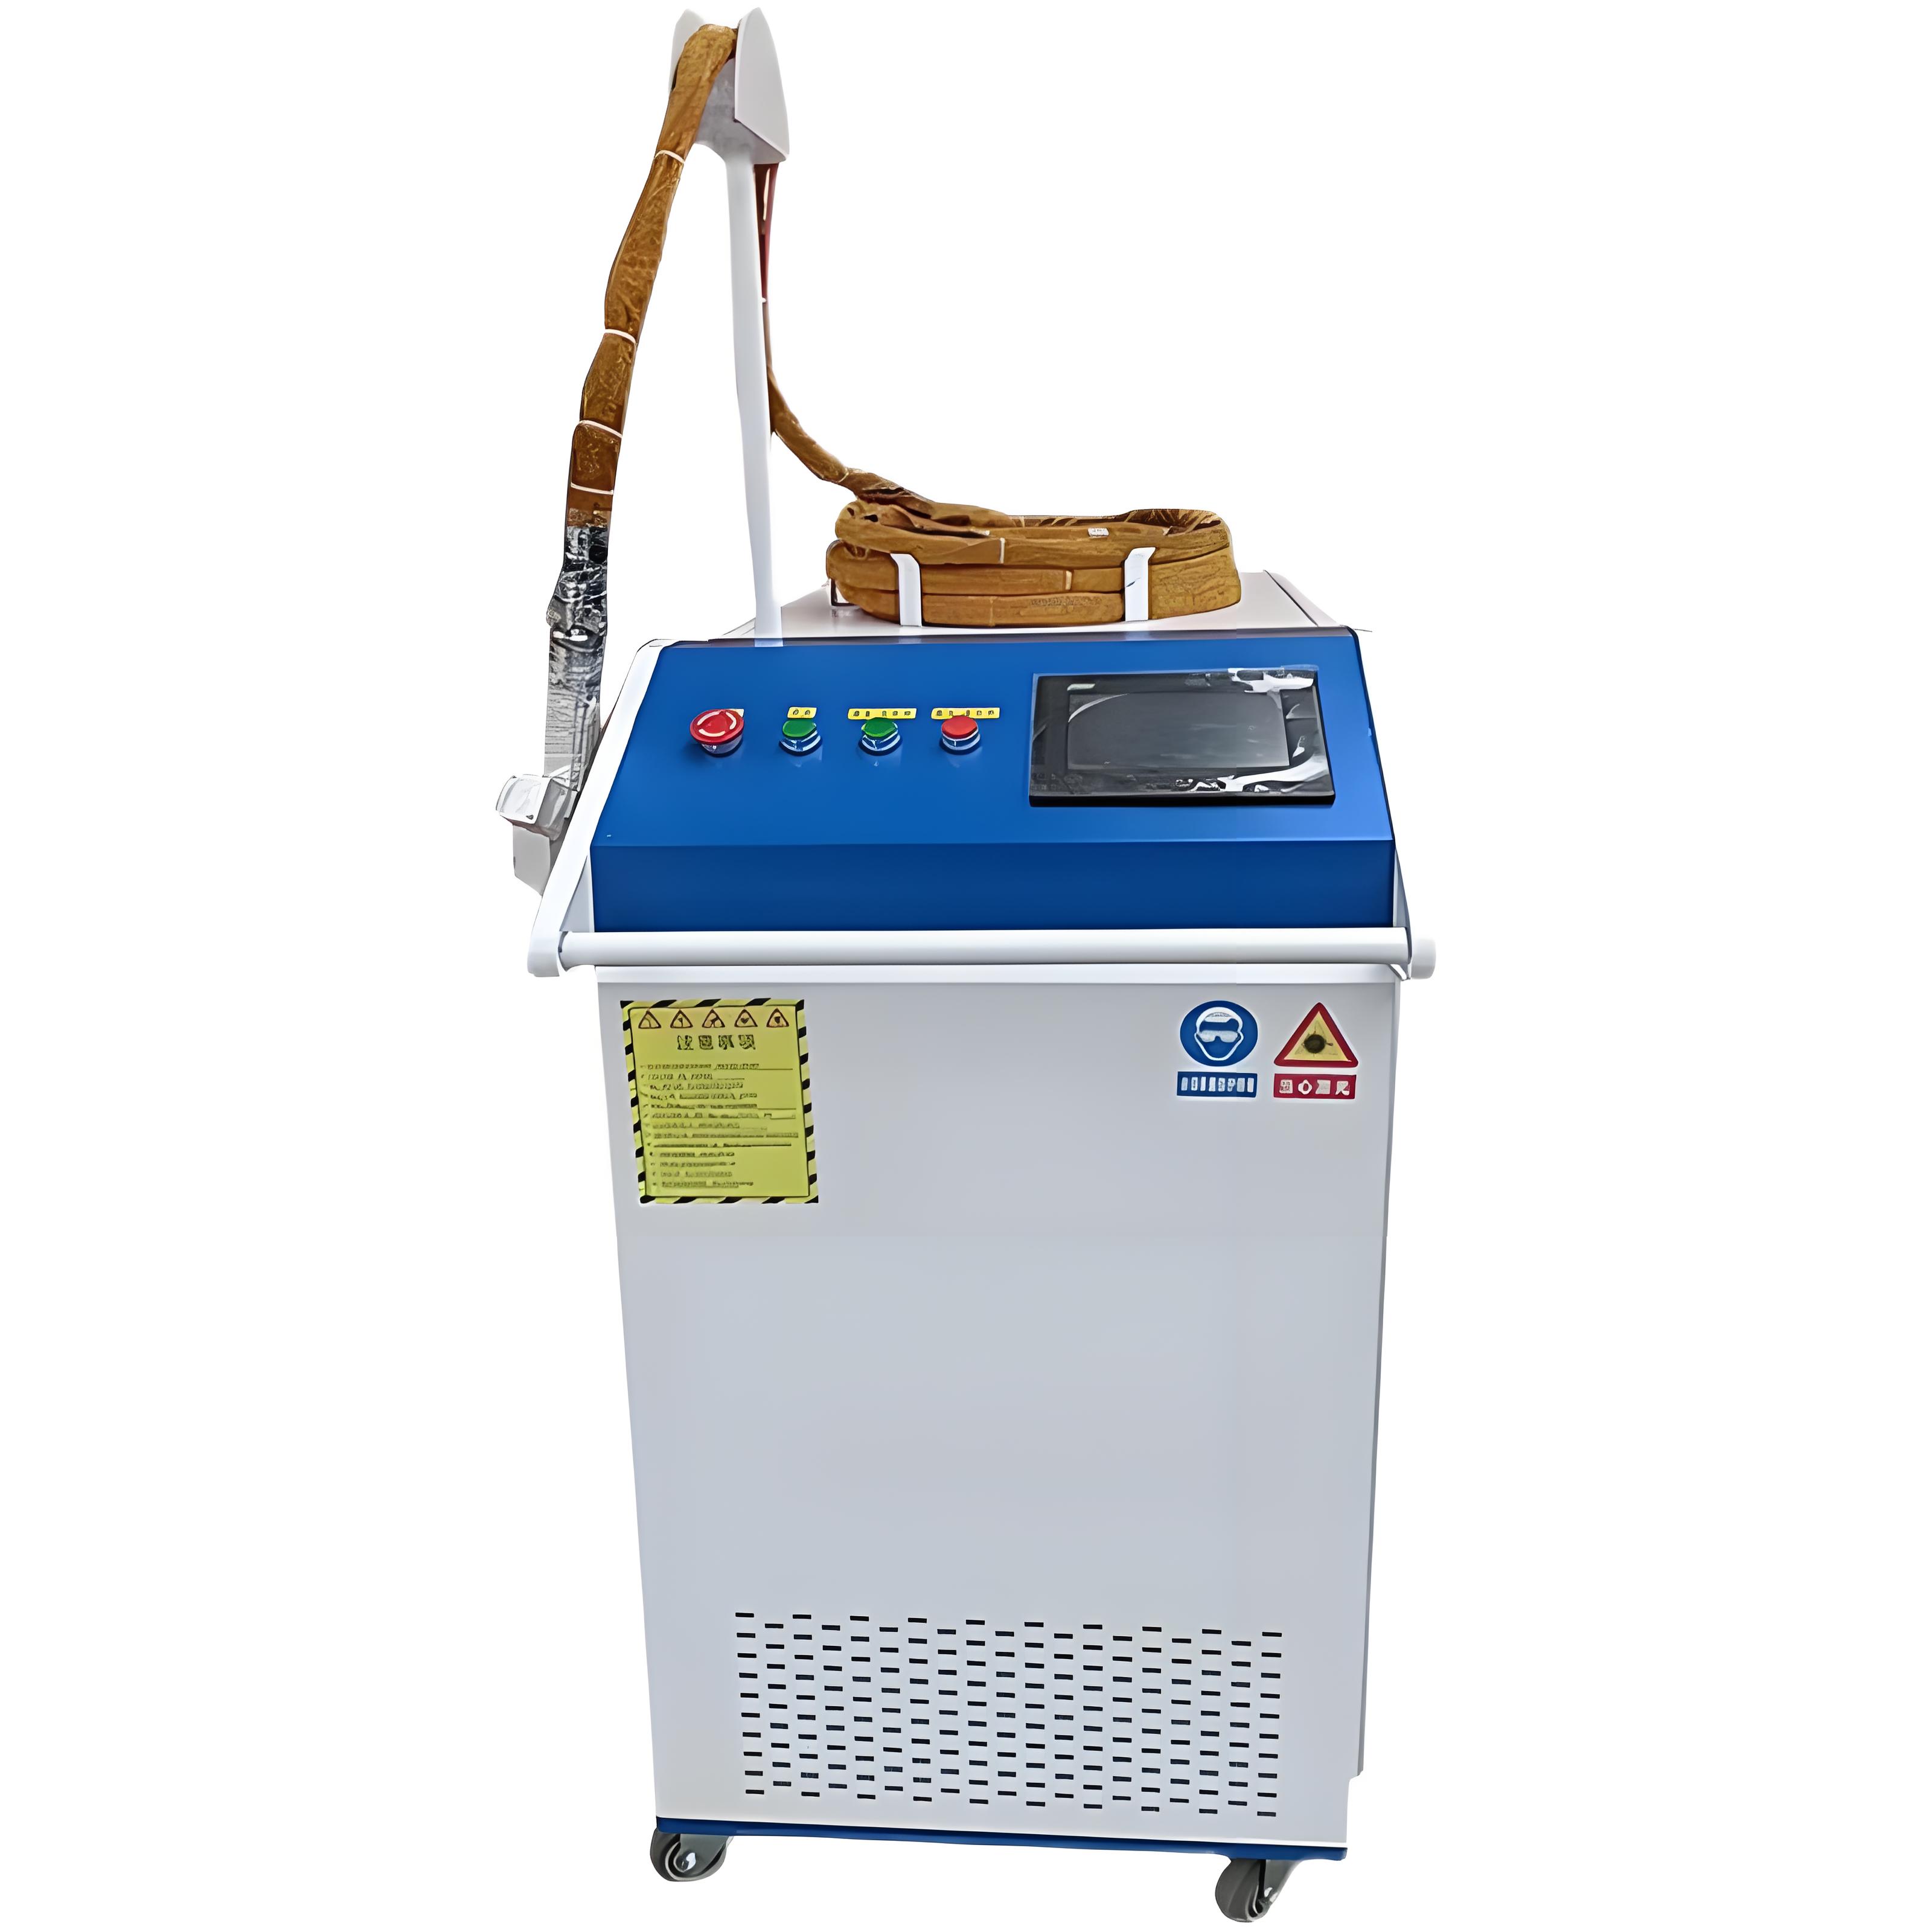
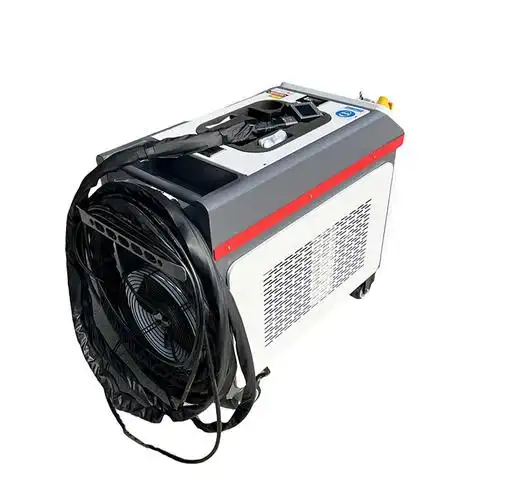
Having spent over a decade working with laser technology, I’ve seen the transformative power of laser rust removal in industries ranging from automotive repair to heritage restoration. It’s a game-changer—precise, eco-friendly, and efficient. But one concern I hear time and again from clients and colleagues is: How do we ensure the metal underneath the rust stays intact? It’s a valid question. After all, the whole point of rust removal is to restore the metal, not to harm it. In this article, I’ll share my insights on the science, techniques, and practical tips to protect the metal substrate during laser rust removal, drawing from years of hands-on experience. Let’s dive into the details and explore how to achieve pristine results without compromising the material you’re trying to save.
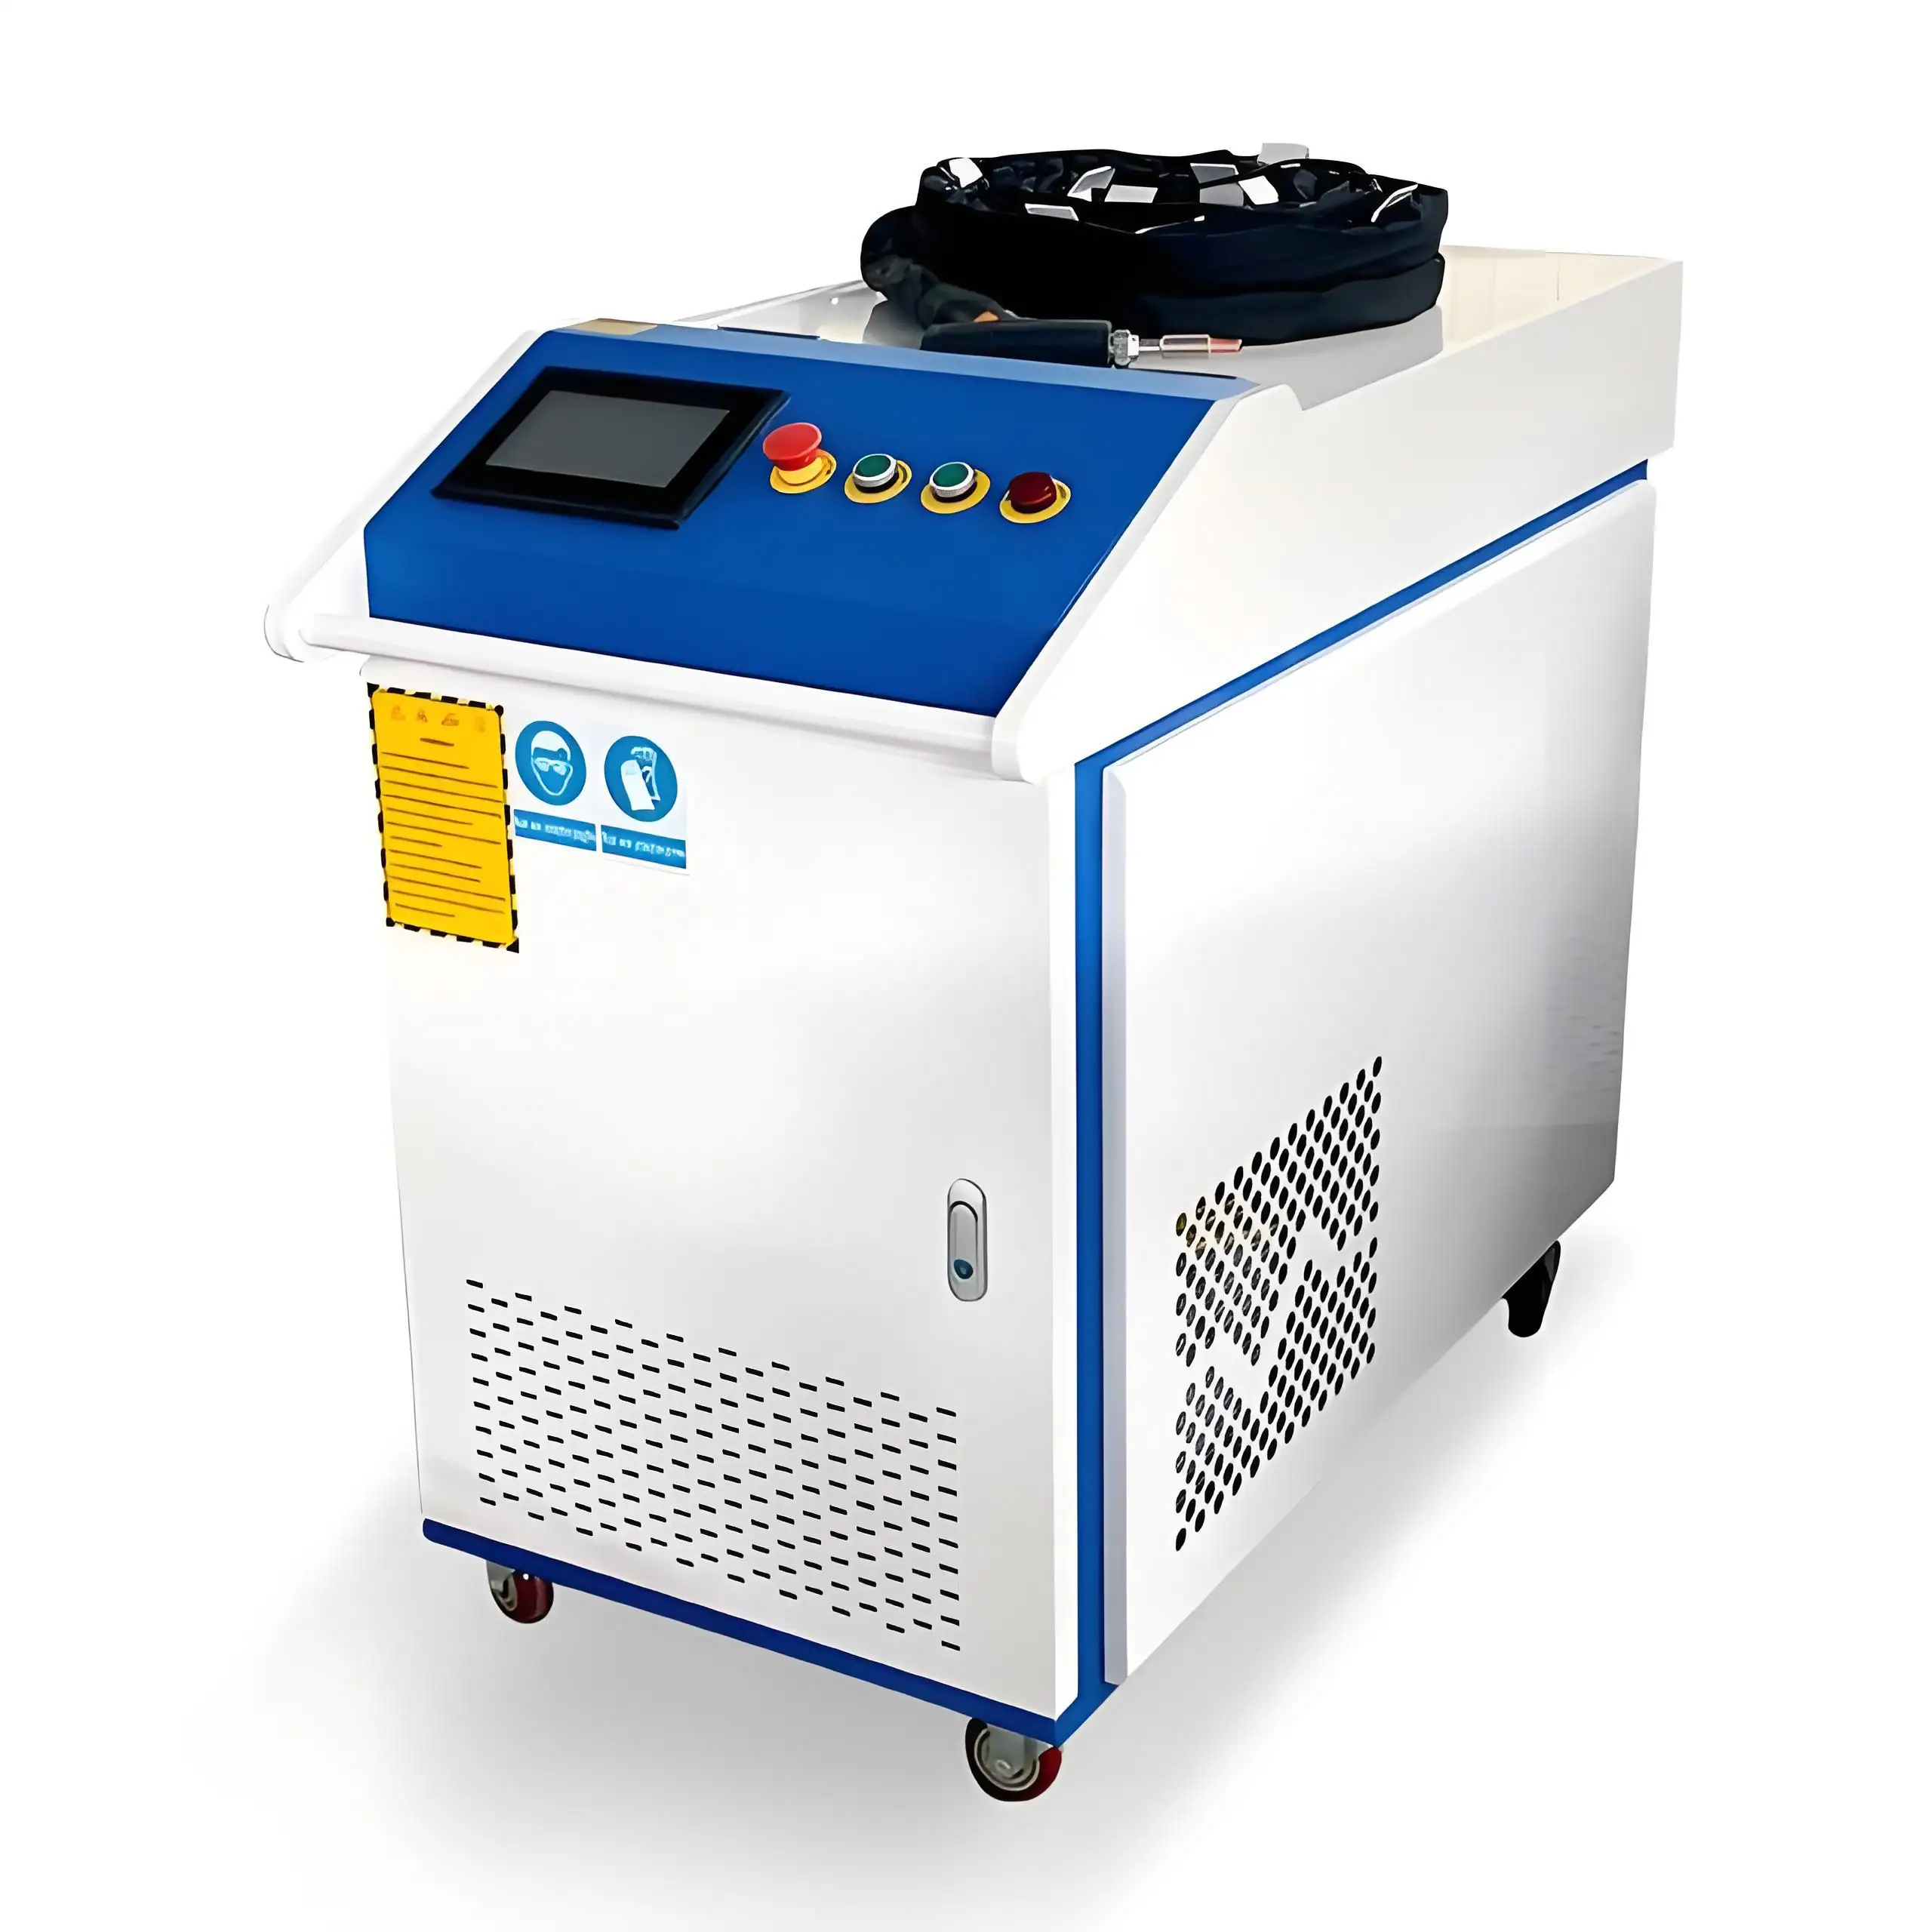
Understanding the Challenge
Laser rust removal, or laser ablation, uses high-energy laser beams to vaporize rust (iron oxide) and other contaminants from metal surfaces. The beauty of this process lies in its selectivity—the laser targets the rust while ideally leaving the metal substrate untouched. However, if the process isn’t carefully controlled, the intense energy of the laser can cause unwanted effects like thermal damage, surface pitting, or metallurgical changes to the metal. These risks are especially critical when working with delicate or high-value materials, such as aerospace components or historical artifacts.
The key to preventing damage lies in understanding how lasers interact with different materials and fine-tuning the process to exploit the differences between rust and metal. Let’s break it down.
Why the Metal Substrate Can Be Vulnerable
Rust and metal have distinct optical and thermal properties, which is why laser rust removal works so well. Rust absorbs laser energy more readily (due to its higher absorption coefficient at wavelengths like 1064 nm), while metals like steel or aluminum reflect more of that energy. This difference allows the laser to remove rust without penetrating too deeply into the substrate. However, several factors can lead to unintended damage:
Excessive Energy Input: If the laser’s power density or pulse duration is too high, it can overheat the metal, causing micro-cracks or phase changes in the crystal structure.
Improper Focus: A poorly focused laser beam can spread energy too broadly, affecting the substrate instead of just the rust.
Material Sensitivity: Some metals, like thin aluminum sheets or high-carbon steel, are more prone to thermal damage or surface alteration.
Operator Error: Incorrect settings or scan patterns can lead to overexposure, especially in complex geometries or uneven surfaces.
Over the years, I’ve learned that avoiding these pitfalls requires a combination of technical knowledge, proper equipment setup, and real-time monitoring. Let’s explore the strategies that ensure the metal stays safe.
Key Strategies to Protect the Metal Substrate
Here are the practical steps I’ve refined through countless projects to ensure the metal substrate remains undamaged during laser rust removal.
1. Choose the Right Laser Parameters
The cornerstone of safe laser rust removal is selecting the appropriate laser parameters. These include power, pulse frequency, pulse duration, and scan speed. Each parameter plays a role in controlling the energy delivered to the surface.
Power: For most rust removal tasks, a 50-200 watt pulsed fiber laser is sufficient. Higher power (e.g., 500 watts) may be tempting for speed but increases the risk of overheating the metal. I typically start with a lower power setting, like 50 watts, and adjust based on the rust thickness.
Pulse Frequency: Higher frequencies (e.g., 50-200 kHz) deliver energy in short, rapid bursts, minimizing heat buildup in the substrate. For delicate metals, I use 100 kHz to balance efficiency and safety.
Pulse Duration: Short pulses (e.g., nanosecond range) ensure the energy is absorbed by the rust before it conducts to the metal. This is critical for materials like aluminum, which have high thermal conductivity.
Scan Speed: Faster scan speeds (e.g., 200-1000 mm/s) reduce the time the laser dwells on any single spot, preventing overheating. For intricate surfaces, I slow the speed slightly to ensure precision without overexposure.
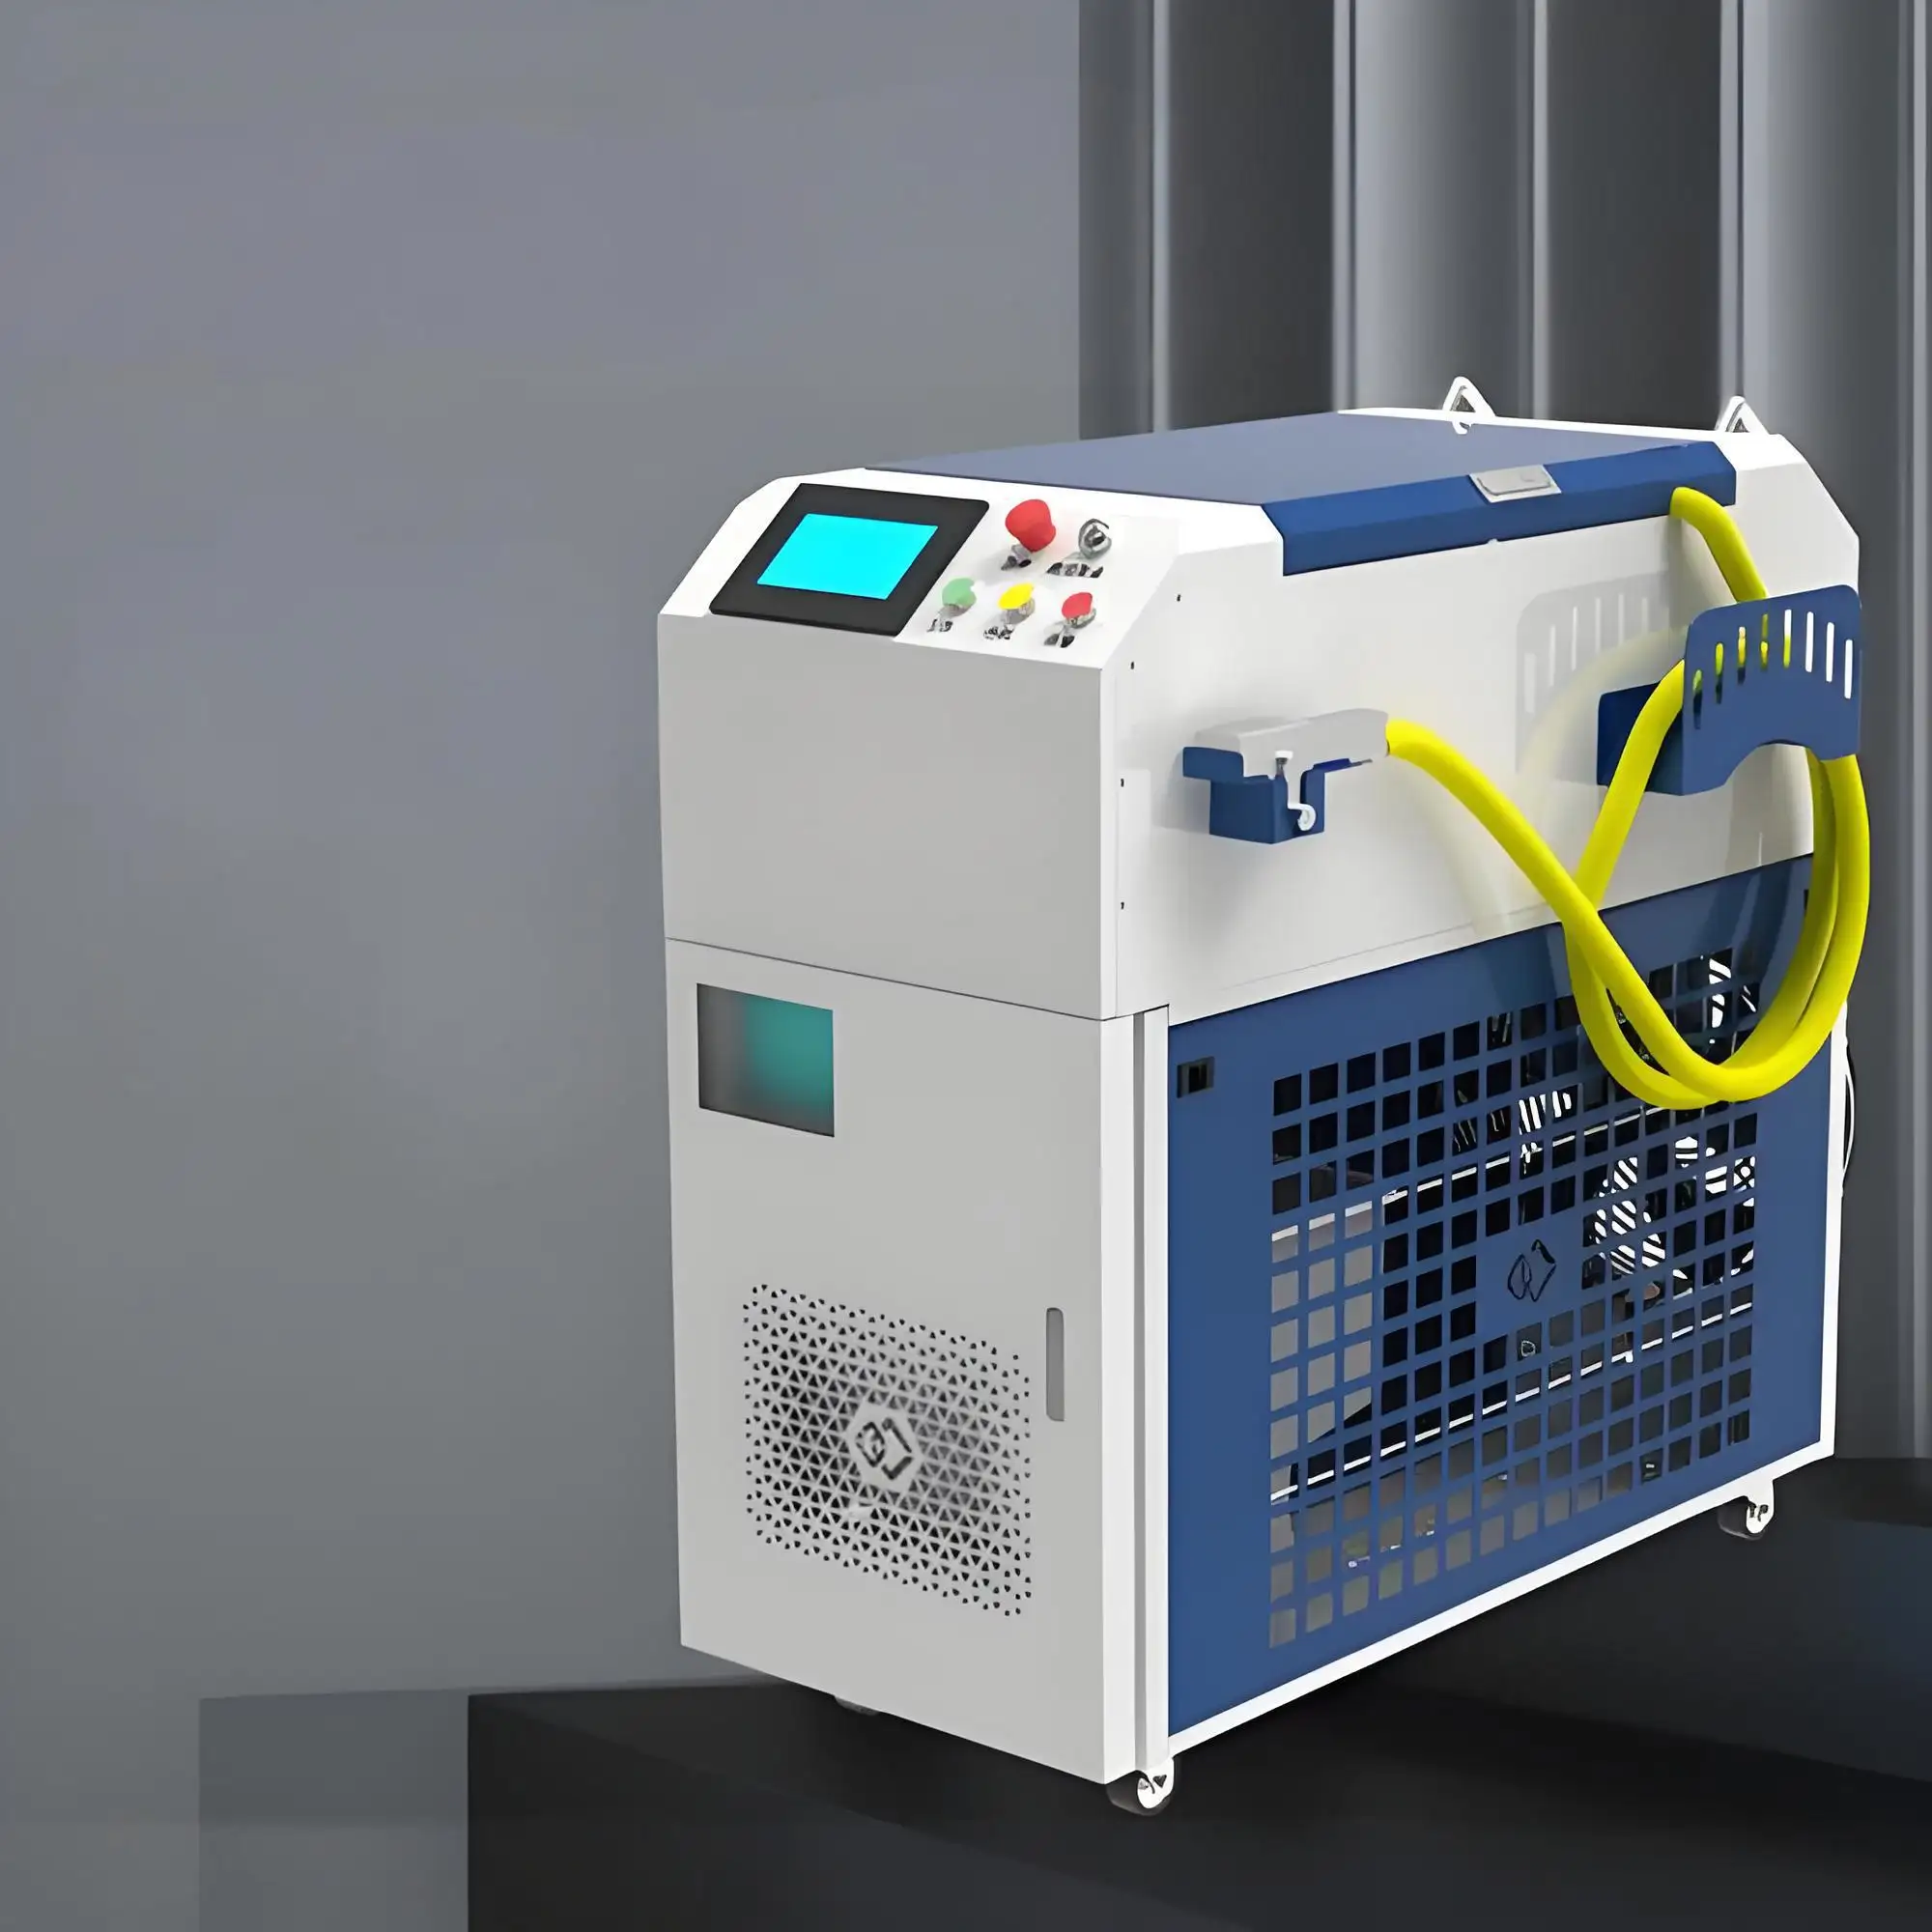
2. Optimize the Laser’s Focus
The laser beam’s focus determines how concentrated the energy is. A tightly focused beam targets the rust precisely, while a defocused beam spreads energy, increasing the risk of substrate damage. I always use a galvanometer scanner with a high-quality F-theta lens to maintain a consistent focal point across the surface. Before starting, I check the beam’s focus by running a test on a scrap piece of the same material to ensure the spot size is optimized (typically 0.05-0.1 mm for rust removal).
3. Select the Appropriate Wavelength
Most laser rust removal systems use 1064 nm fiber lasers because rust absorbs this wavelength efficiently, while metals reflect it. However, for highly reflective metals like copper or polished stainless steel, I sometimes adjust to a 532 nm green laser to improve absorption control. This reduces the risk of surface damage on materials with low ablation thresholds.
4. Use the Right Scan Pattern
The scan pattern—how the laser moves across the surface—can make or break the process. Common patterns include linear, circular, or cross-hatch. For uneven surfaces or complex geometries, I prefer a cross-hatch pattern to ensure uniform coverage without overexposing any single area. Adjusting the fill interval (the distance between scan lines, typically 0.05-0.1 mm) also helps prevent heat buildup.
5. Monitor Surface Temperature
Excessive heat is the enemy of the metal substrate. To prevent thermal damage, I use an infrared thermometer or thermal imaging camera to monitor the surface temperature during cleaning. For most metals, keeping the temperature below 200°C ensures no metallurgical changes occur. If the surface gets too hot, I reduce the power or increase the scan speed.
6. Test on a Sample First
Before tackling a critical project, I always run a test on a sample piece of the same material. This lets me fine-tune parameters without risking the actual workpiece. For example, when working on a rusted titanium aircraft component, I tested settings on a scrap piece to find the sweet spot: 100 watts, 100 kHz, and 500 mm/s. This ensured the titanium’s surface remained pristine.
7. Use Protective Atmospheres (When Necessary)
For highly sensitive metals like titanium or magnesium, I sometimes introduce an inert gas (e.g., argon or nitrogen) to create a protective atmosphere. This minimizes oxidation during cleaning, which can occur if the substrate is exposed to air at high temperatures. While not always necessary, this technique is a lifesaver for aerospace or medical applications.
Factors Affecting Substrate Safety
To make things clearer, here’s a table summarizing the key factors that influence whether the metal substrate remains undamaged, along with recommended settings and their impact:
|
Factor |
Description |
Recommended Setting |
Impact on Substrate |
|---|---|---|---|
|
Laser Power |
The energy output of the laser (in watts). |
50-200 watts for most metals. |
Higher power risks overheating; lower power ensures safety. |
|
Pulse Frequency |
The rate of laser pulses (in kHz). |
50-200 kHz for rust removal. |
Higher frequencies reduce heat penetration. |
|
Scan Speed |
The speed at which the laser moves across the surface (in mm/s). |
200-1000 mm/s, depending on rust thickness. |
Faster speeds minimize heat buildup. |
|
Material Type |
The substrate’s composition (e.g., steel, aluminum, titanium). |
Adjust parameters based on thermal conductivity and reflectivity. |
Reflective metals need lower power or different wavelengths. |
Real-World Applications and Lessons Learned
Laser rust removal is used in a wide range of industries, and each application teaches you something new about protecting the substrate. In my career, I’ve worked on everything from ship hulls to vintage car restorations, and each project has reinforced the importance of precision.
One memorable job involved cleaning a rusted steel bridge component. The client was worried about weakening the metal, which was critical for structural integrity. I used a 100-watt pulsed fiber laser with a 50 kHz pulse frequency and a linear scan pattern to remove the rust layer by layer. By monitoring the surface temperature and adjusting the scan speed to 300 mm/s, we avoided any thermal stress. The result was a clean, undamaged surface that passed all structural tests.
Another project involved restoring a bronze statue for a museum. Bronze is trickier because it’s softer and more prone to surface pitting. I opted for a 532 nm green laser to reduce reflectivity and used a circular scan pattern to distribute energy evenly. The statue came out flawless, and the client was amazed at how the original patina was preserved.
These experiences taught me that every material and project is unique. Taking the time to understand the substrate’s properties and testing settings beforehand is non-negotiable.
Comparing Laser Rust Removal to Traditional Methods
To appreciate why laser rust removal is so effective at protecting the substrate, let’s compare it to traditional methods like sandblasting, chemical cleaning, and manual sanding:
|
Method |
Risk to Substrate |
Precision |
Environmental Impact |
|---|---|---|---|
|
Laser Rust Removal |
Low; selective ablation targets rust only. |
High; adjustable parameters. |
Minimal; no chemicals or waste. |
|
Sandblasting |
High; abrasive particles can erode metal. |
Low; non-selective. |
High; produces dust and requires waste disposal. |
|
Chemical Cleaning |
Moderate; chemicals can etch or corrode metal. |
Low; uneven application. |
High; uses hazardous chemicals. |
|
Manual Sanding |
Moderate; excessive force can scratch metal. |
Low; labor-intensive. |
Moderate; produces dust but no chemicals. |
Laser rust removal stands out for its precision and minimal impact on the substrate. Unlike sandblasting, which can remove healthy metal along with rust, or chemical cleaning, which risks corrosion, lasers offer unmatched control.
Safety and Environmental Considerations
Protecting the metal substrate isn’t just about technique—it’s also about ensuring a safe and sustainable process. Laser rust removal is eco-friendly, producing no chemical waste and minimal debris. However, the vaporized rust particles require a dust extraction system to keep the workspace clean and safe. I always pair my laser systems with a high-efficiency HEPA-filtered exhaust to capture fine particles.
Operator safety is equally important. The laser beam can cause eye damage if not handled properly, so I always wear laser safety glasses tuned to the laser’s wavelength (e.g., 1064 nm). The noise, typically 60-80 dB, isn’t as loud as sandblasting, but I recommend ear protection for long sessions to avoid fatigue.
The Future of Laser Rust Removal
Looking ahead, I’m excited about advancements in laser technology that will make substrate protection even easier. AI-driven laser systems are emerging, capable of analyzing the surface in real time and adjusting parameters to avoid damage. For example, some systems now use spectroscopy to detect the transition from rust to metal, automatically reducing power to prevent overexposure.
Additionally, hybrid laser systems that combine cleaning, cutting, and welding are becoming more common. These systems offer greater flexibility, allowing operators to switch tasks without changing equipment, all while maintaining substrate safety.
Conclusion
Ensuring the metal substrate remains undamaged during laser rust removal is all about precision, preparation, and understanding the material you’re working with. By carefully selecting laser parameters, optimizing focus and scan patterns, and monitoring the process, you can achieve flawless results without compromising the metal’s integrity. My years in the field have taught me that every project is a learning opportunity—whether it’s a rusted bridge or a delicate artifact, the right approach makes all the difference.
If you’re exploring laser rust removal for your next project, take the time to test settings, invest in quality equipment, and prioritize safety. The result will be a clean, undamaged surface that’s ready for its next chapter, whether that’s a fresh coat of paint or a proud display in a museum.
Related Questions and Answers
Q: Can laser rust removal damage thin metal sheets?
A: Thin metals are more vulnerable to thermal damage, but using a low power setting (e.g., 50 watts) and high scan speed (e.g., 500 mm/s) can prevent this. Testing on a sample is crucial.
Q: How do I know if I’m using the right laser parameters?
A: Start with a test on a scrap piece of the same material. Monitor the surface for signs of pitting or discoloration, and use an infrared thermometer to ensure the temperature stays below 200°C.
Q: Is laser rust removal safe for historical artifacts?
A: Yes, with proper settings. For delicate materials like bronze, use a 532 nm laser and a circular scan pattern to minimize surface impact. Always consult with a conservator for high-value items.
Q: What happens if the laser is not properly focused?
A: An unfocused laser spreads energy, increasing the risk of thermal damage or surface pitting. Use a galvanometer scanner and test the spot size (e.g., 0.05 mm) before starting.

