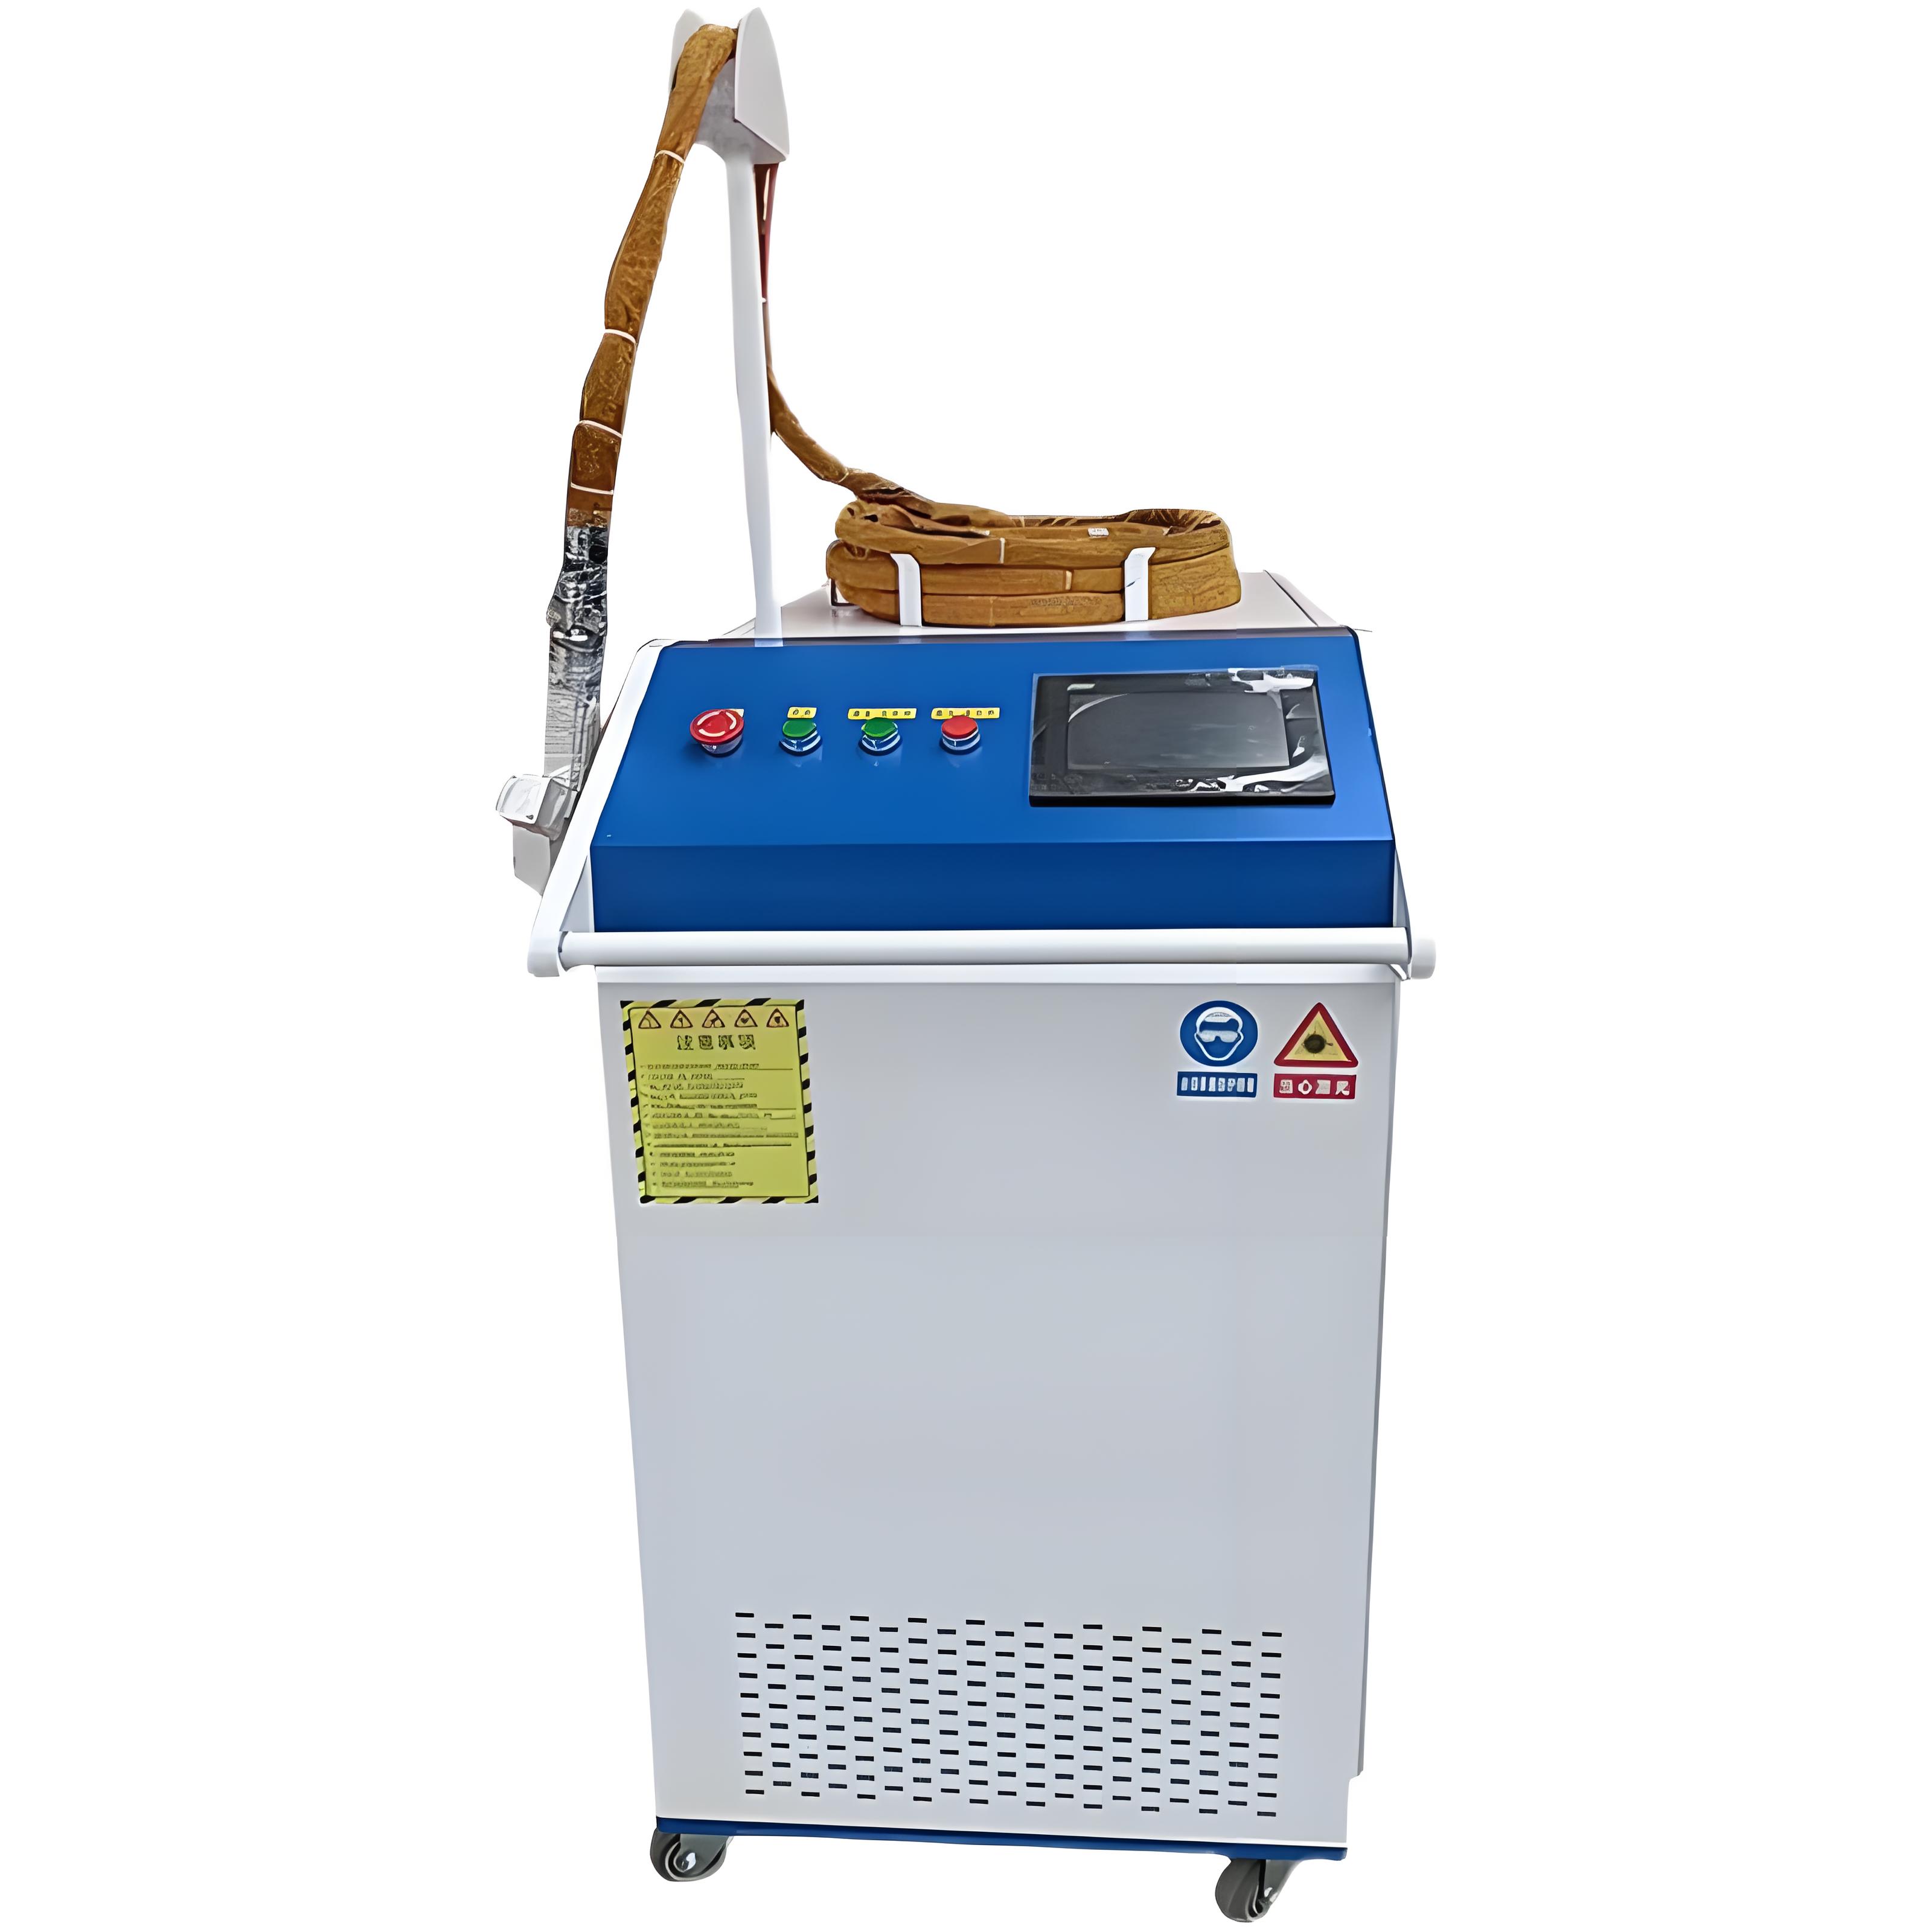
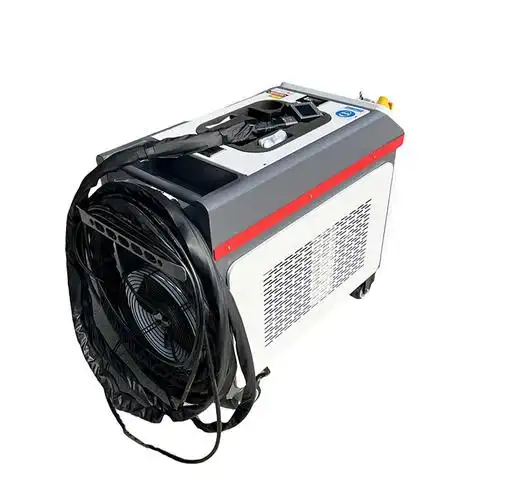
Whenever someone reaches out to me asking why their new laser cleaning machine isn’t hitting the throughput they expected, my first instinct is never to blame the machine. Instead, I start digging into the broader context: the rust layer itself, the laser parameters, the scanning method, and even the workshop environment.
In my years helping factories integrate laser cleaning systems — from small auto repair shops to massive shipyards — I’ve learned there’s rarely a single reason why laser rust removal might be slower (or less clean) than hoped. It’s almost always a combination of subtle factors that stack up.
So today, let me share a comprehensive breakdown of what truly impacts laser rust removal efficiency. Not just theoretical stuff, but real-world insights from countless installations and troubleshooting sessions. If you’re trying to get more out of your laser cleaning setup, or trying to choose the right system to begin with, these are the areas you absolutely need to understand.
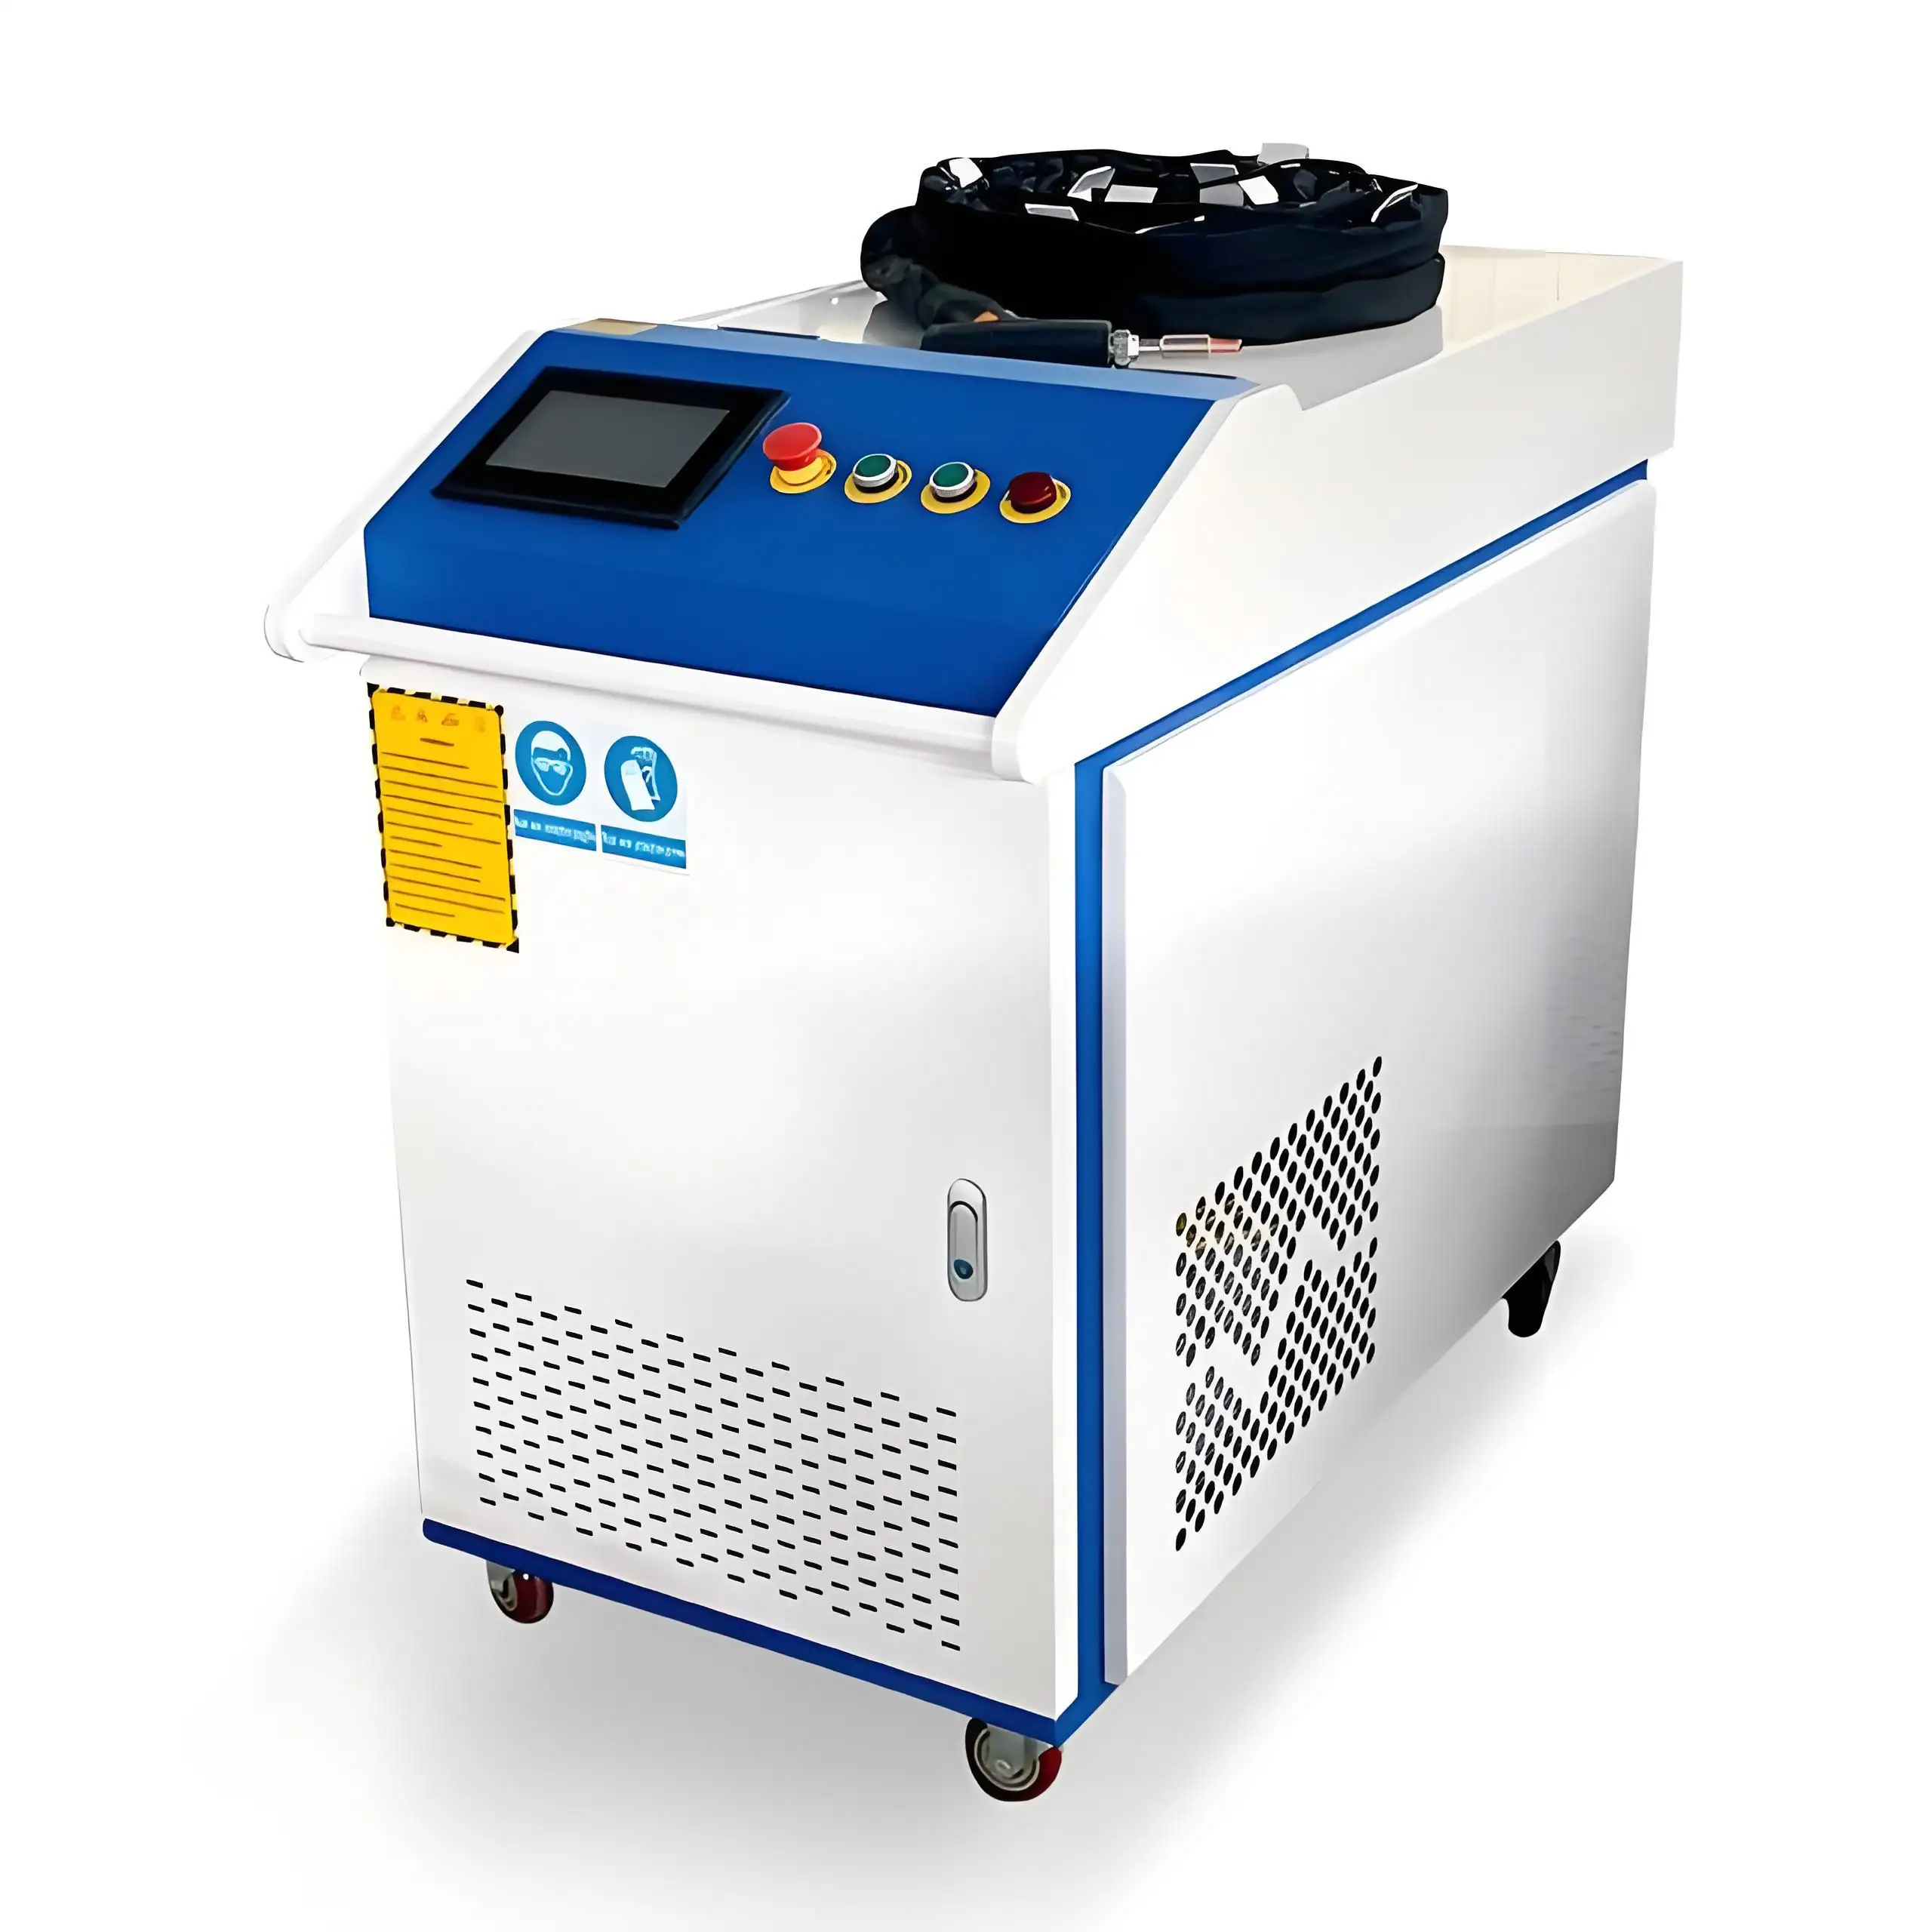
Why people search for this topic in the first place
When someone looks up “factors affecting laser rust removal efficiency,” it usually boils down to one of two situations:
They’ve already invested in a laser cleaning system but feel it’s running slower than promised by the sales brochure.
They’re still in the research phase, trying to figure out what will control their future throughput — so they can justify the investment or select the right machine.
In either case, what they really need is a practical roadmap of what variables influence cleaning speed and quality. So that’s exactly what we’ll go through.
The main categories of factors
From decades of hands-on work, I’d group the core influences into four big areas:
Rust & surface characteristics: Type, thickness, adhesion, and underlying material.
Laser parameters: Power, pulse width, frequency, and scanning strategy.
Mechanical & optical setup: Beam focus, scanning head quality, motion stability.
Environmental & operational factors: Ambient temperature, humidity, operator technique.
Each of these has more nuance than it sounds at first glance. Let’s get into it.
1. Rust and surface characteristics
Honestly, this is often the biggest reason why one job takes twice as long as another with the exact same machine.
| Factor | Why it matters | Typical impact on efficiency |
|---|---|---|
| Rust thickness | Thicker rust requires more energy to ablate layer by layer | Directly slows down removal speed |
| Rust adhesion | Tightly bonded or scale-like rust takes more passes | Increases time & power needed |
| Rust composition | Oxides vs. mixed contaminants (grease + rust) affect absorption | Can require different settings |
| Base material | Aluminum vs. steel vs. cast iron conduct heat differently | Affects how aggressively you can clean |
A shipyard I worked with had steel plates left exposed by the ocean for years, with heavy oxide layers. Even a 6000W laser couldn’t clear it in a single pass — we had to adjust to slower scan speeds.
Conversely, a farm equipment refurbisher was removing surface bloom rust from mild steel. A 1500W system was enough, because the oxidation was loose and thin.
Key takeaway:
Before ever setting power levels, you need to measure the rust layer, look at its adhesion (scratch test with a screwdriver), and understand what’s underneath.
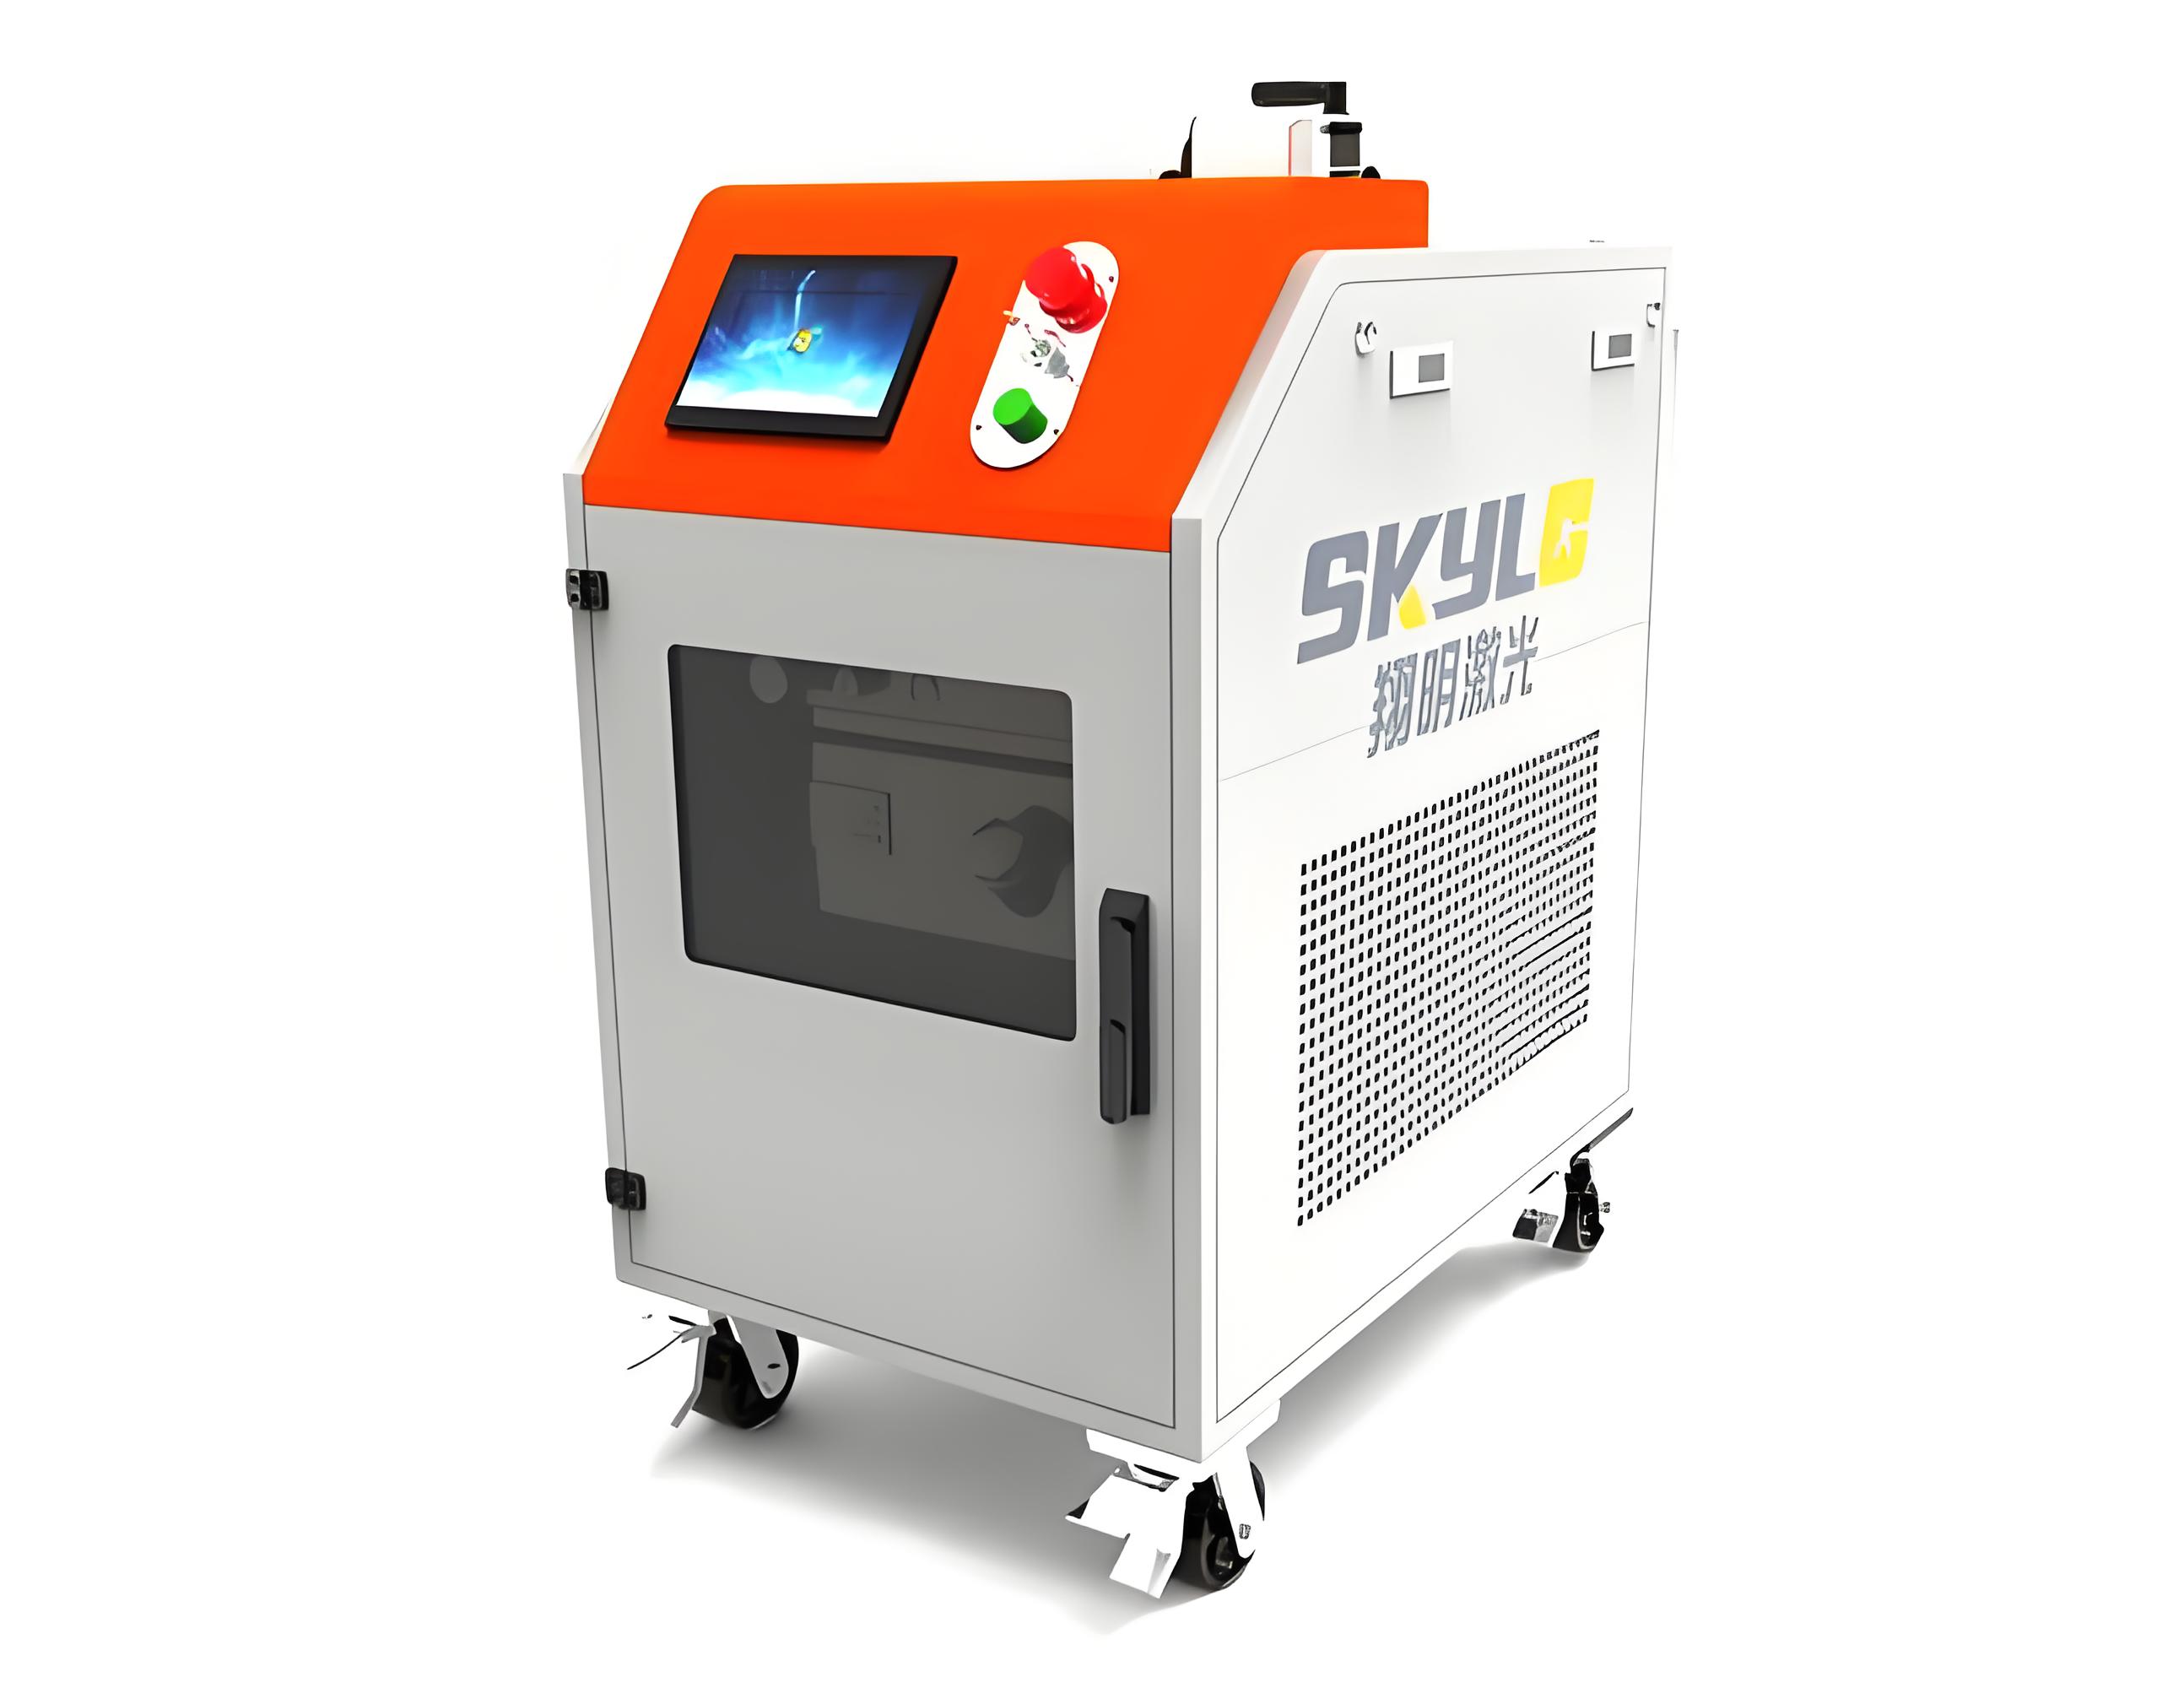
2. Laser parameters: beyond just wattage
A lot of people get fixated on power (like 3000W vs. 6000W) but it’s only part of the story. Laser cleaning efficiency also depends on:
Pulse duration:
Longer pulses deliver more heat into the substrate, shorter pulses focus on rapid vaporization. Each has trade-offs.
Repetition frequency:
A higher frequency (like 50-100 kHz) puts out more overlapping pulses, useful for lighter contaminants. Lower frequencies concentrate energy for deeper penetration.
Spot size & overlap:
Tighter focus increases power density but reduces coverage width. The overlap you program between lines (often 30-50%) changes how many passes you effectively make.
Scan speed:
Go too fast, and you underclean. Too slow, and you waste time plus risk discoloration or warping.
A simplified example to illustrate this:
| Laser parameter | Effect if increased | Risk if poorly set |
|---|---|---|
| Power (W) | Faster removal of thicker rust | May overheat substrate, discolor |
| Frequency (kHz) | Smoother finish on light rust | Less deep penetration |
| Scan speed (mm/s) | Higher speed = faster coverage | Too fast = incomplete cleaning |
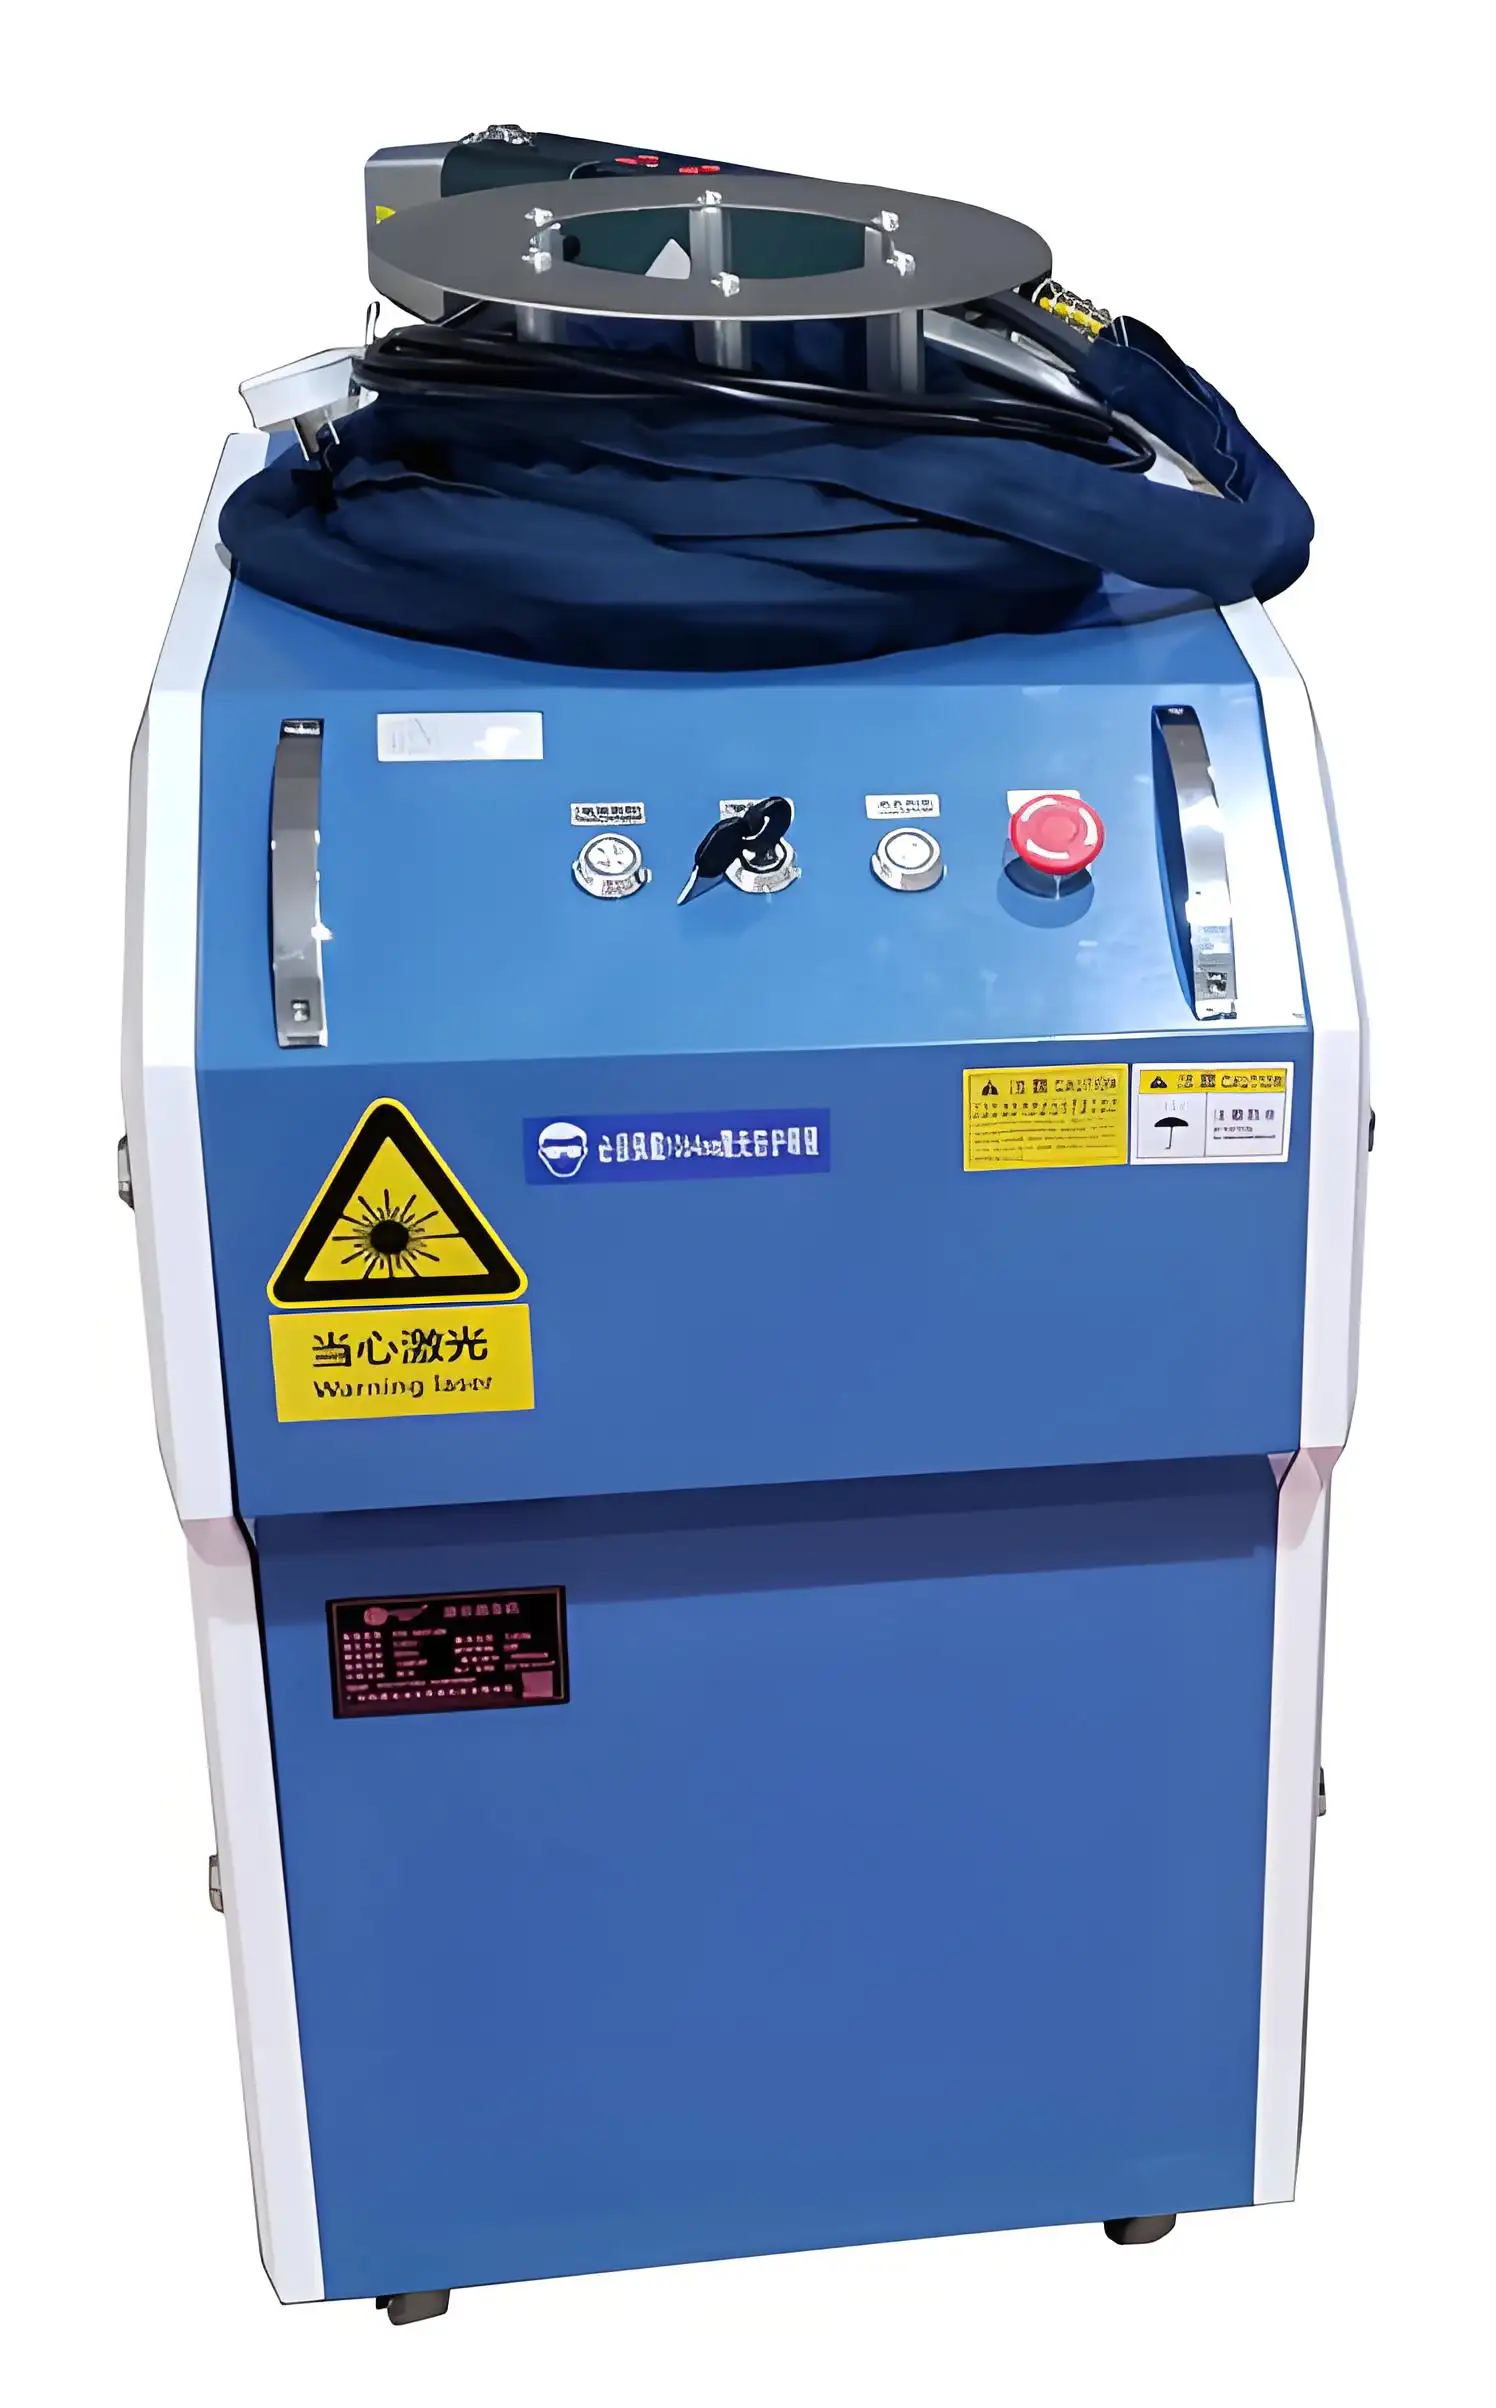
3. Mechanical and optical setup
Even with the perfect laser source, your cleaning quality can suffer due to the hardware supporting it.
Focus distance:
Laser cleaning relies on hitting the right spot size. If your head is 5 mm too high or low, you’ll lose energy density.
Galvo scanner calibration:
Cheap or poorly aligned galvos can create hot spots or uneven lines, forcing slower scans to compensate.
Machine motion:
On a CNC gantry, vibration or backlash can cause uneven coverage. Handheld operators might wobble or tilt, also reducing efficiency.
Optics cleanliness:
A dirty protective lens absorbs power. I’ve seen cleaning rates drop 30% just from accumulated dust.
Tip from experience:
Train your team to check focal distance daily (use a gauge or simple ruler) and inspect the lens after every few hours of operation. It’s one of the easiest ways to keep efficiency up.
4. Environmental & human factors
This part often surprises new users. Laser cleaning is also sensitive to:
Ambient temperature:
High shop temps degrade laser diodes faster and reduce output. That’s why big systems have chillers.
Humidity:
Moisture can mix with vaporized rust, leaving residues that dull cleaning efficiency.
Ventilation / fume extraction:
If fumes linger in the beam path, they partially block it. Proper extraction keeps the path clear.
Operator skill:
Especially with handheld heads, consistency matters. Some new operators unknowingly tilt or lift the head, changing focus — or move too fast trying to be “efficient,” ironically slowing down overall work.
Real-world case study: same machine, 40% different throughput
Here’s a story that illustrates these layers perfectly.
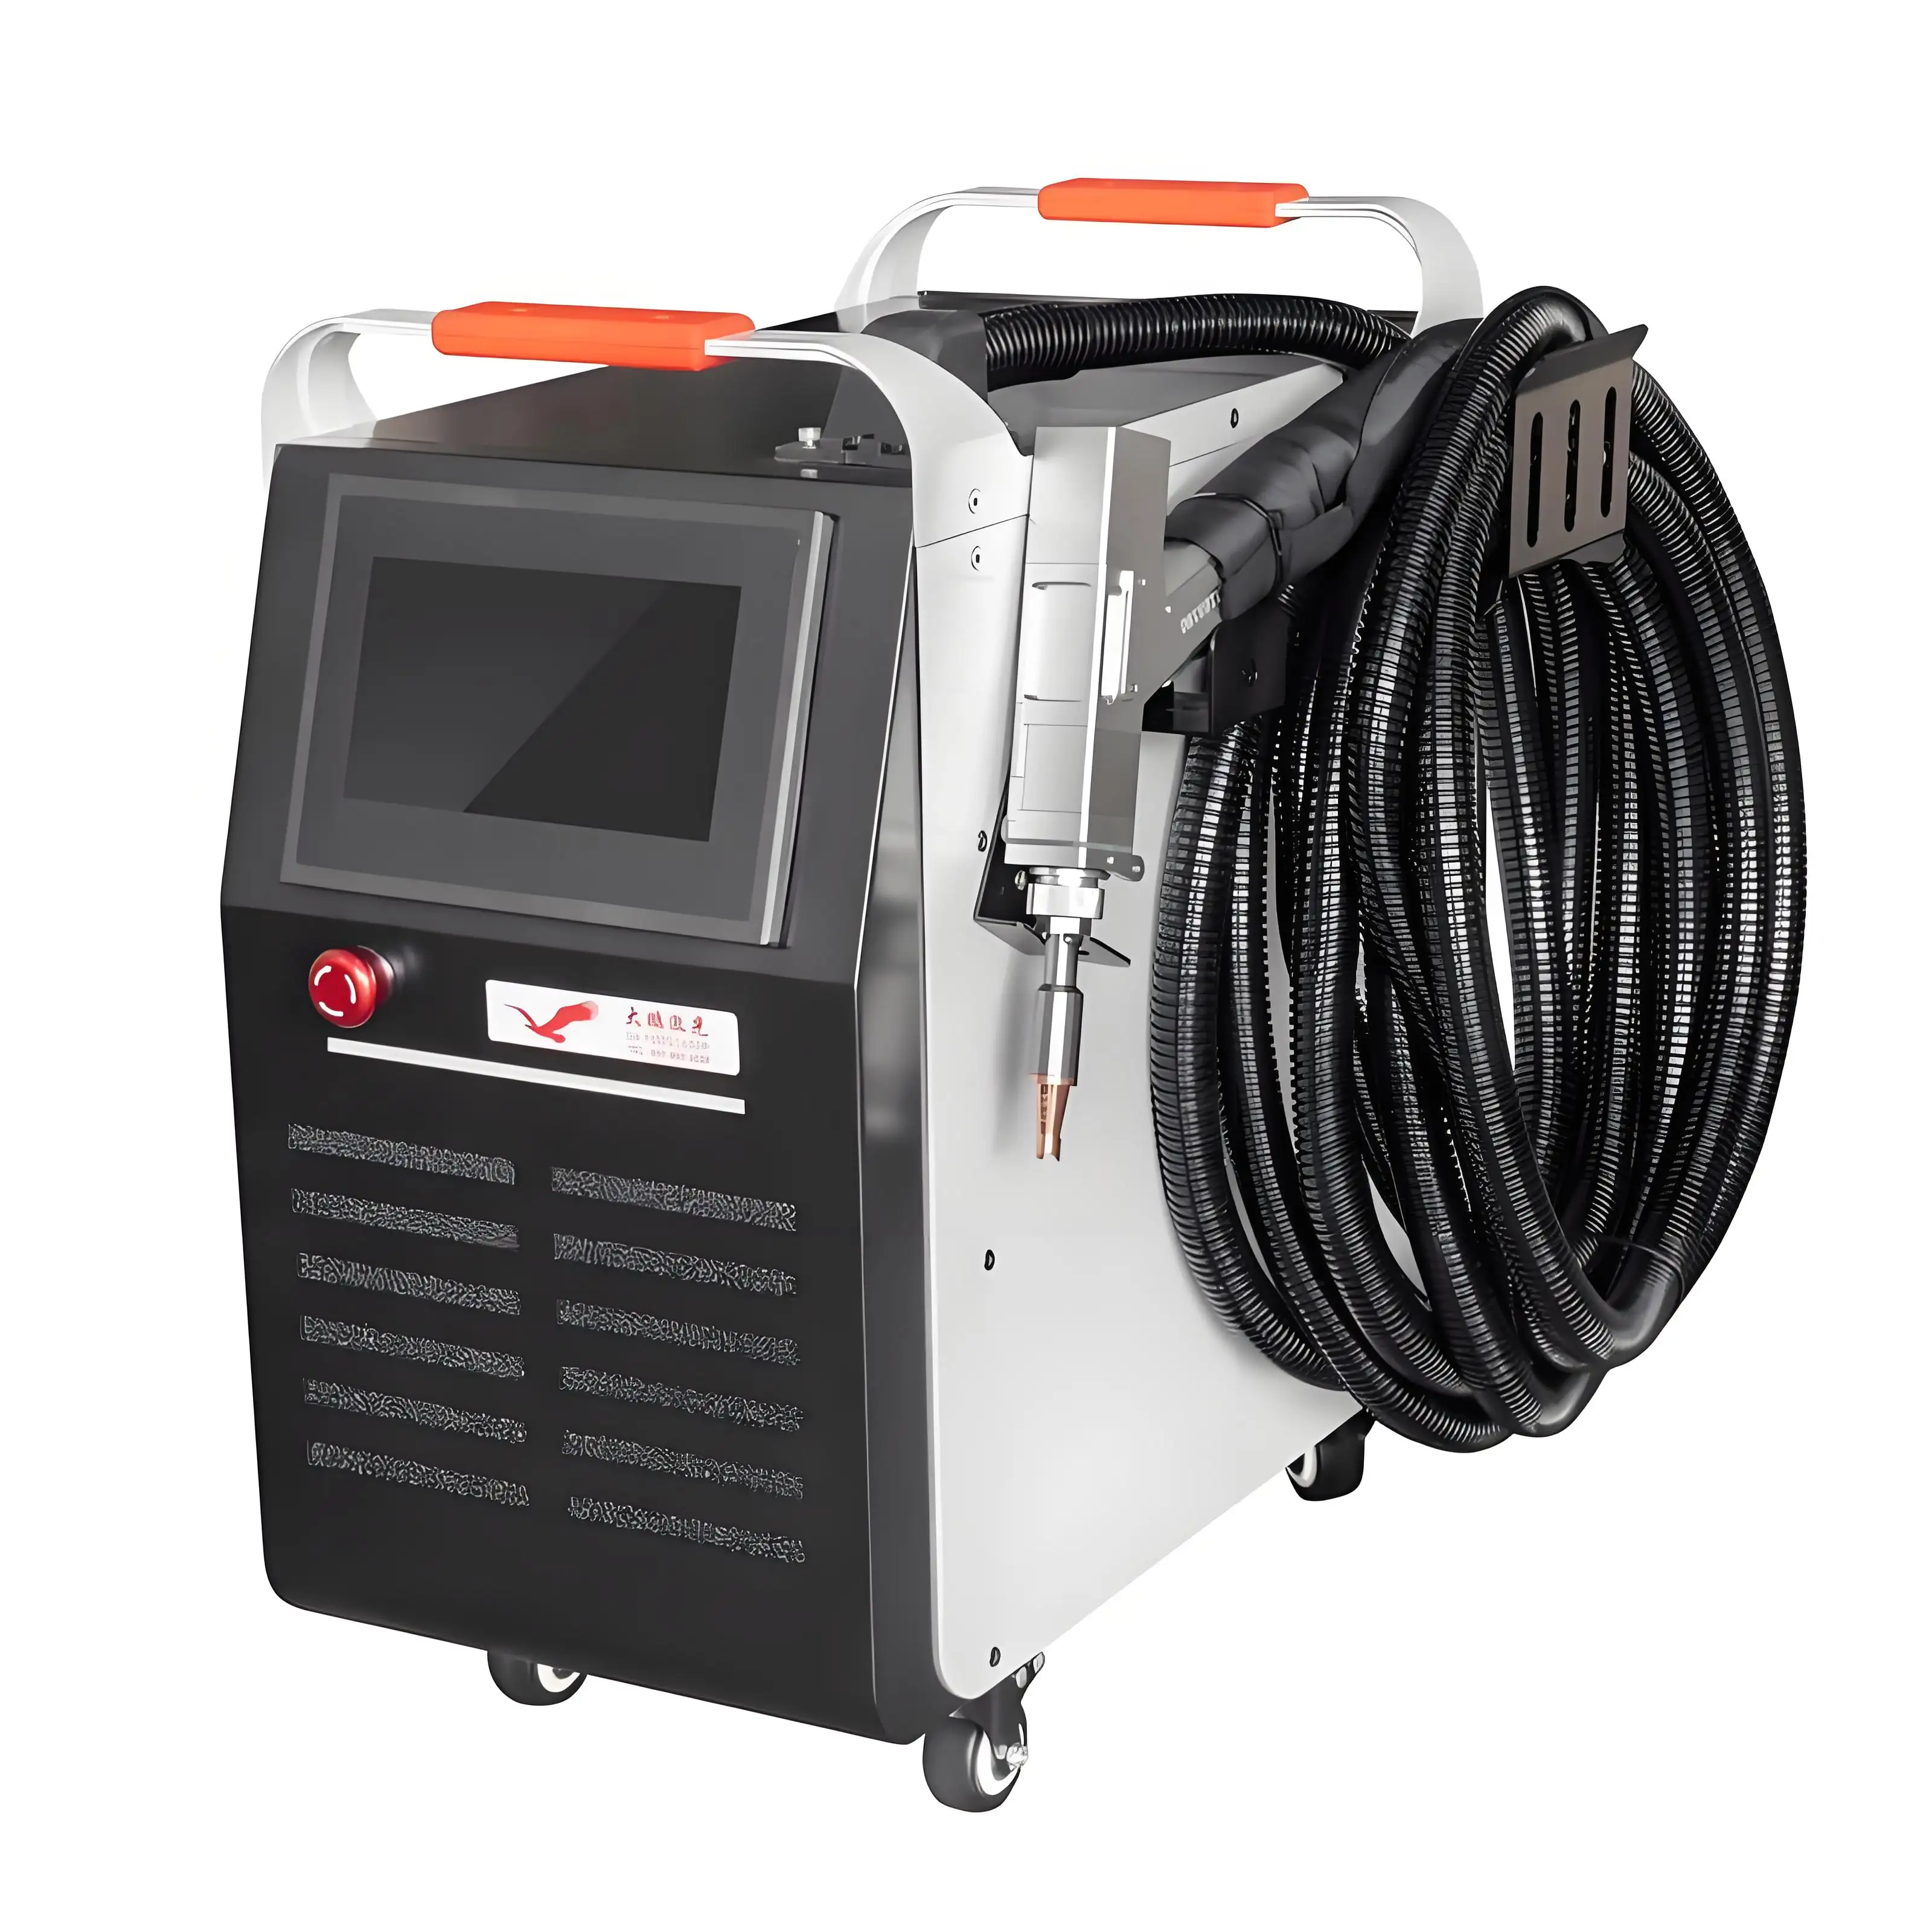
A client running a 3000W handheld laser cleaner on oilfield pipes called me, complaining they only achieved about 7 m²/hour, well below the expected 10-12 m²/hour.
After some questions, I discovered:
They were working on thick rust plus oil residues (which didn’t absorb laser energy well).
The operator was holding the head slightly too far to “avoid heat bounce,” losing focus.
Their workshop had minimal ventilation, so smoke constantly drifted back into the beam.
We did three things:
Added a mechanical scraper to lightly knock off thick scale first (so laser only needed to finish).
Trained operators to maintain exact stand-off distance, using a simple spacer ring.
Improved airflow with an extra extraction fan.
Two days later, they were clearing 11 m²/hour, virtually matching factory spec.
Putting it all together
When someone asks me “How fast will this laser clean?”, I always say:
It depends on your rust, your laser recipe, your optics, and your team.
That might sound like a cop-out, but it’s actually the only honest answer.
Here’s a summary matrix you might find handy:
| Category | What to check or optimize |
|---|---|
| Rust properties | Thickness, adhesion, composition |
| Laser settings | Power, frequency, pulse width, scan speed |
| Optical / mechanical | Focus distance, galvo calibration, clean optics |
| Shop environment | Temperature, humidity, ventilation, operator training |
Related Q&A to help you go deeper
Q: If I increase power by 50%, will I clean 50% faster?
A: Usually no. It’s common to see diminishing returns because the rust can only absorb so much energy before the substrate starts heating. Often you’ll get ~20-30% faster.
Q: Does rust color (red vs. black) affect cleaning?
A: Yes. Black rust (magnetite) typically absorbs better than flaky red rust (hematite). The effect isn’t huge, but it’s measurable.
Q: Can higher humidity slow down cleaning?
A: It can. Moist air mixes with ablation vapors, sometimes causing micro-condensation that dulls future laser passes. Good fume extraction mitigates this.
Q: How often should I clean my protective lens?
A: Every 4-8 hours of operation under normal loads. More frequently if doing very dusty jobs.

Final thoughts: why this matters
Laser cleaning is an amazing technology. It’s precise, eco-friendly, and incredibly satisfying to watch. But it’s also a finely balanced process, depending on material science, laser physics, mechanical precision, and human care.
If you ever want me to look at your specific setup — whether it’s picking the right power level or troubleshooting slow throughput — I’m just a message away. I’ve walked factory floors on four continents to sort these problems out, and it still brings me a certain pride to help folks get it right.
Here’s to clearer surfaces and smoother projects ahead.

