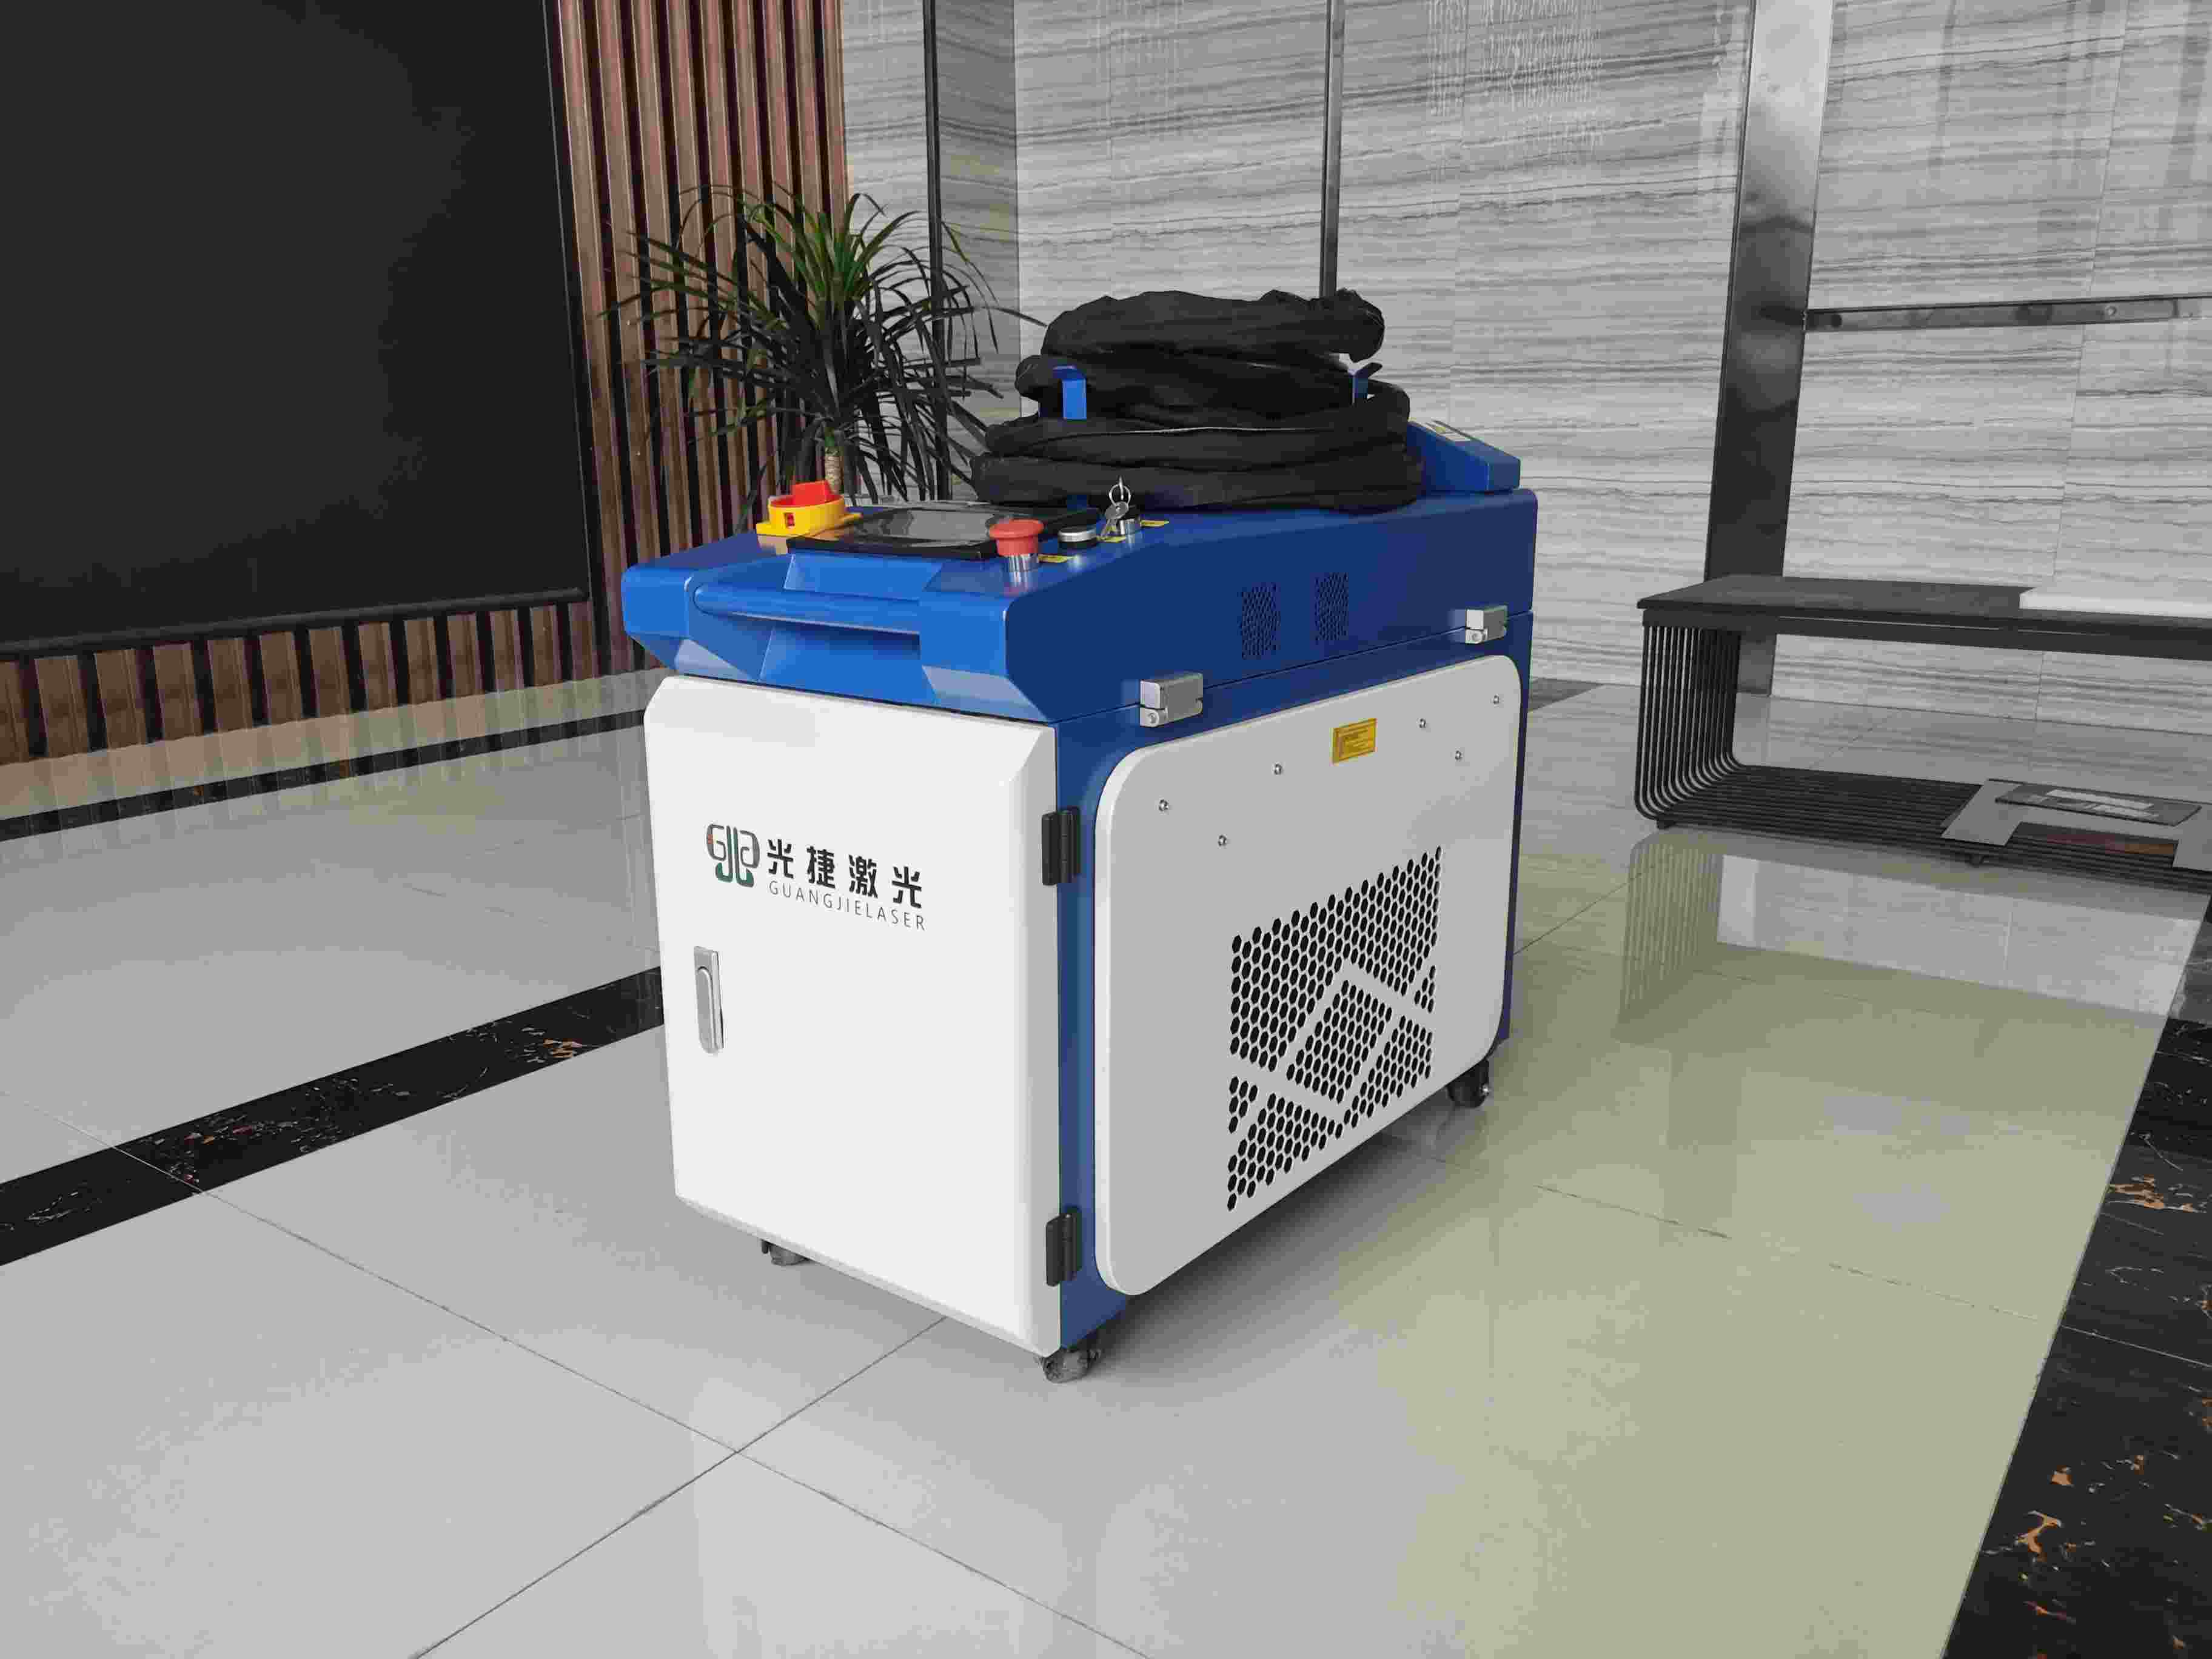
If you’ve been working with metal fabrication, restoration, or maintenance, you’ve probably heard about laser rust removal machines—the game-changers that promise to strip rust without chemicals, abrasives, or messy cleanup. But here’s the thing: even the best tools can underperform if you’re using them wrong. Over the past eight years, I’ve helped hundreds of workshops, factories, and DIY enthusiasts transition to laser cleaning. Trust me when I say: misconceptions about how these machines work are more common than you think—and they cost time, money, and frustration.
In this post, I’ll break down the top 7 mistakes I see most often, why they happen, and how to fix them. By the end, you’ll not only avoid these pitfalls but also unlock the full potential of your laser rust removal machine. Let’s dive in.

Misconception #1: “Higher Power = Better Results, Always”
I get it—when you’re dealing with thick, stubborn rust, the temptation to crank up the power is real. But here’s the truth: laser rust removal isn’t a “more power, better job” equation. Lasers work by delivering focused energy to vaporize rust, but different rust layers (light surface rust vs. deep, pitted corrosion) require different energy densities.
Why This Happens
Many users assume that a higher-wattage machine (say, 500W vs. 200W) will clean faster or handle all rust types. They might have seen demos with heavy-duty equipment and think, “Bigger is better.”
The Reality
Light rust: A lower-power laser (100-200W) with a fine focal spot works best. High power can overheat the base material, causing pitting or discoloration.
Thick rust: You do need more power, but only after prepping the surface. If rust is flaky or loose, a high-power blast might just blow it off before the laser can properly ablate the bonded layer, leaving residue.
How to Fix It
Identify rust severity: Use a rust scale (like ISO 4628-3) to grade thickness. Light rust = low power; thick rust = medium-high power (but test first!).
Adjust pulse settings: Most modern lasers let you tweak pulse duration and frequency. For thick rust, longer pulses (100-500μs) penetrate deeper; for thin rust, shorter pulses (10-50μs) prevent damage.
Pro Tip: Start with the lowest power setting. If the rust isn’t lifting, gradually increase. Rushing to max power is like using a sledgehammer to crack a nut—you’ll break the nut (or the metal).
Misconception #2: “No Training Needed—Just Point and Shoot”
Laser rust removal looks deceptively simple. You point the laser at the rust, pull the trigger, and… voilà? Not quite. This is one of the biggest reasons machines end up collecting dust.
Why This Happens
Manufacturers market these machines as “user-friendly,” which they are—for basic tasks. But without understanding key parameters (focal distance, speed, overlap rate), you’re leaving money on the table (or worse, damaging parts).
The Reality
Focal distance: The laser’s sweet spot is usually 5-15mm from the surface. Too close, and the beam scatters; too far, it loses intensity.
Speed: Move too fast, and you miss rust; too slow, and you overheat the metal. A good rule: 5-10cm/s for light rust, 2-5cm/s for thick rust.
Overlap rate: To ensure full coverage, each pass should overlap the previous by 30-50%. Miss this, and you’ll get streaks of uncleaned rust.
How to Fix It
Watch the manufacturer’s training videos—they’re usually free and packed with specifics.
Practice on scrap metal: Before tackling a project, set up a test piece with similar rust. Adjust settings until you see consistent results.
Use a laser pointer app: Align the laser’s dot with your target area first—this avoids misalignment.
I once worked with a guy who tried to clean a vintage car bumper without testing. He burned off the clear coat because he didn’t adjust the focal distance. Lesson learned: Patience beats speed.
Misconception #3: “Any Surface Works—Metal Is Metal”
Laser rust removal is magic for steel, aluminum, and copper… but not all metals are created equal. Some surfaces react badly to high heat, and others have coatings that interfere.

Why This Happens
Users assume lasers are universally effective. After all, they work on steel, right? But aluminum, for example, has a low melting point (660°C), while steel melts at ~1370°C. A laser that’s safe for steel could warp aluminum.
The Reality
| Material | Key Considerations |
|---|---|
| Steel | Most laser-safe. Watch for oil/grease—clean first to avoid smoke/plasma interference. |
| Aluminum | Low thermal conductivity. Use lower power (≤150W) and faster speeds to prevent melting. |
| Copper | High reflectivity. Lasers may not penetrate unless using a shorter wavelength (1064nm vs. 532nm). |
| Coated Metals (paint, galvanization) | The laser will burn off the coating before reaching rust. Remove coatings first with chemical strippers or sandblasting. |
How to Fix It
Check material specs: Look up the material’s melting point and laser absorption rate.
Test small areas: Even if you think you know the material, test a hidden spot first.
Use a shorter wavelength: For reflective metals (copper, brass), some lasers offer dual wavelengths (1064nm + 532nm) to improve absorption.
Misconception #4: “Dust and Debris Don’t Matter—The Laser Burns Them Off”
During operation, lasers generate a lot of heat, which vaporizes rust into fine particles. But those particles don’t just disappear—they become fine metal dust that settles on the workpiece, tools, and machine components.
Why This Happens
Many users focus on the “cleaning” part and ignore post-operation cleanup. They figure, “The laser did the work; I don’t need to wipe it down.”
The Reality
Surface contamination: Metal dust can redeposit on clean areas, creating a gritty layer that’s hard to remove later.
Machine damage: Dust clogs vents, lenses, and mirrors. A single use without cleanup can reduce a laser’s lifespan by 10-15%.
Health risks: Inhalation of metal dust (especially lead, cadmium, or chromium) is hazardous. OSHA recommends local exhaust ventilation for laser operations.
How to Fix It
Use a fume extraction system: Even a $200 shop vac with a HEPA filter will capture 90% of dust.
Wipe the surface: After cleaning, use a microfiber cloth (no chemicals!) to remove leftover dust.
Clean the machine: Wipe lenses/mirrors with lens paper and isopropyl alcohol. Check vents for blockages weekly.
A client once called me in a panic because their laser kept overheating. Turns out, dust had caked the cooling fans. A 15 cleaning solved a 500 repair bill.
Misconception #5: “Laser Rust Removal Replaces All Traditional Methods”
Laser cleaning is amazing, but it’s not a one-size-fits-all solution. Some jobs are better suited for sandblasting, chemical strippers, or wire brushes.

Why This Happens
Marketing materials often tout lasers as “the future of cleaning,” leading users to abandon other methods. But context matters—like cleaning intricate parts vs. large structural steel.
The Reality
| Scenario | Laser Works Best? | Traditional Method Better? |
|---|---|---|
| Delicate parts (antique hardware) | ✅ (no abrasion) | ❌ (sandblasting would scratch) |
| Large structural steel beams | ❌ (time-consuming) | ✅ (sandblasting is faster for big areas) |
| Oil-coated metal | ❌ (smoke/plasma issues) | ✅ (chemical stripping first, then laser) |
| Tight spaces (pipes, welds) | ✅ (precise focal spot) | ❌ (brushes/sandblasters can’t reach) |
How to Fix It
Hybrid workflows: Use lasers for precision work (small parts, complex geometries) and traditional methods for large, heavy-duty jobs.
Pre-clean with chemicals: For oil or grease, wipe with a degreaser first—lasers struggle with organic contaminants.
Misconception #6: “Maintenance Is Optional—It’s a Laser, Not a Car”
Lasers are durable, but they’re not maintenance-free. Neglecting upkeep leads to reduced performance, shorter lifespans, and costly repairs.
Why This Happens
Users think, “If it’s not broken, don’t fix it.” But lasers have sensitive components (mirrors, lenses, cooling systems) that degrade with use.
The Reality
Lens/mirror degradation: Every shot leaves a tiny residue. Over time, this reduces beam quality.
Cooling system wear: Water-cooled lasers need regular coolant changes; air-cooled units need filter cleaning.
Fiber optic cable damage: Bending or kinking the cable can break the internal fiber, requiring expensive replacement.
How to Fix It
Daily checks: Wipe lenses/mirrors with lens paper. Inspect cables for damage.
Weekly maintenance: Clean cooling filters (air-cooled) or change coolant (water-cooled).
Monthly professional service: Have a technician check alignment, beam quality, and electrical connections.
I’ve seen lasers last 10+ years with proper care—and fail in 2 years with neglect. Your machine is an investment; treat it like one.

Misconception #7: “Safety Gear Is Overkill—Just Wear Goggles”
Lasers emit intense light, but the real danger is invisible radiation (like UV rays) and flying debris. Skipping safety gear is one of the fastest ways to get hurt.
Why This Happens
Users focus on the visible laser beam and assume goggles are enough. They overlook UV exposure, noise from high-power units, and particulate matter.
The Reality
UV radiation: Even low-power lasers emit UV rays that can burn skin and eyes (similar to arc welding).
Flying debris: Rust particles can become airborne at high speeds—think of it like a mini-sandblaster.
Noise: High-power lasers (≥300W) can exceed 85dB, which is harmful to hearing over time.
How to Fix It
Full PPE: Wear a laser safety visor (rated for your wavelength, e.g., CO₂ lasers need 10.6μm protection), long sleeves, gloves, and earplugs.
Enclosed workspace: Use a laser cabinet with interlocks to contain UV and debris.
Ventilation: As mentioned earlier, a fume extractor is non-negotiable for toxic metals.
Final Thoughts
Laser rust removal is a powerful tool, but it’s only as good as the person using it. By avoiding these seven misconceptions, you’ll save time, money, and stress—and get the best results possible. Remember: it’s not about the machine; it’s about how you use it.
Now, let’s tackle some common questions you might still have…

FAQ
Q: Can I use a laser rust removal machine on aluminum without damaging it?
A: Yes, but with caution. Use ≤150W power, keep the focal distance at 10-15mm, and move at 5-8cm/s. Test on scrap first—aluminum’s low thermal conductivity means it heats up fast.
Q: How often do I need to replace the laser lens?
A: Typically every 6-12 months, depending on usage. If you notice reduced cleaning speed or inconsistent results, check for scratches or residue buildup.
Q: Is laser rust removal safe for historical artifacts?
A: Yes, if done carefully. Low-power lasers (≤200W) with short pulses are gentle enough for delicate metals like bronze or brass. Always consult a conservation specialist first.
Q: Can I clean rust off a car engine block with a laser?
A: Probably not. Engine blocks have oil, grease, and tight spaces. Use traditional methods (wire brush, degreaser) first, then a laser for final cleaning.
Q: Do I need a special power supply for a laser rust removal machine?
A: Most industrial models run on standard 220V/380V, but check the specs. Portable units (≤50W) often work on 110V. Always use a surge protector to protect the electronics.