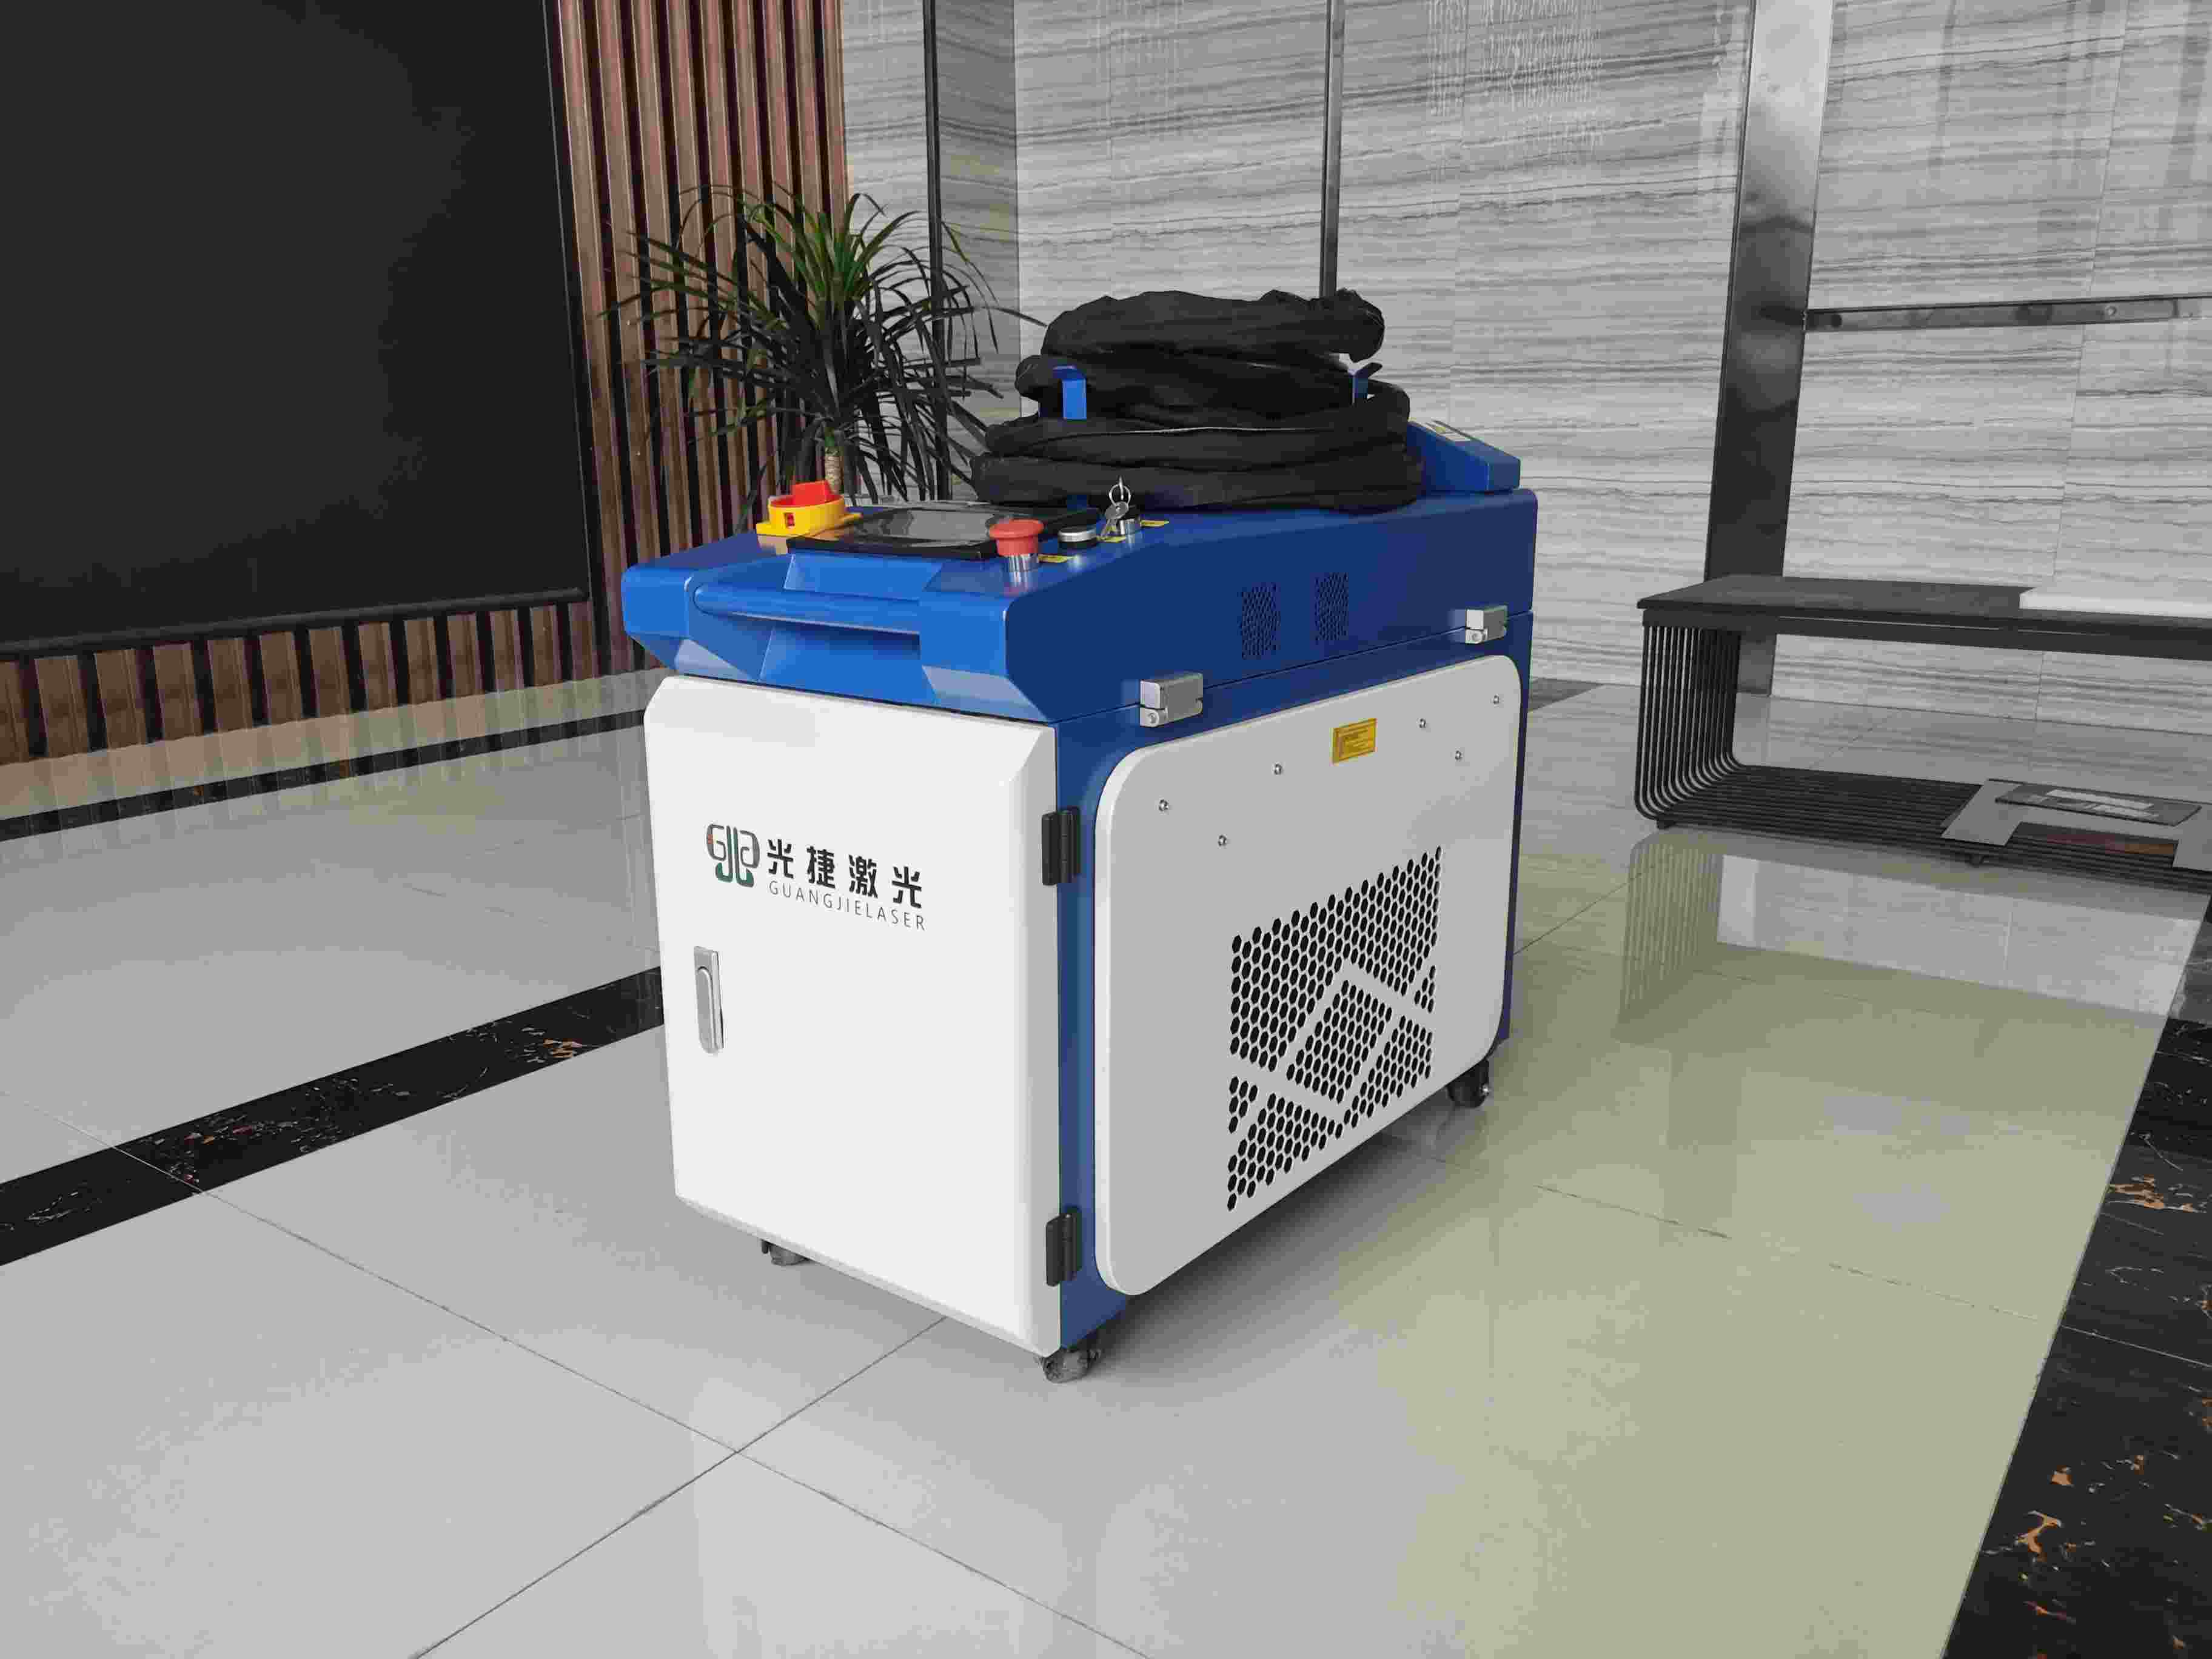
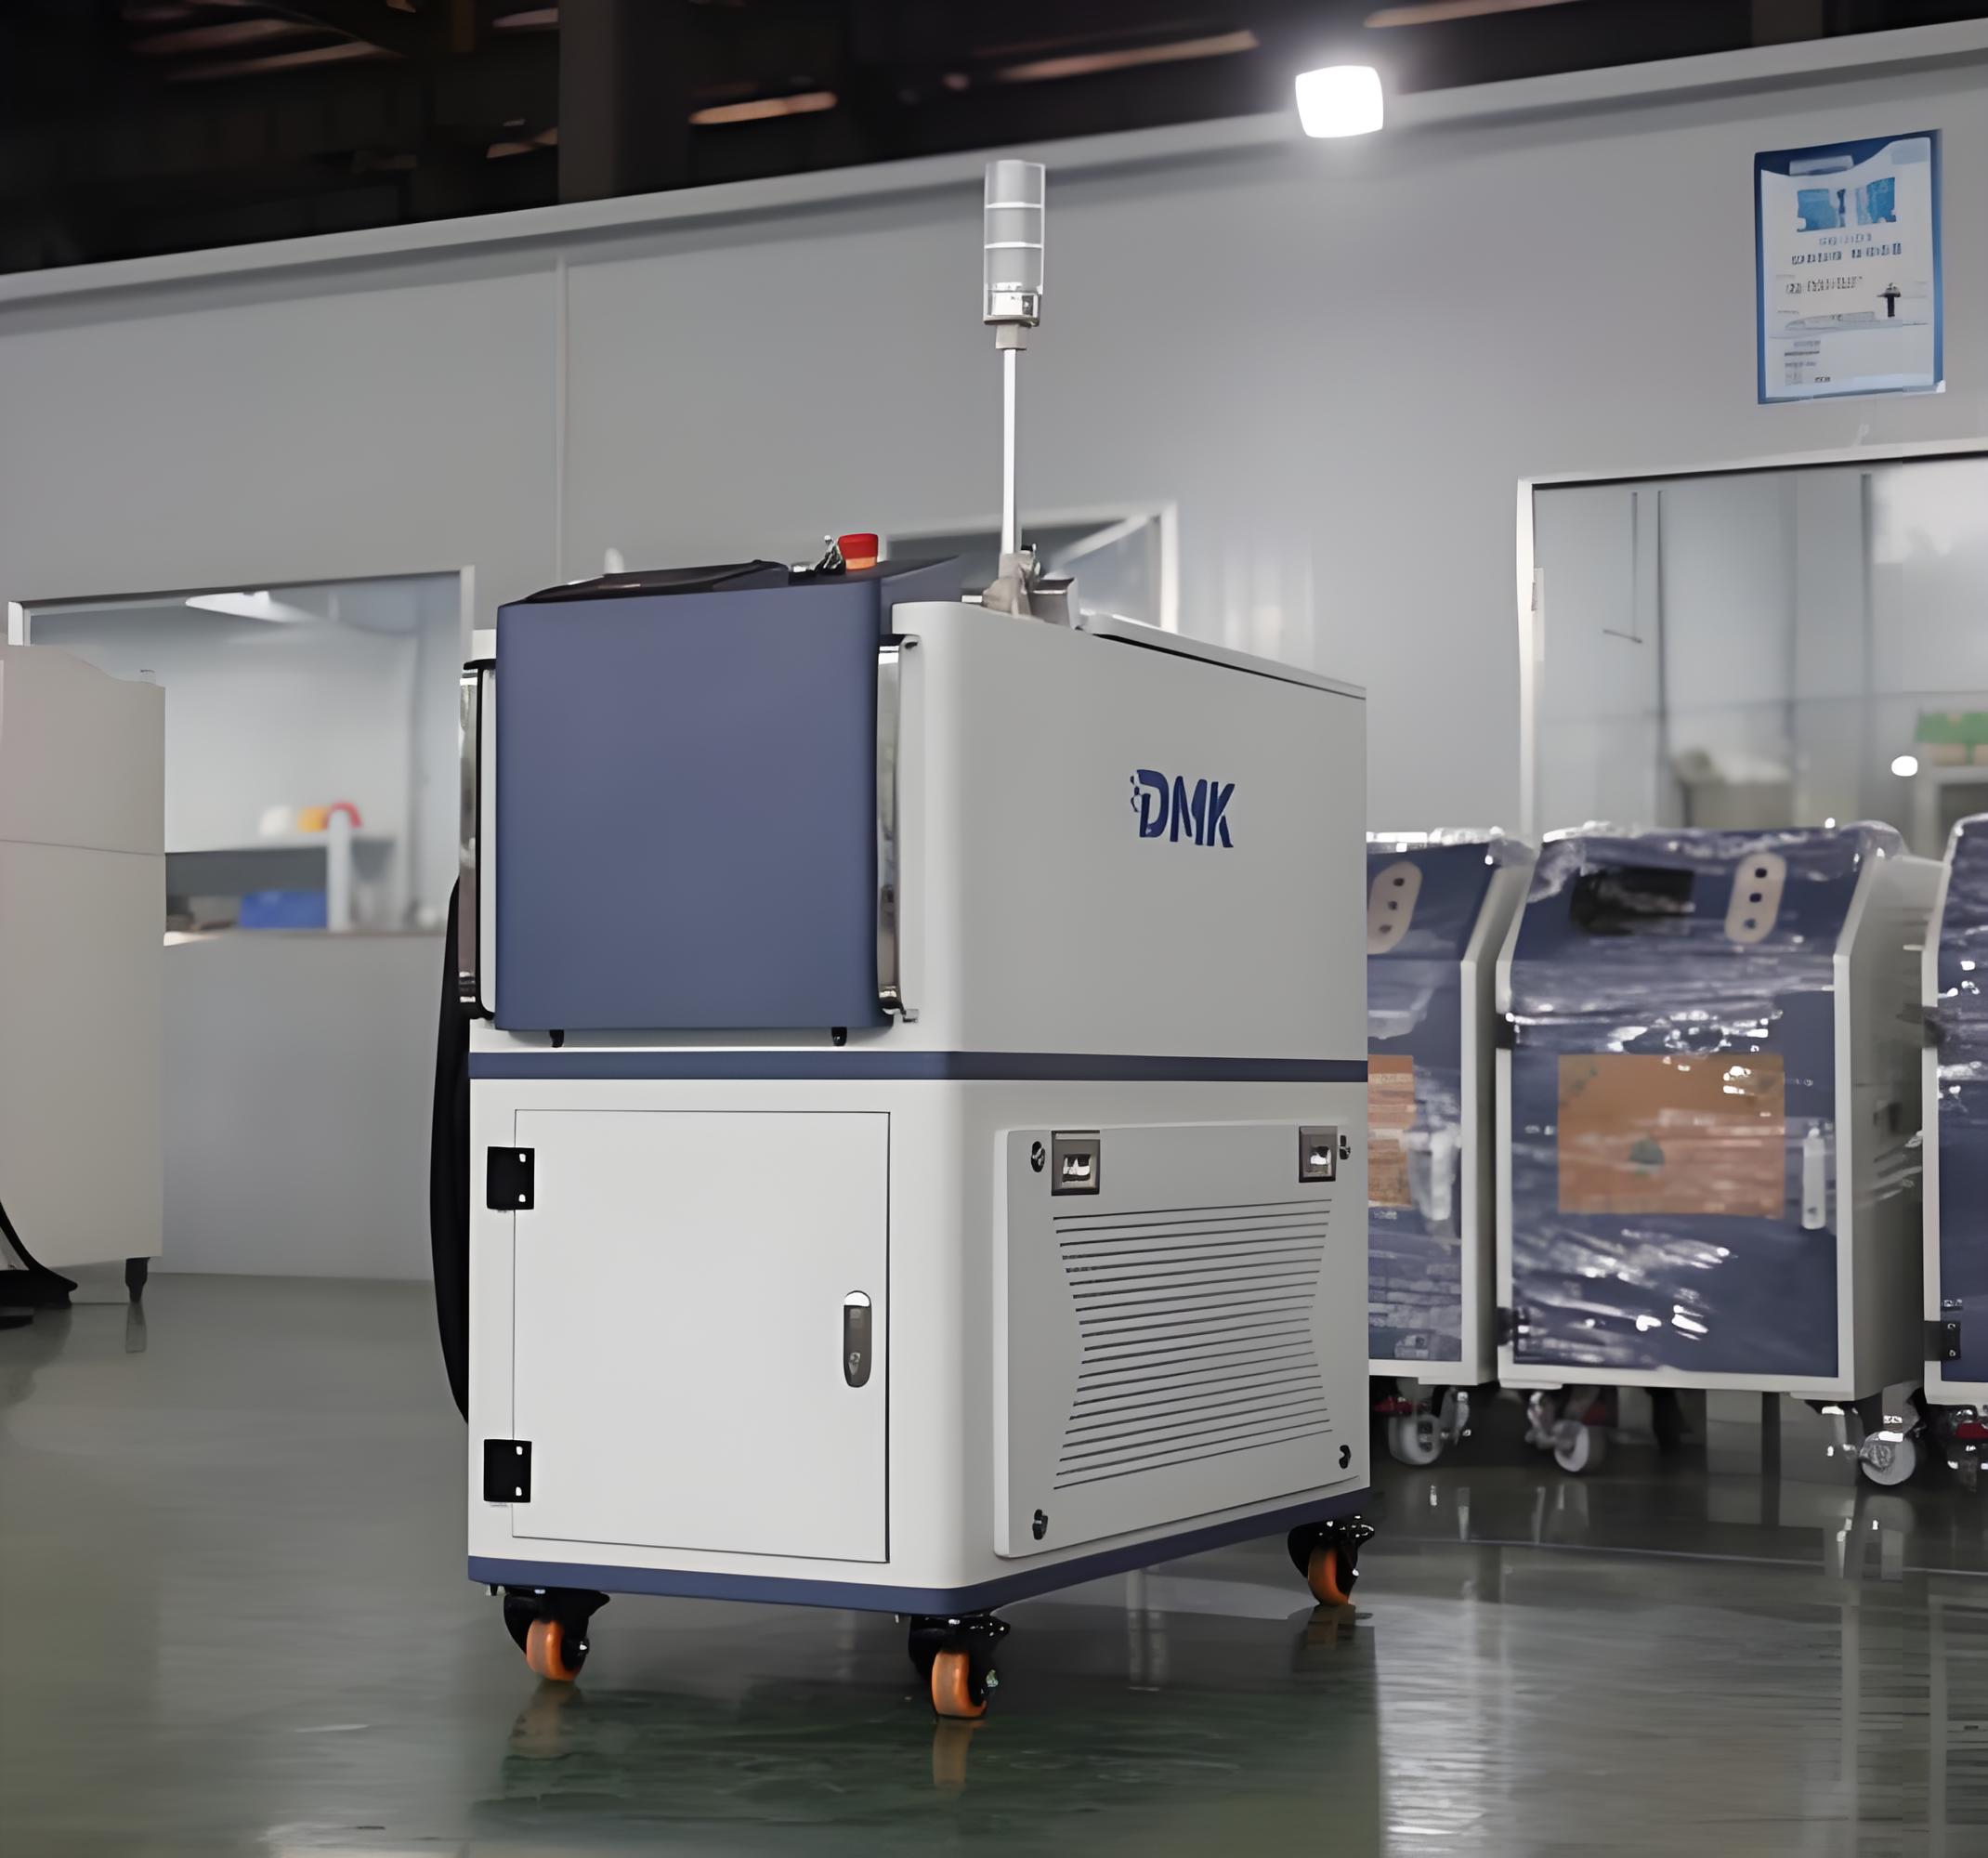
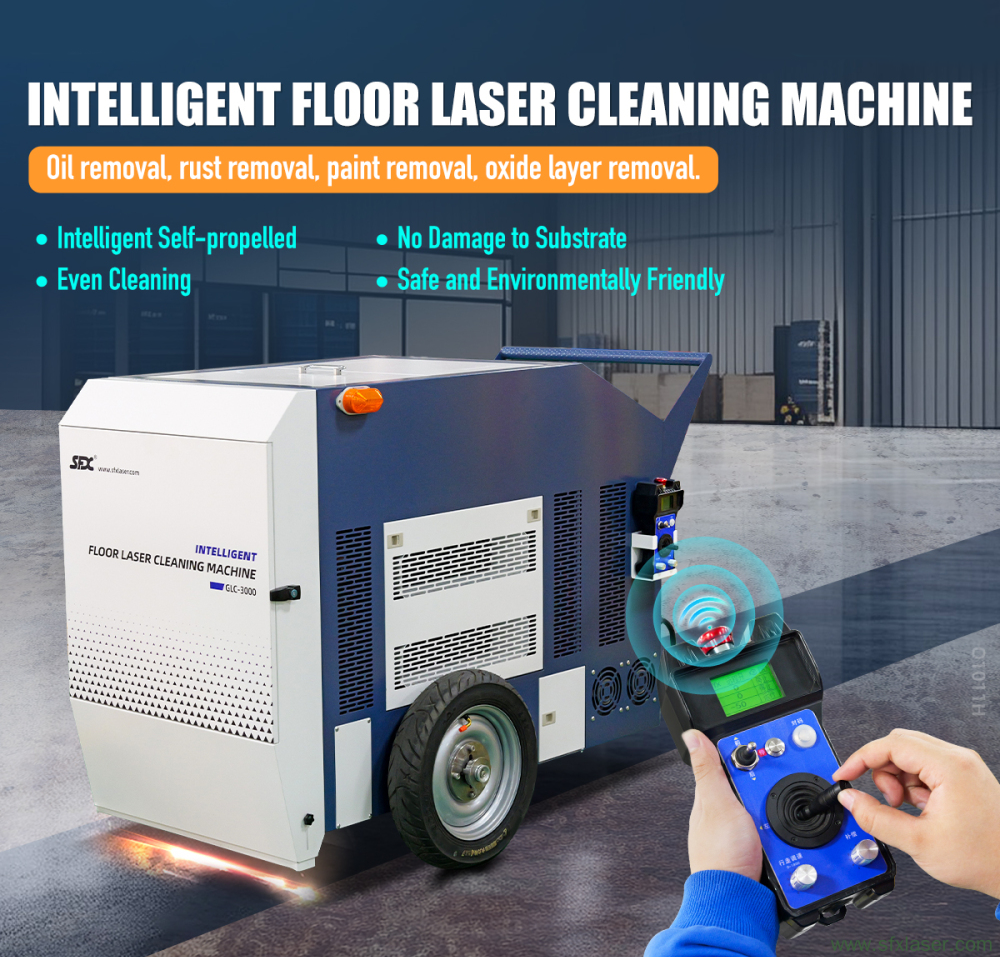
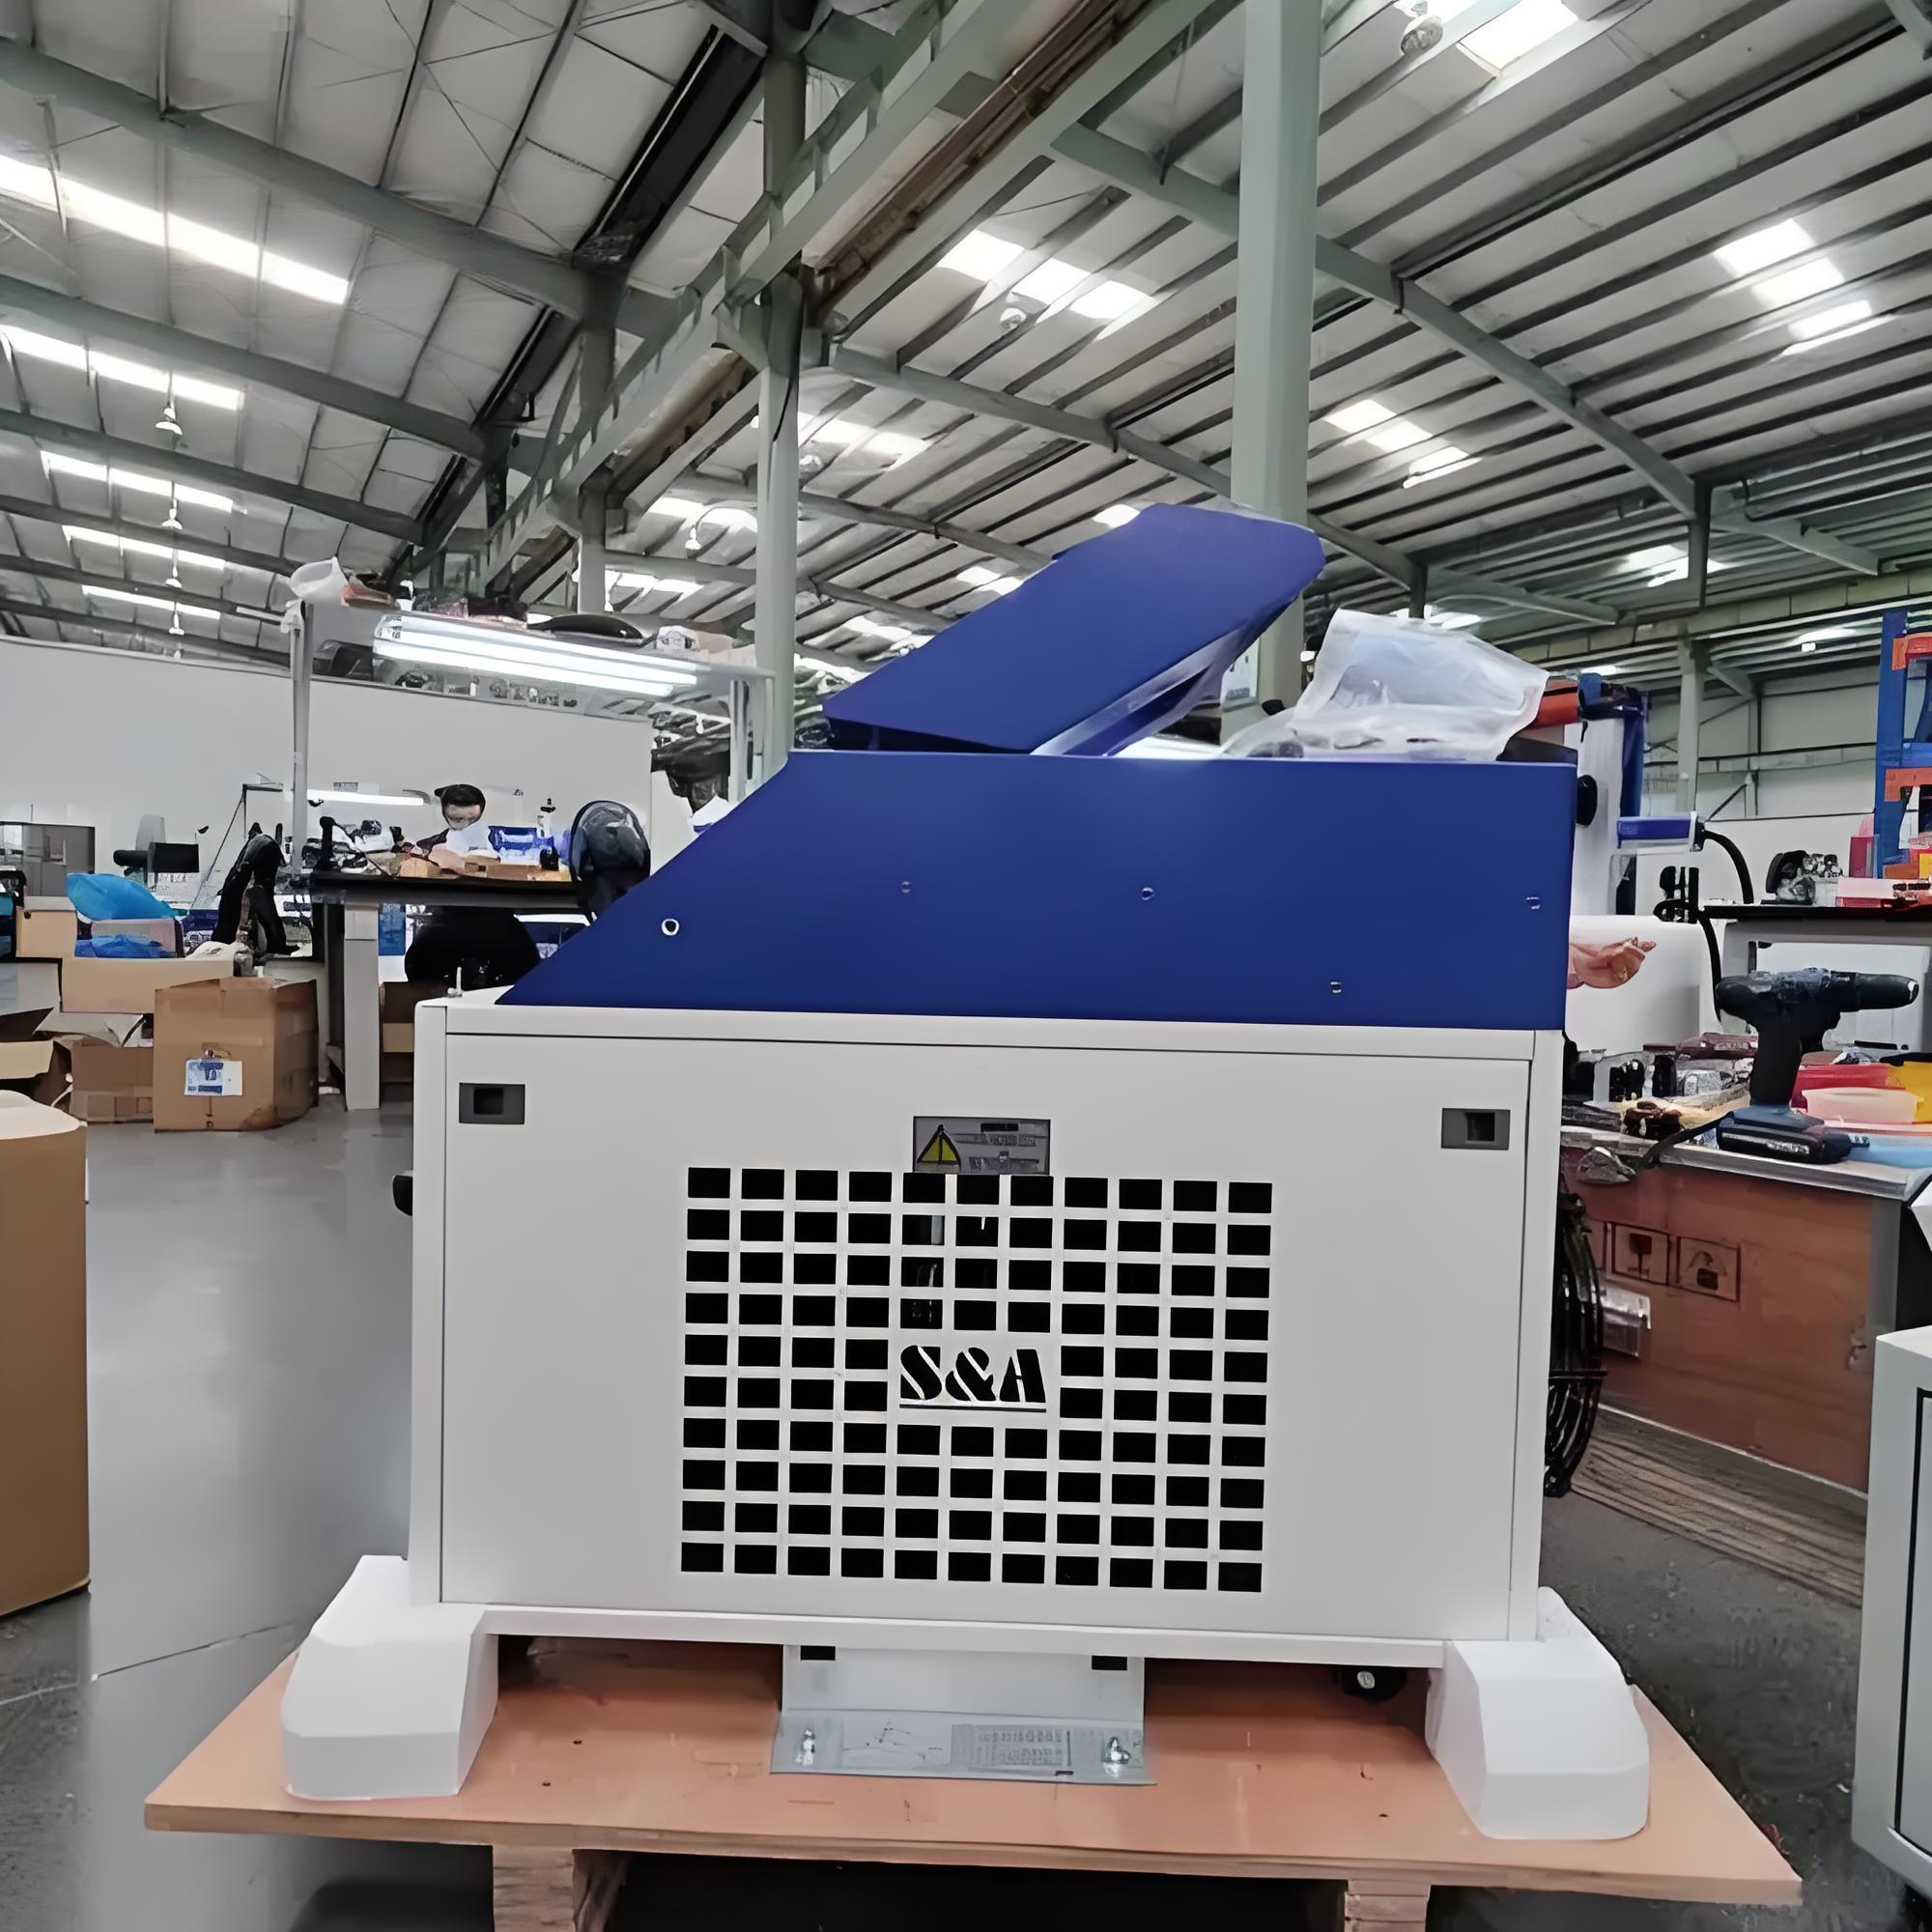
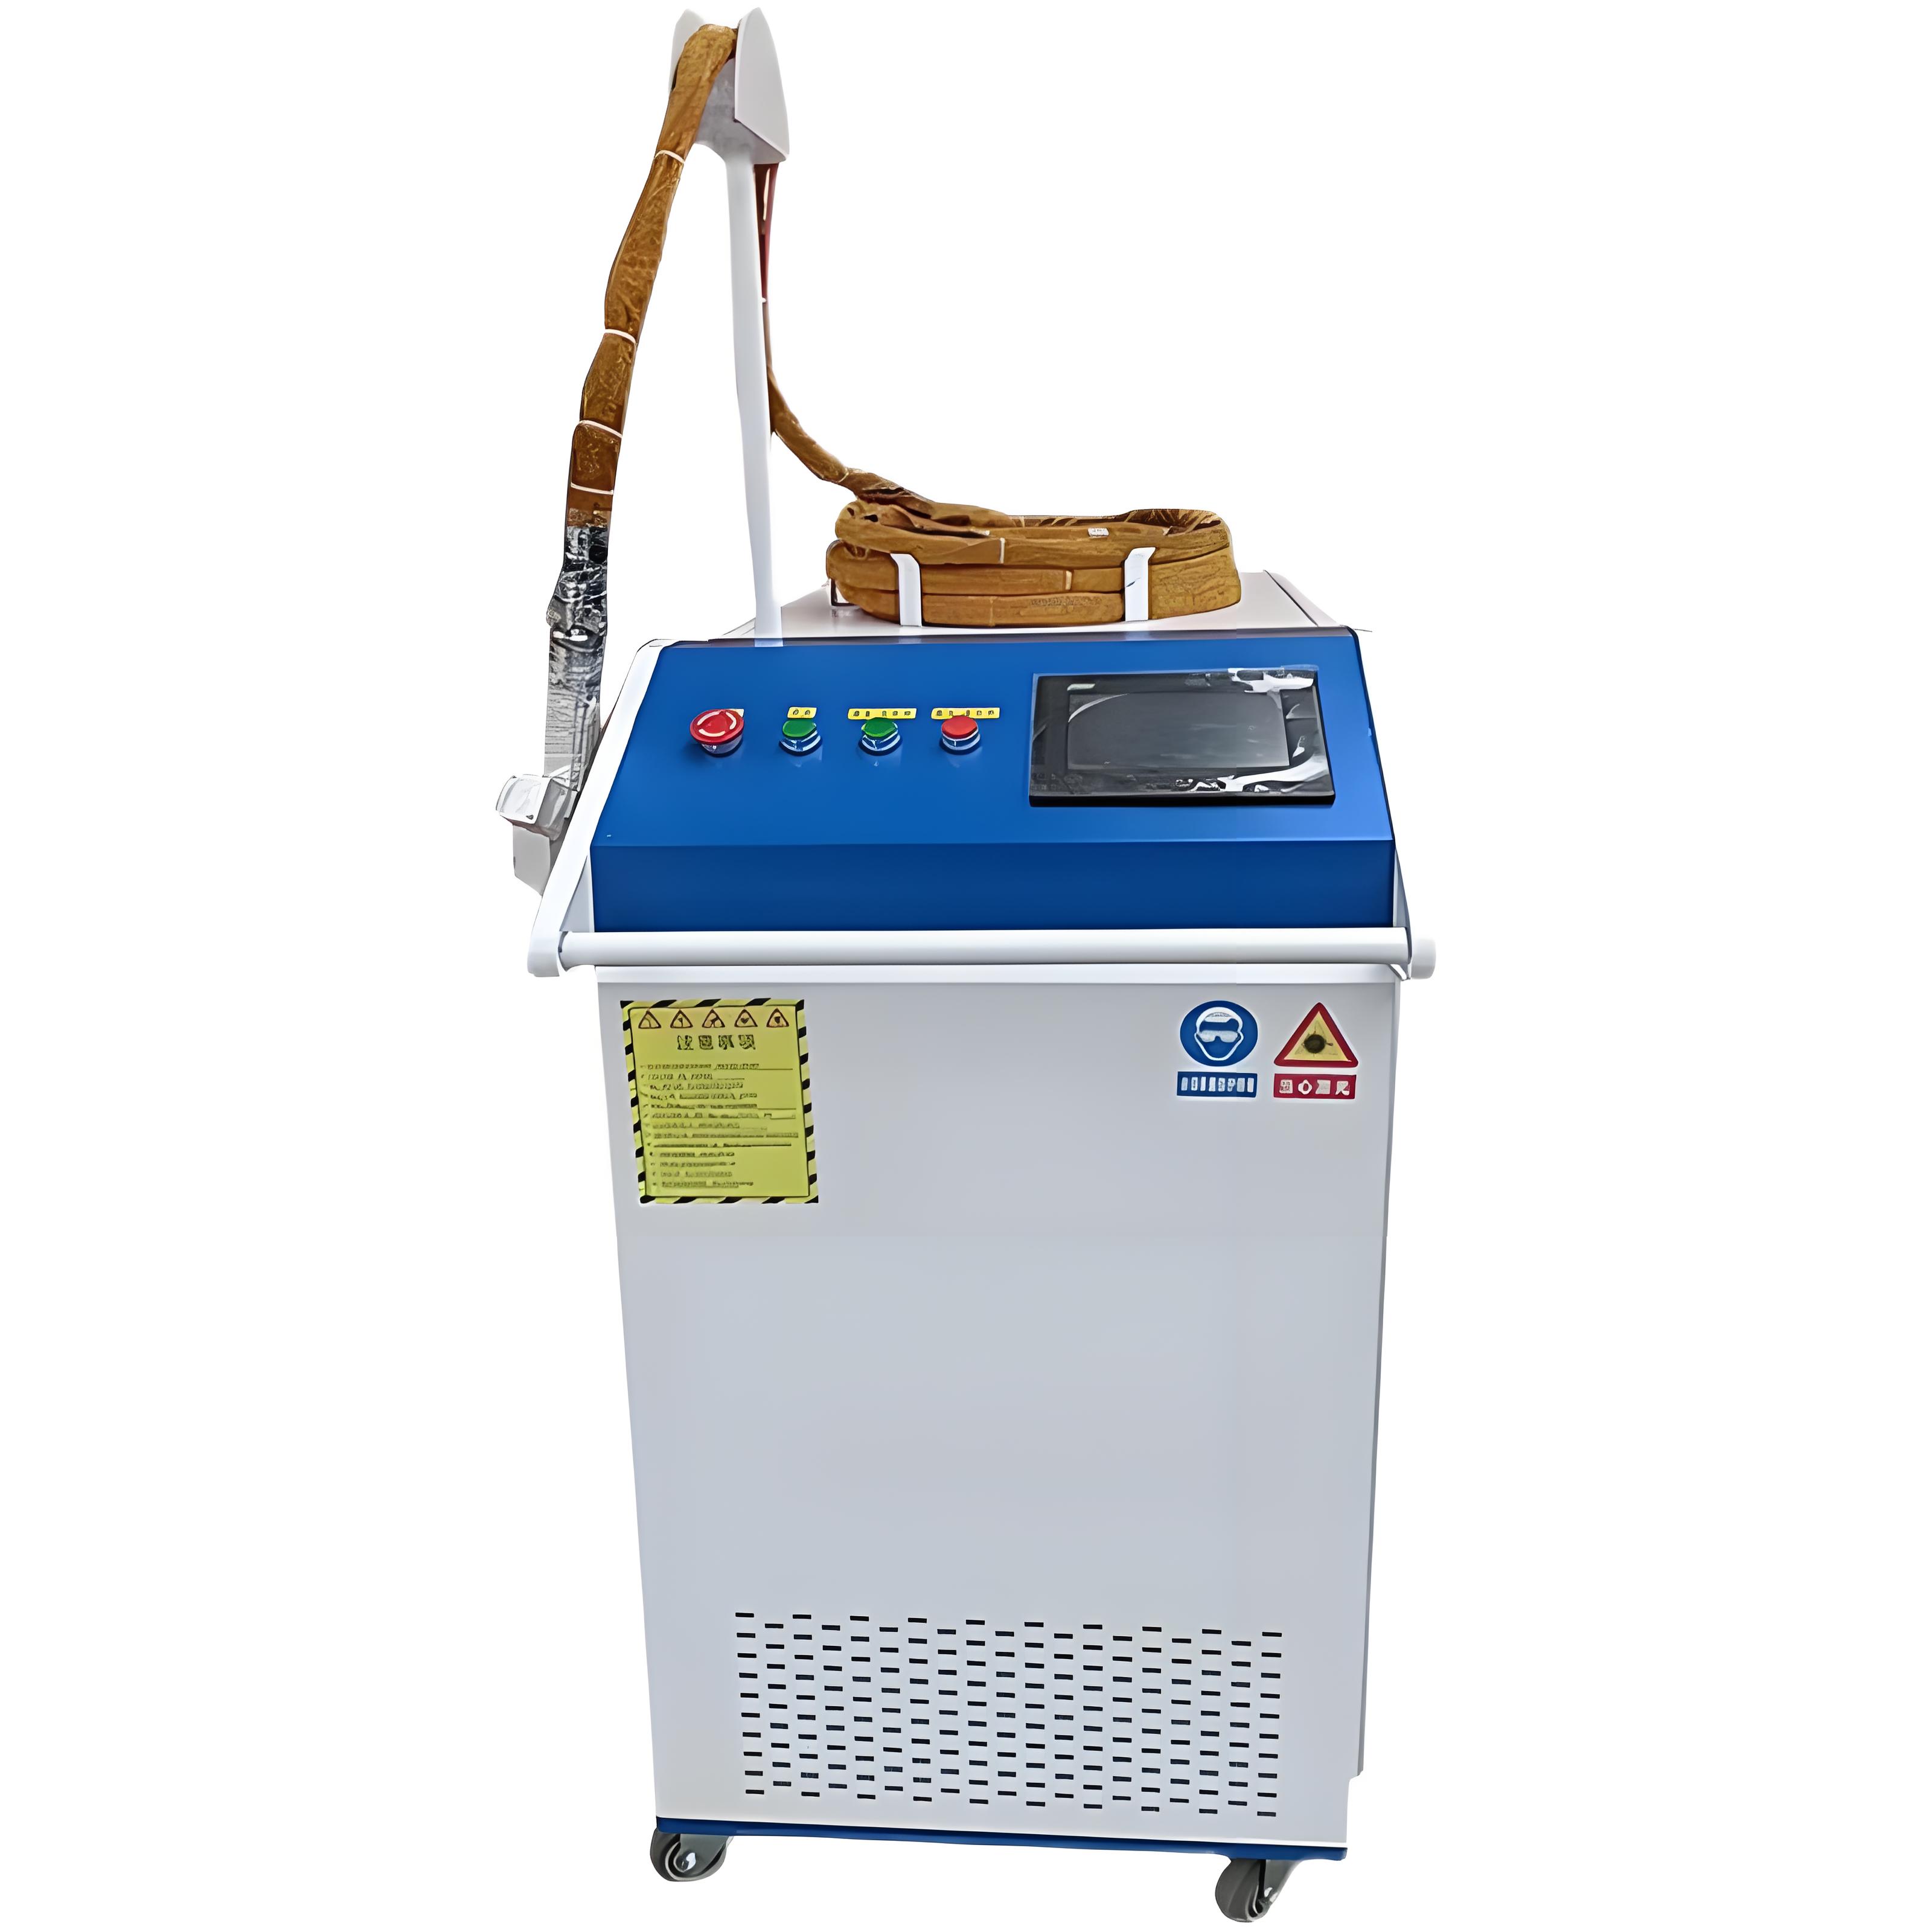
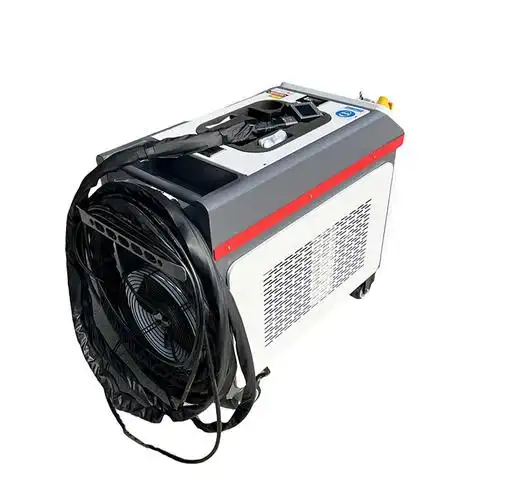
Having spent over a decade in the industrial cleaning sector, I’ve worked with laser rust removal machines on everything from vintage car restorations to heavy-duty factory equipment. These machines are game-changers—environmentally friendly, precise, and capable of delivering a mirror-like finish. But there’s a catch: sometimes, they don’t perform as efficiently as expected. When the rust isn’t disappearing as quickly as it should, or the process feels like it’s dragging, it’s frustrating. So, why does this happen? Let’s dive into the reasons behind low efficiency in laser rust removal and how to address them, drawing from my hands-on experience and lessons learned on the job.
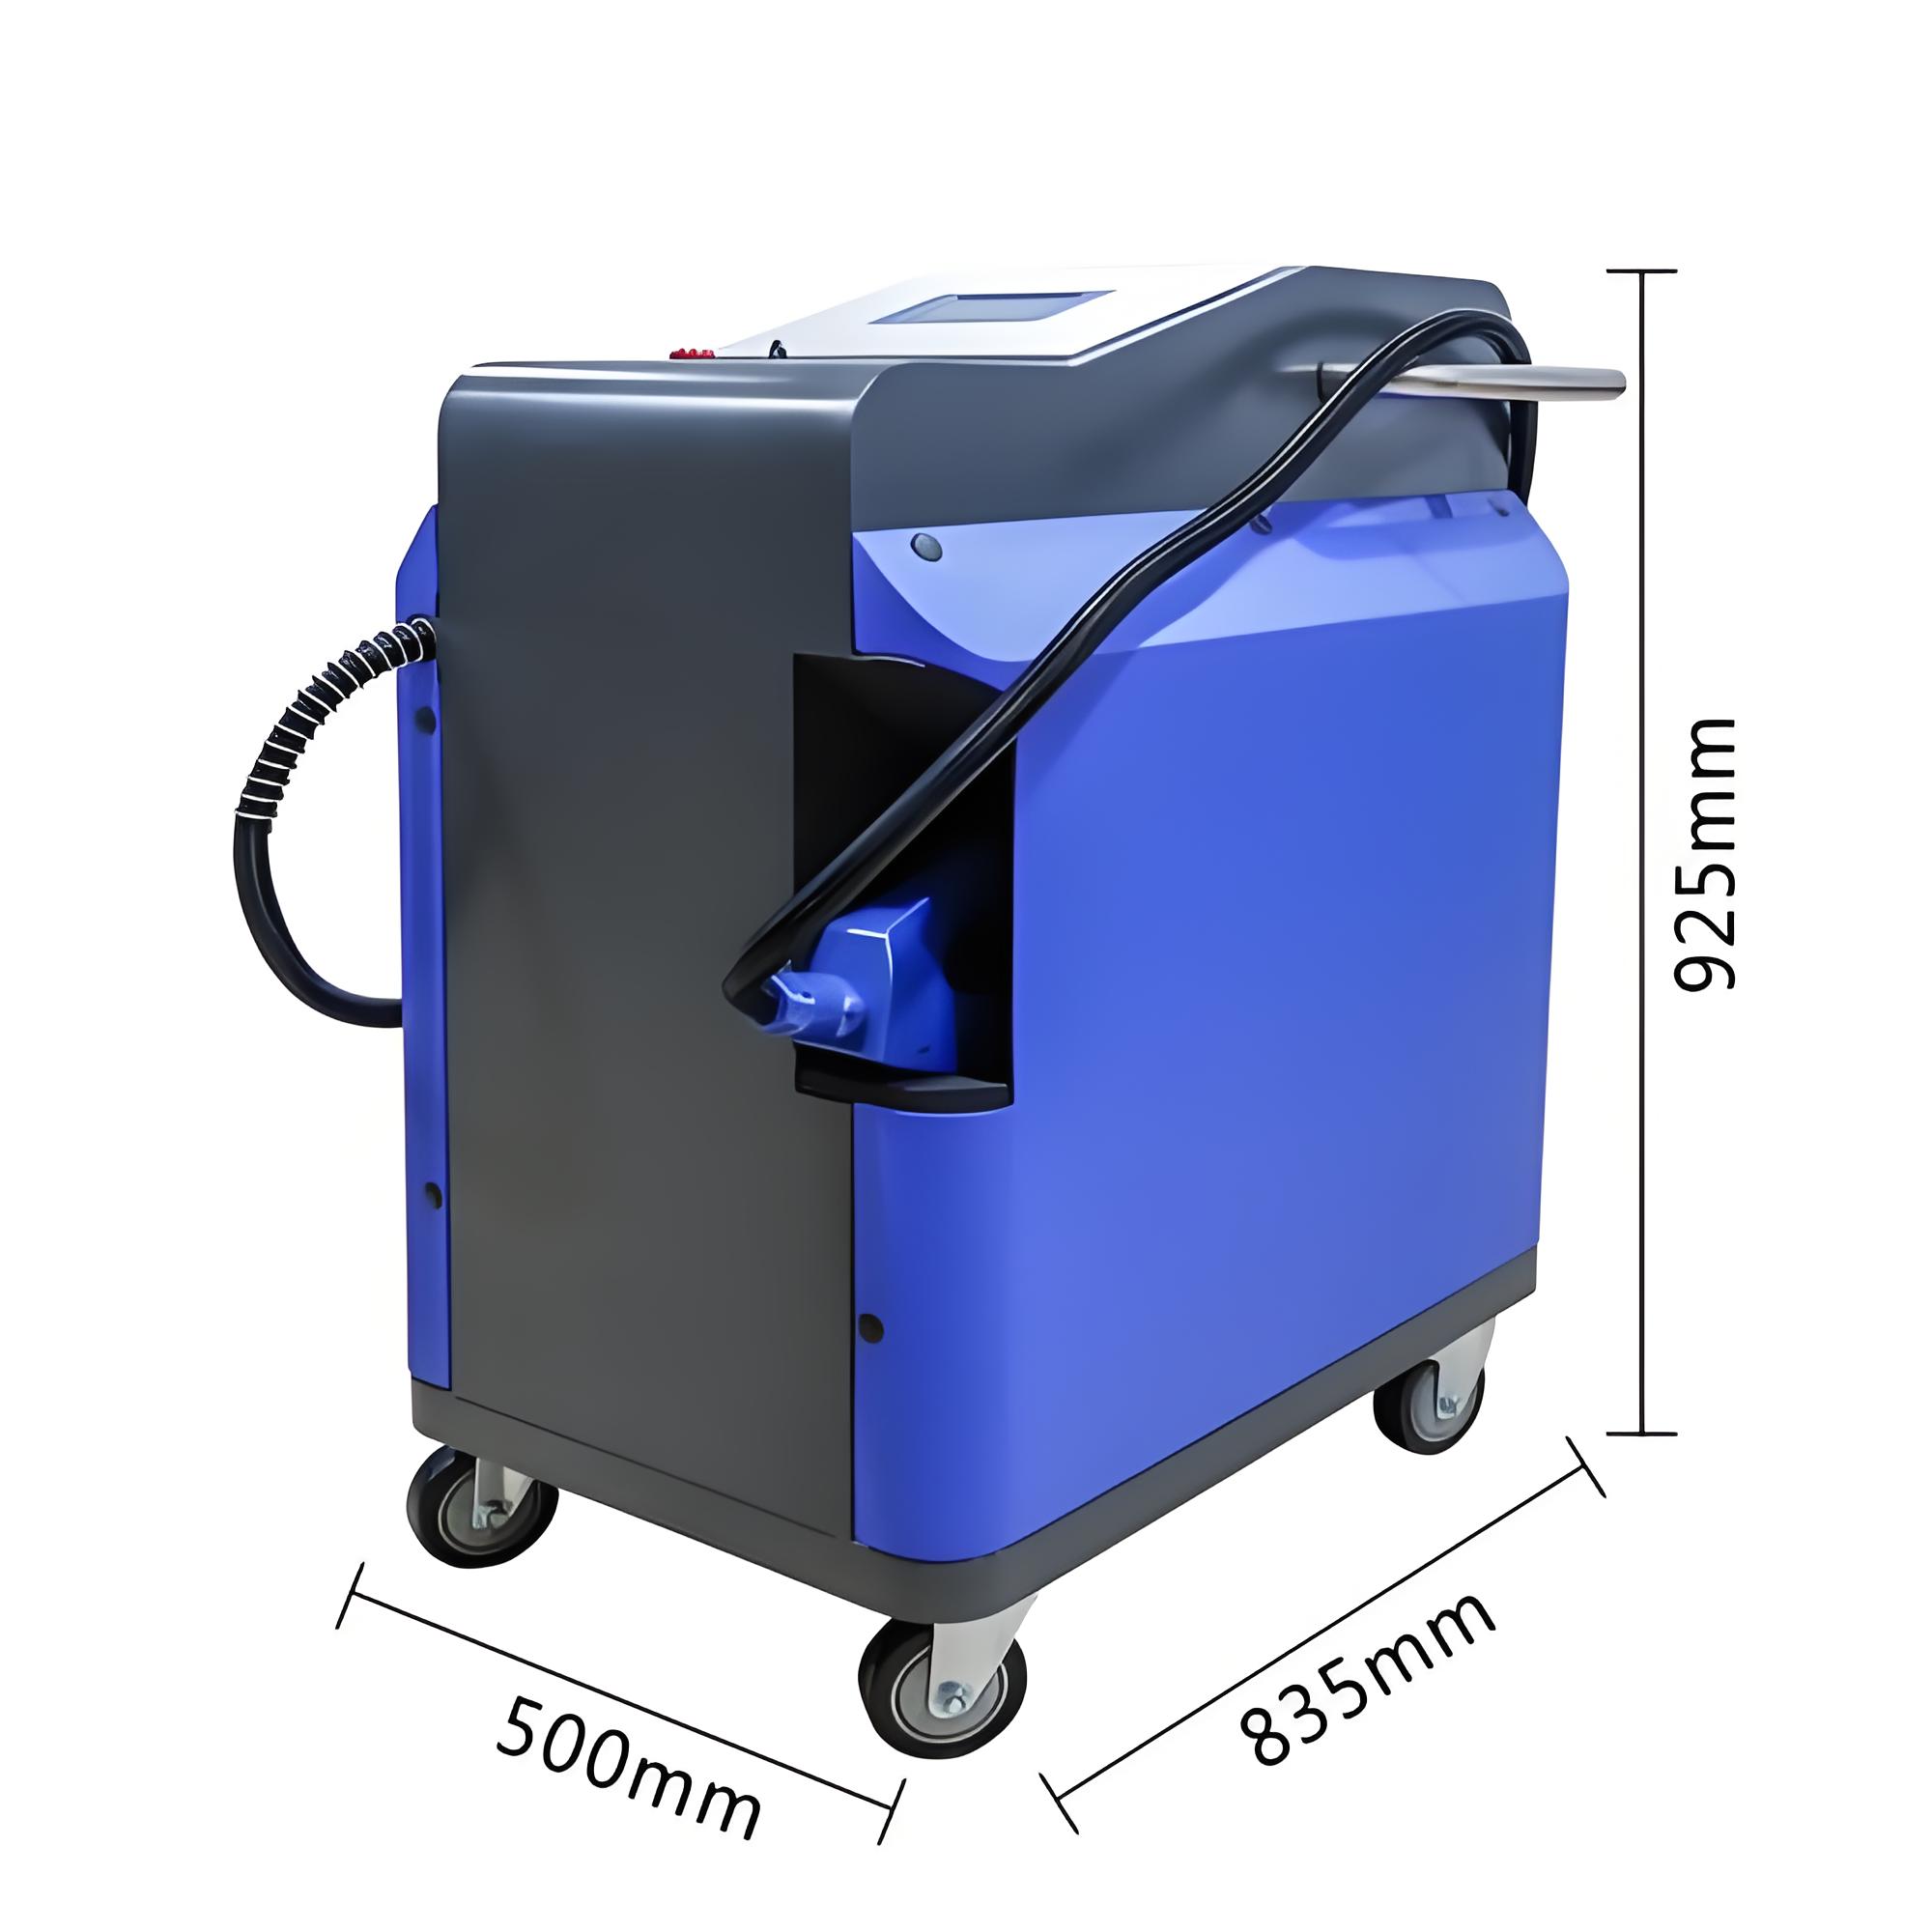
What Does “Low Efficiency” Mean in Laser Rust Removal?
When we talk about low efficiency, we’re usually referring to a few key issues: the machine takes too long to remove rust, requires multiple passes, leaves patches of rust behind, or consumes excessive energy. In my early days working with a 1000W fiber laser, I remember a project where we were cleaning rusted steel beams, and what should’ve taken an hour stretched into three. The culprit? A combination of improper settings and operator error. Let’s break down the most common reasons for these inefficiencies and how to fix them.
Common Causes of Low Efficiency
After years of troubleshooting laser systems, I’ve identified several factors that can slow down rust removal. These range from equipment settings to environmental conditions and even operator technique. Below, I’ll walk you through each one, with practical insights from my own projects.
1. Improper Laser Power Settings
The power output of a laser rust removal machine is one of the biggest drivers of efficiency. If the power is set too low, the laser struggles to vaporize the rust, requiring multiple passes. Conversely, overly high power can waste energy or even damage the substrate, especially on delicate materials like aluminum.
In one job cleaning rusted ship hulls, we initially set a 1500W laser to 70% power, thinking it would be sufficient. The rust was thick, and progress was painfully slow. After bumping the power to 90% and adjusting the pulse frequency, we cut the cleaning time in half. The lesson? Match the power to the rust’s thickness and the material’s properties. For light rust, 500-1000W is often enough, but heavy industrial rust might demand 1500W or more.
2. Incorrect Focal Length
The focal length—the distance between the laser lens and the surface—directly affects the beam’s energy density. If the laser is out of focus, the beam spreads, reducing its ability to ablate rust efficiently. I’ve seen this issue pop up often with handheld lasers, where operators struggle to maintain a consistent distance.
On a project restoring vintage motorcycle parts, we noticed uneven cleaning because the operator was holding the laser head too far from the surface. Once we adjusted to the optimal focal length (around 430 mm for our 1000W fiber laser), the rust came off smoothly, and we avoided damaging the chrome underneath. Always check your machine’s recommended focal length and use spacers or Z-tracking systems for consistency.
3. Suboptimal Pulse Frequency and Width
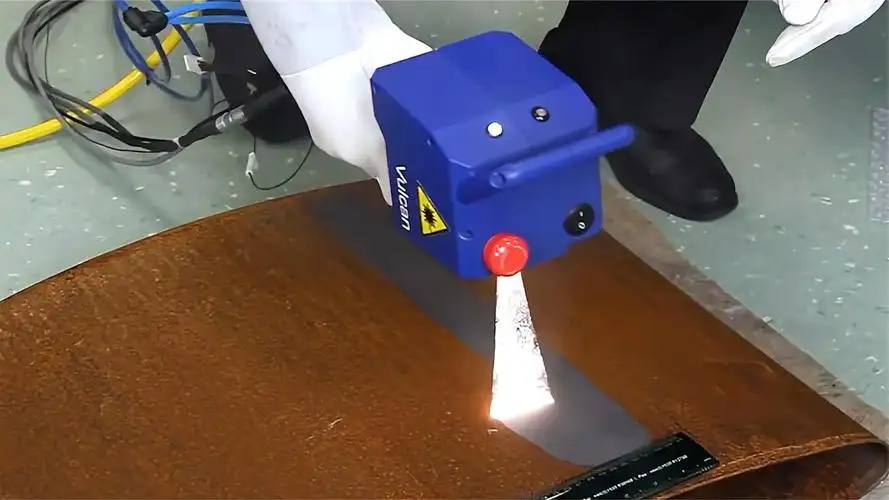
Lasers operate in pulses or continuous waves, and the pulse frequency (how often pulses are emitted) and pulse width (duration of each pulse) significantly impact efficiency. Short pulses are great for precision cleaning, as they minimize heat buildup, but they may be too weak for thick rust. Longer pulses or continuous waves deliver more energy but risk overheating the metal.
I once worked on a factory maintenance job where we used a pulsed laser with a default frequency setting. The rust was stubborn, and we were making slow progress. After consulting the machine’s manual and tweaking the pulse frequency to 20 kHz with a shorter pulse width, we doubled our cleaning speed without compromising the steel surface.
4. Surface Contamination Beyond Rust
Rust isn’t always the only culprit on a surface. Oil, grease, or paint can reduce laser efficiency because they require different energy levels to remove. In one case, we were cleaning rusted pipes coated with a thin layer of oil. The laser struggled until we pre-treated the surface with a degreaser, allowing the laser to focus solely on the rust. If you’re dealing with mixed contaminants, consider a pre-cleaning step to boost efficiency.
5. Environmental Factors
The environment where you’re using the laser can also play a role. High humidity or dusty conditions can interfere with the laser beam, scattering energy or clogging the optics. I recall a job in a coastal shipyard where high humidity caused inconsistent results. Installing a dust extraction system and ensuring proper ventilation improved our efficiency significantly. Always keep the laser’s optics clean and consider environmental controls for outdoor or humid settings.
6. Operator Skill and Training
Even the best laser machine can underperform if the operator isn’t properly trained. Inconsistent scanning speed, incorrect angle, or poor distance control can all reduce efficiency. In my early days, I made the mistake of moving the laser head too quickly, thinking it would speed things up. Instead, I left patches of rust behind. Training operators to maintain a steady pace and correct angle (usually 90° to the surface) is critical.
7. Material and Rust Characteristics
Not all rust or substrates are created equal. Thick, flaky rust requires more energy than thin, powdery rust, and reflective metals like aluminum scatter laser light, reducing efficiency. On a project involving rusted aluminum panels, we had to lower the scanning speed and adjust the focal length to account for the material’s reflectivity. Understanding the surface you’re working on is key to setting realistic expectations.
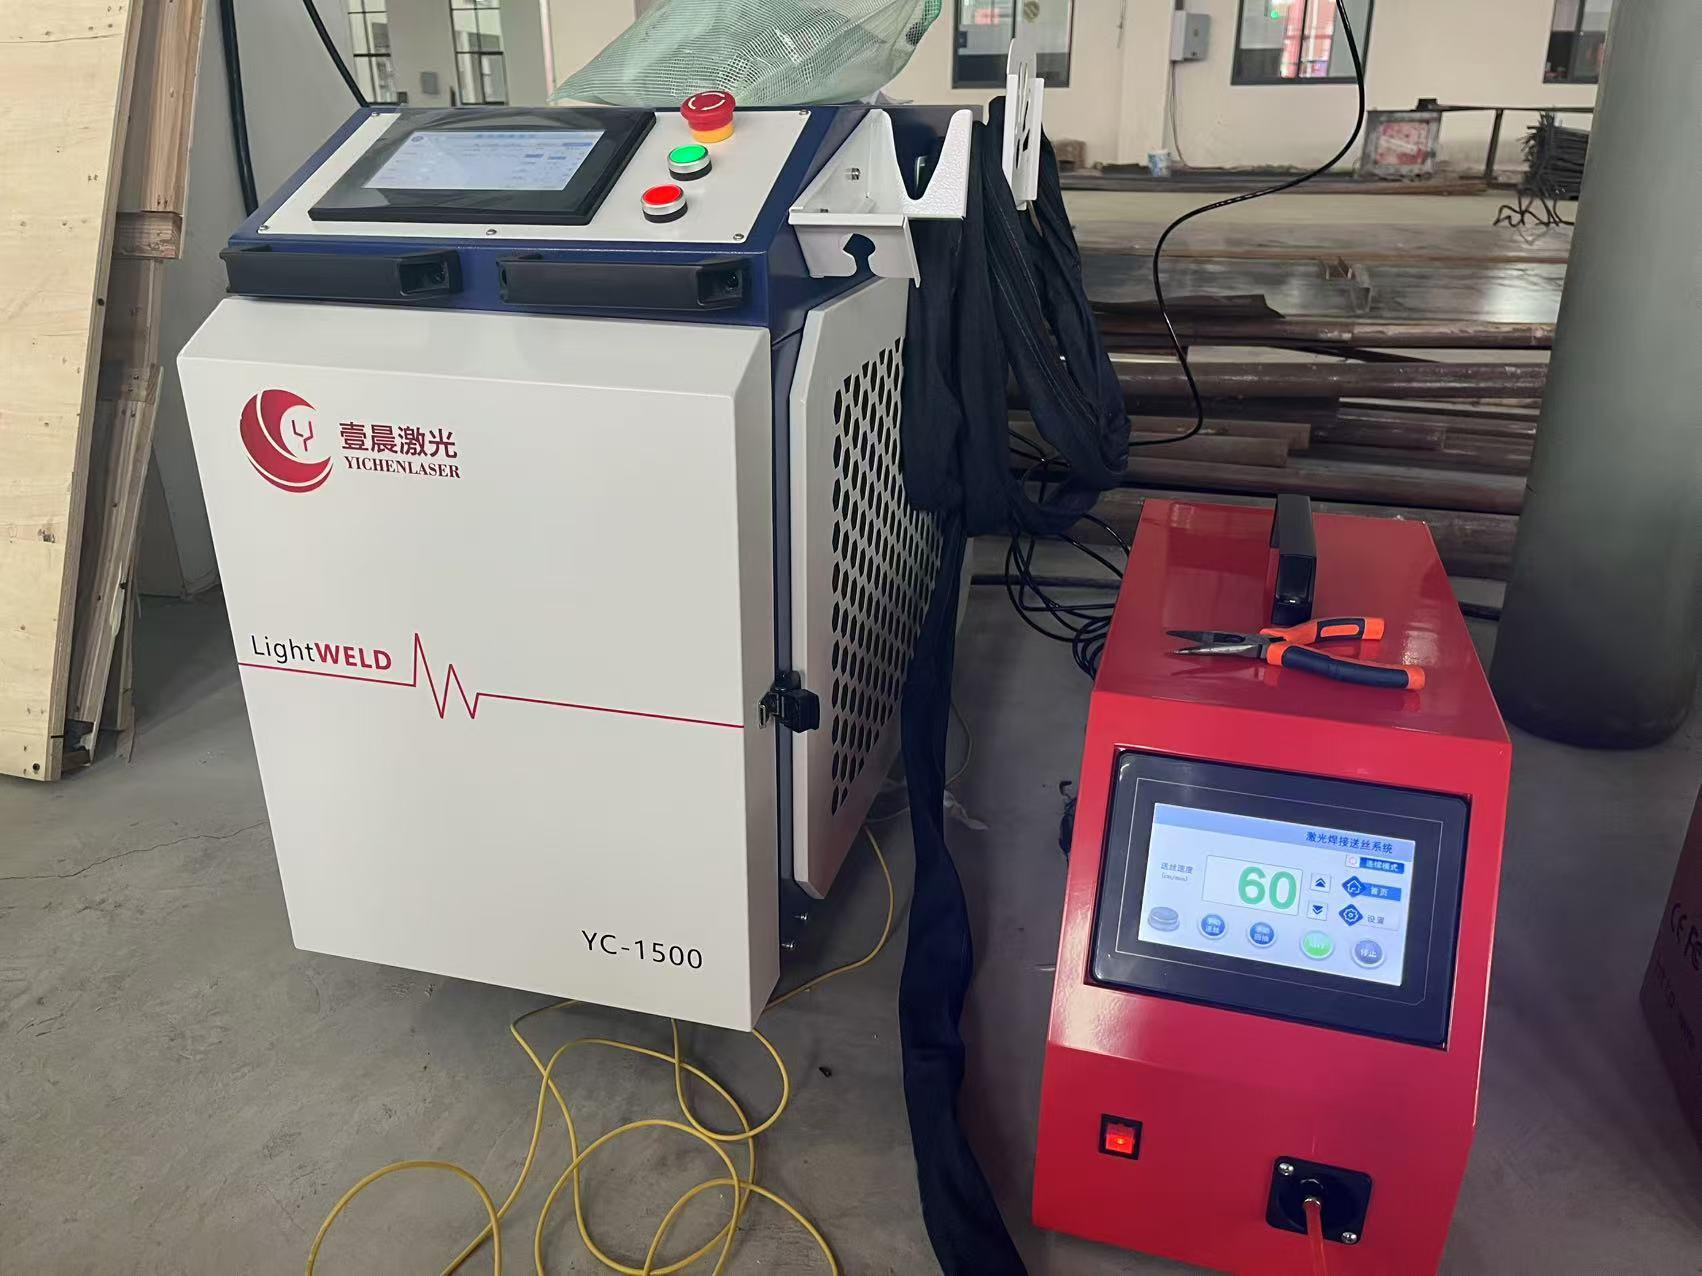
Quantifying the Impact: A Practical Table
To help visualize how these factors affect efficiency, I’ve put together a table based on my observations across various projects. It compares efficiency outcomes under different conditions.
|
Factor |
Optimal Setting |
Suboptimal Setting |
Impact on Efficiency |
|---|---|---|---|
|
Laser Power |
Matched to rust thickness (e.g., 1000W for medium rust) |
Too low or too high |
Slow cleaning or substrate damage |
|
Focal Length |
At manufacturer’s recommended distance (e.g., 430 mm) |
Too short or too long |
Reduced energy density, incomplete cleaning |
|
Pulse Settings |
Adjusted for rust type (e.g., 20 kHz for thin rust) |
Default or incorrect settings |
Slower ablation, potential overheating |
|
Surface Prep |
Clean, rustව |
System: rust-free surface | Pre-treated with degreaser | Contaminants like oil or paint present | Faster, more effective rust removal |
Practical Solutions to Boost Efficiency
Here are actionable steps I’ve used to address these efficiency issues, based on real-world experience:
Optimize Power Settings: Start with the manufacturer’s recommended power level and adjust based on test patches. For thick rust, increase power by 10-20% increments, monitoring for surface damage.
Calibrate Focal Length: Use a spacer or guide to maintain the correct distance. For complex surfaces, consider investing in a laser with Z-tracking for automatic focal adjustments.
Fine-Tune Pulse Settings: Experiment with pulse frequency and width in a controlled setting. For most rust removal, I’ve found 15-25 kHz with short pulses (50-100 ns) works well for steel.
Pre-Clean the Surface: Use a degreaser or solvent to remove oil or paint before lasering. This can cut cleaning time by up to 30% in my experience.
Control the Environment: Use dust extraction systems and ensure good ventilation, especially in humid or dusty settings. Clean optics regularly to prevent beam scattering.
Train Operators Thoroughly: Invest in hands-on training to ensure operators maintain consistent speed, angle, and distance. A 10% improvement in technique can double efficiency on some jobs.
Test for Material Properties: Conduct test patches on reflective or thin metals to adjust settings. For aluminum, I often reduce power by 10% and increase focal length slightly.
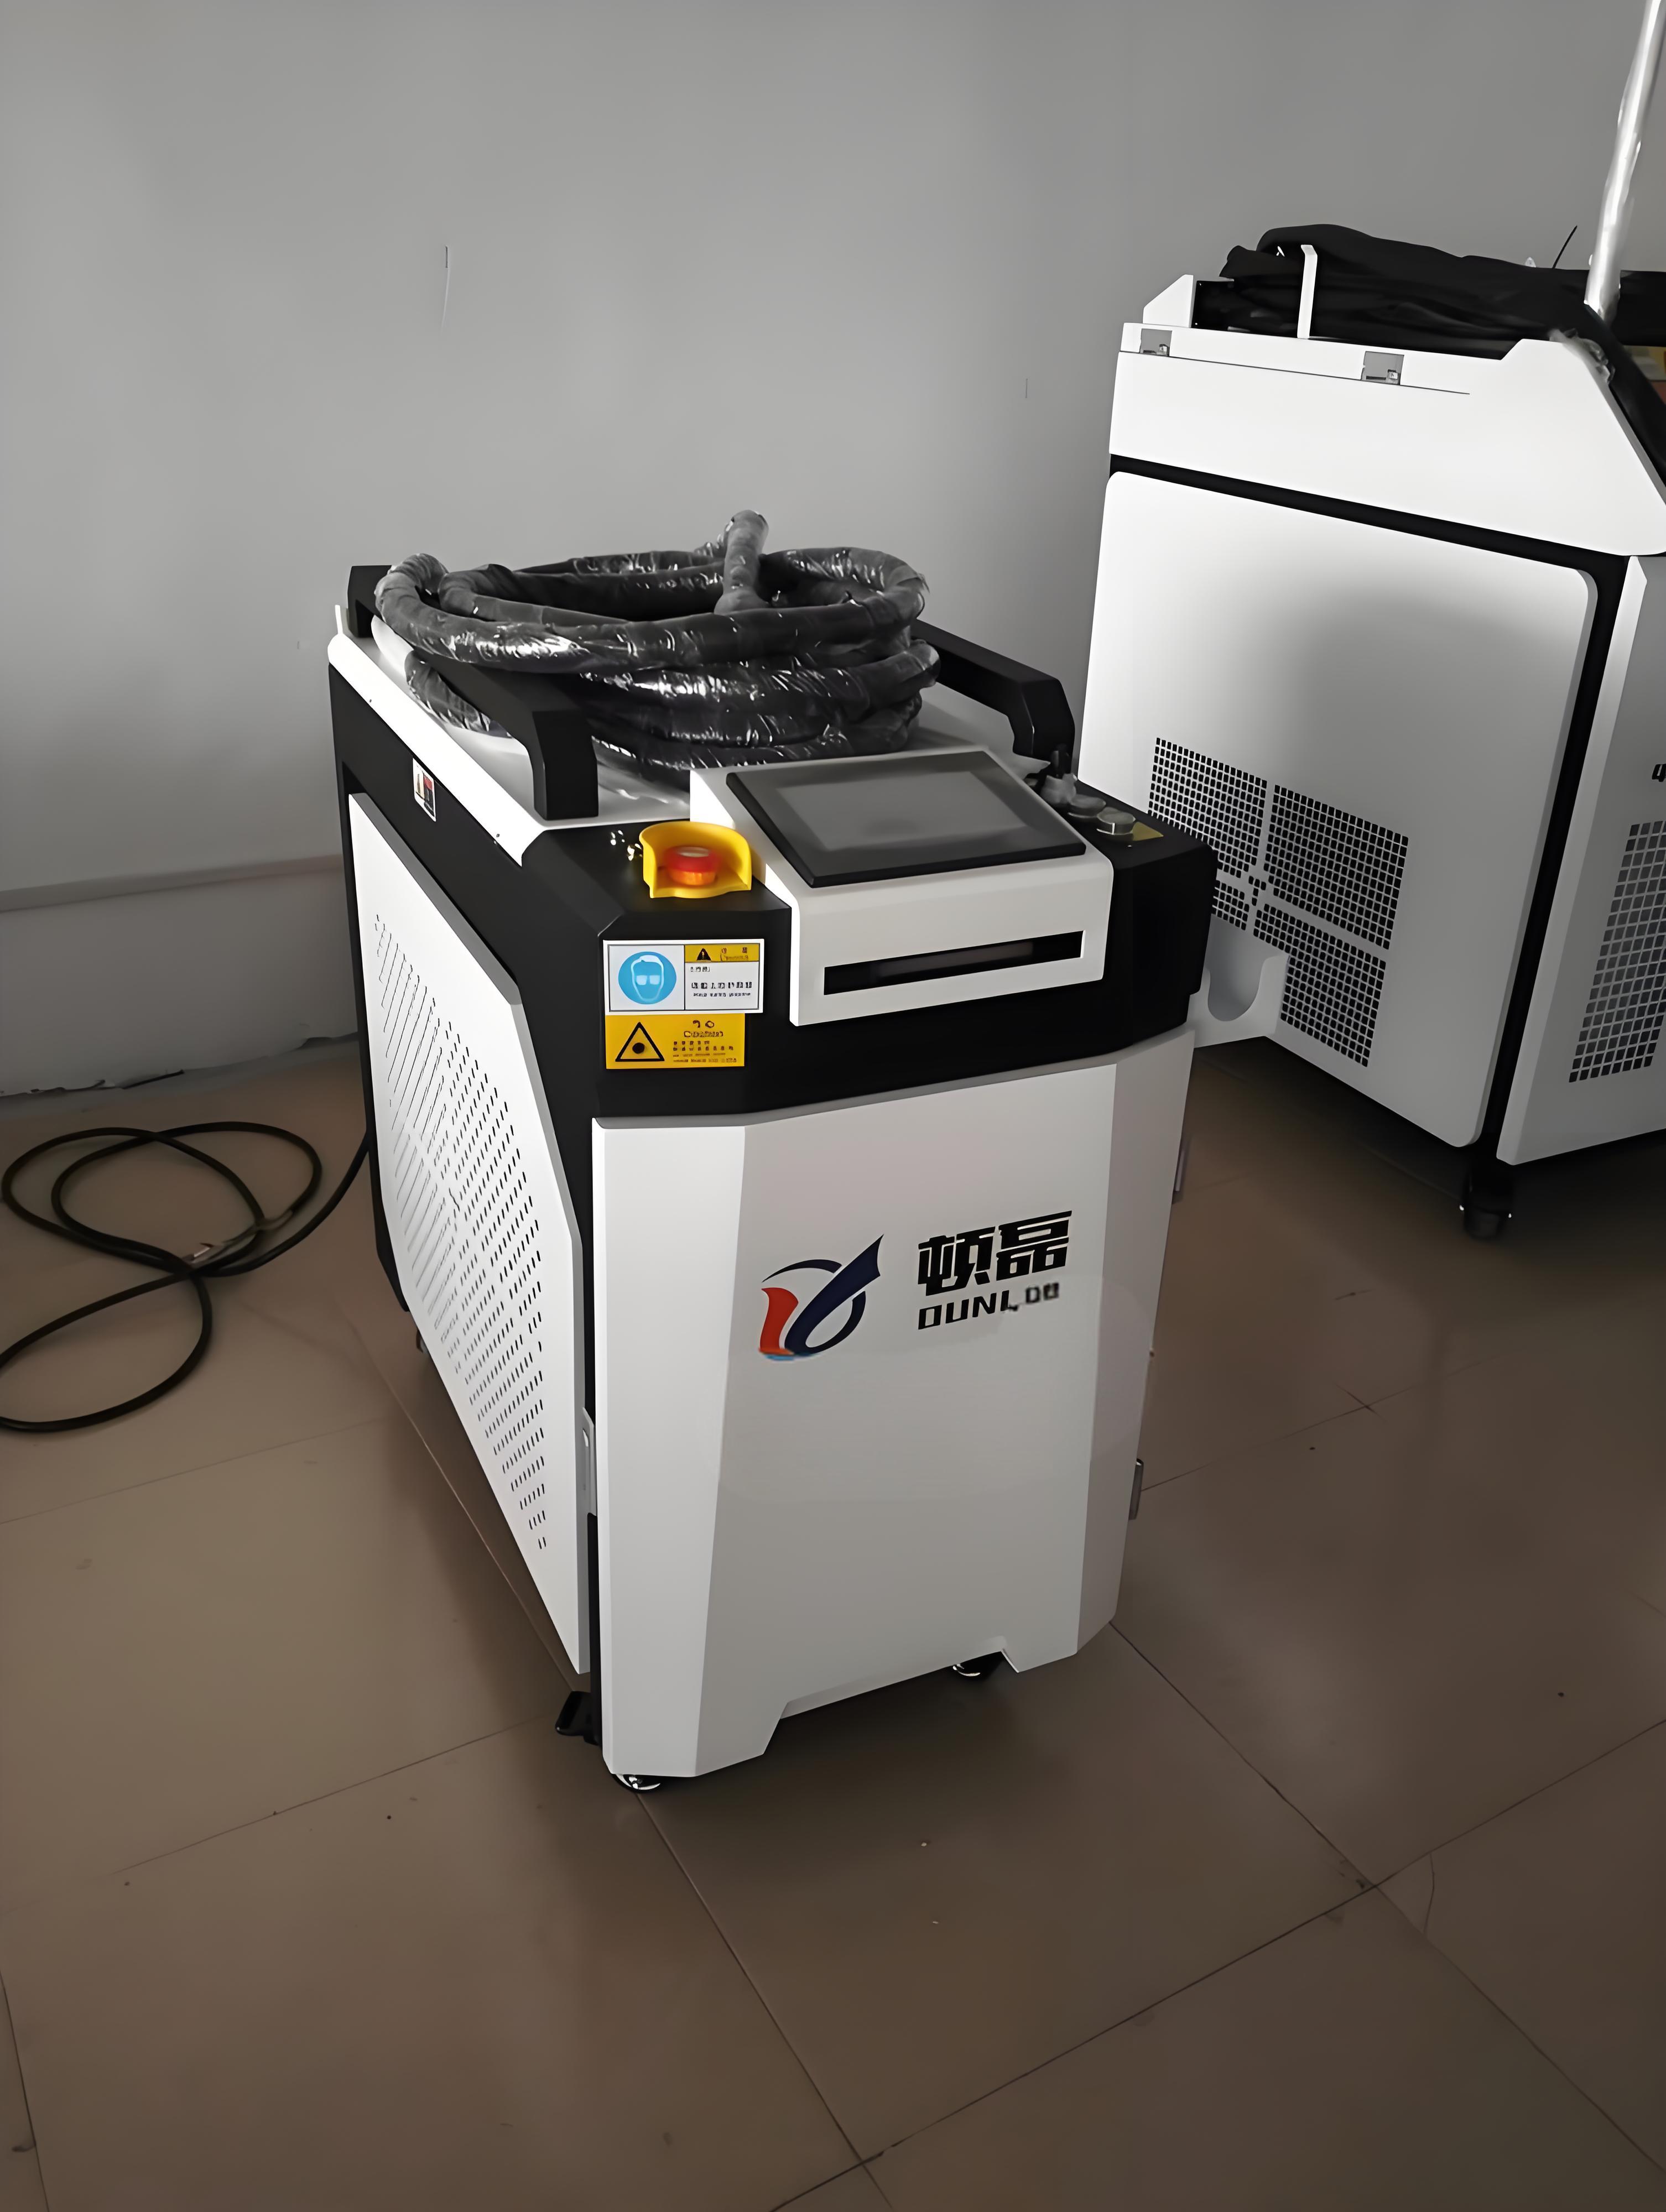
Case Studies from the Field
Let me share a couple of examples to illustrate these points. On a project cleaning rusted railway tracks, we initially faced low efficiency due to a combination of thick rust and improper focal length. The 2000W laser was set to a default 50% power, and the operator was holding the head too far from the surface. After adjusting to 80% power, setting the focal length to 450 mm, and slowing the scanning speed, we tripled our cleaning rate, finishing the job ahead of schedule.
In another case, we were restoring a rusted bronze statue. The surface had a mix of rust and old lacquer, which slowed the process. A quick solvent wipe-down to remove the lacquer, followed by a 500W laser with a 300 mm focal length, produced a pristine finish in half the expected time. These experiences underscore the importance of addressing all variables systematically.
Limitations to Keep in Mind
While optimizing these factors can significantly boost efficiency, there are limits. For instance, extremely thick rust (e.g., >1 mm) may still require multiple passes, even with ideal settings. Reflective metals like copper or aluminum will always be trickier due to light scattering, so expect slightly lower efficiency. Additionally, low-quality laser machines with poor beam quality or outdated optics can bottleneck performance, no matter how well you tweak the settings.
Safety is another consideration. High-power lasers can cause eye or skin damage if mishandled. I always ensure operators use Class-4-rated safety goggles and follow strict protocols, especially when adjusting power or focal length.
Comparing Efficiency Across Laser Types
Different laser types have varying efficiencies, depending on their design. Here’s a table summarizing common lasers used for rust removal:
|
Laser Type |
Efficiency Level |
Best Use Case |
Notes |
|---|---|---|---|
|
Fiber Laser |
High |
General rust removal |
Versatile, good for most metals |
|
Pulsed Laser |
High for precision |
Delicate or thin surfaces |
Minimizes heat damage |
|
Continuous Wave (CW) |
Moderate to high |
Heavy rust, large areas |
Risk of overheating if not optimized |
|
CO2 Laser |
Low |
Non-metal surfaces |
Less effective for rust due to wavelength |
In my experience, fiber lasers with pulsed settings offer the best balance of efficiency and versatility, especially for industrial applications. For delicate tasks, like cleaning historical artifacts, pulsed lasers with precise settings are the go-to.
The Bigger Picture: Cost and Environmental Benefits
One reason I’m a fan of laser rust removal is its long-term cost-effectiveness and eco-friendliness. When efficiency is optimized, you use less energy, reducing operational costs. Compared to sandblasting, which generates tons of abrasive waste, lasers produce minimal byproducts—just vaporized rust that’s easily captured with a dust collector. On a recent factory job, we cut cleaning time by 40% by optimizing settings, saving the client thousands in labor and energy costs while producing zero chemical waste.

Looking Forward: Improving Efficiency with Technology
The future of laser rust removal is exciting. Newer machines with adaptive optics and AI-driven settings are making it easier to maintain optimal focal length and power, even for novice operators. I’ve tested prototypes with real-time surface analysis, which adjust parameters on the fly, boosting efficiency by up to 20% on complex surfaces. These advancements are particularly promising for industries like aerospace or marine, where precision and speed are critical.
Conclusion
Low efficiency in laser rust removal machines is often a result of improper settings, environmental challenges, or operator error—but these are all fixable. By fine-tuning power, focal length, and pulse settings, pre-cleaning surfaces, controlling the environment, and training operators, you can transform a sluggish process into a fast, precise one. My years in the field have taught me that small adjustments—like a 1 mm tweak in focal length or a 10% power boost—can yield dramatic results. If you’re struggling with a slow laser, don’t give up. Test, tweak, and train, and you’ll soon see that rust vanish like magic.
Related Questions and Answers
Q: Why does my laser leave patches of rust behind?
A: This is often due to incorrect focal length or insufficient power. Check the manufacturer’s recommended focal length and ensure the beam is focused tightly. Increase power by 10-15% and test on a small area to avoid substrate damage.
Q: Can surface contaminants like oil reduce laser efficiency?
A: Yes, oil or paint can absorb laser energy, slowing rust removal. Pre-clean the surface with a degreaser or solvent to ensure the laser targets only the rust.
Q: How do I improve efficiency on reflective metals like aluminum?
A: Reflective surfaces scatter laser light, reducing efficiency. Use a slightly longer focal length, lower power by 5-10%, and slow the scanning speed. Always test on a sample piece first.
Q: Is operator training really that important for efficiency?
A: Absolutely. Inconsistent speed, angle, or distance can cut efficiency in half. Train operators to maintain a steady 90° angle and use guides to keep the correct focal length.

